Gluten Free White Chocolate and Raspberry Muffins

February has been such an incredibly busy month for me, so I’ve very little time to sit down and get this blog written, but I promise I’ve not been neglecting you!

In fact, I’ve been working on perfecting one of my favourite bakes and I’m really excited to finally be able to share with you my recipe for Gluten Free White Chocolate and Raspberry Muffins!

image

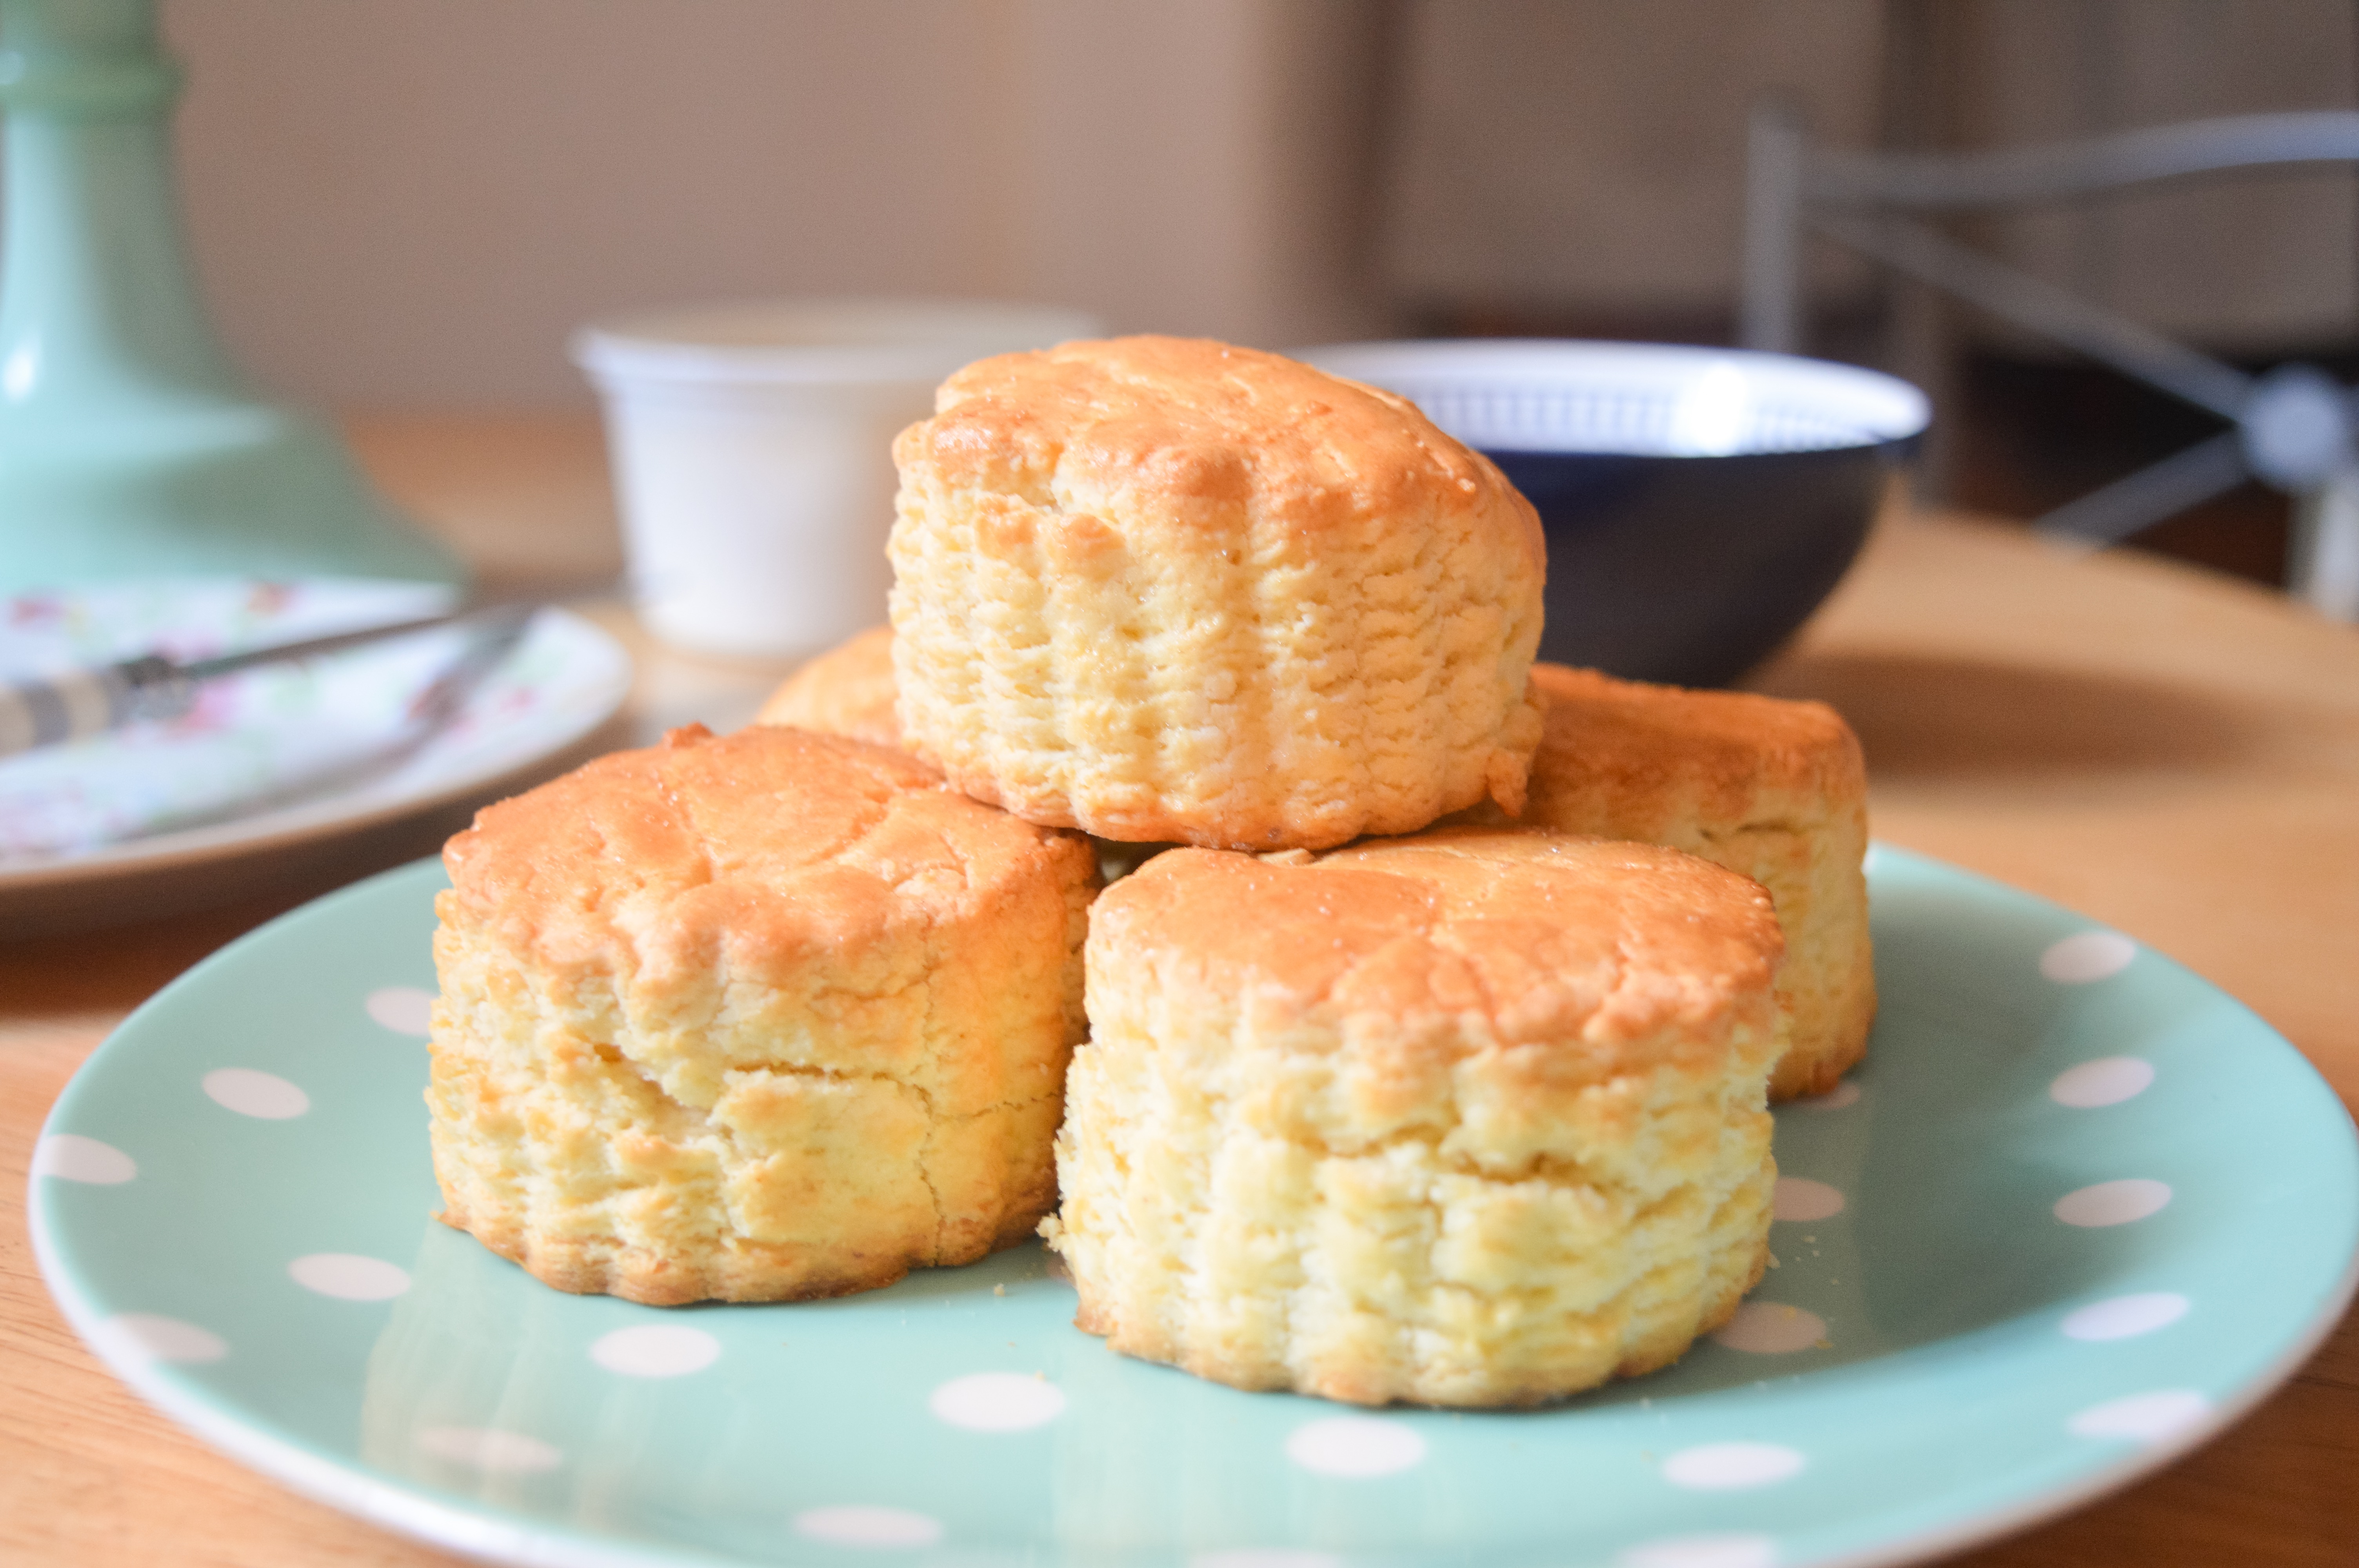
In the past I’ve struggled to bake the perfect gluten free muffins – often they don’t rise enough or the texture is more like that of a cupcake rather than a muffin, which are supposed to have a much denser texture as opposed to being light and fluffy.  

After a bit of trial and error I have come up with a recipe which I think ticks all the right boxes; the texture was exactly right and the muffins rose enough to create that classic muffin look.

Here are a few golden rules to abide by if you want perfect gluten free muffins:

1. Mix the dry ingredients separately to the wet ingredients – This helps to make sure that the raising agents are evenly distributed throughout the mixture.

2. Don’t over mix the batter – Because of the lack of gluten we need something to make the muffins rise, so don’t over work the batter as this can cause the raising agents to work less affectively. Stir the ingredients until just combined and don’t worry about any lumps.

3. Use the right amount of raising agents – I found that baking powder alone wasn’t enough so I also used a small amount of bicarbonate of soda – but don’t use too much or it can leave an unpleasant flavour.

4. Keep chocolate chips in the fridge until you need them – This simple trick stops the chocolate chips melting in the oven and helps them to retain their shape.

image

My muffins have an added twist, in that they have a raspberry jam centre but you could use fresh raspberries, if you prefer!

image

Raspberry and White Chocolate Muffins – GF/DF options
Makes 8

Ingredients:
300g gluten free self raising flour
1 tsp baking powder
1/2 tsp bicarbonate of soda
150g caster sugar
2 large eggs
75 ml sunflower oil
200ml milk (or dairy free alternative)
1 tsp vanilla extract
100g white chocolate chips, refrigerated (or dairy free alternative)
8 tsp raspberry jam

Method:

1. Preheat the oven to 180 C/160 C/gas mark 4 and line a muffin tin with 8 muffin cases.

2. In a large bowl, sift together the flour, baking powder and bicarbonate of soda.

3. In separate bowl, whisk together eggs, sugar, oil, milk and vanilla extract until combined then add this to the dry ingredients.

4. Gently mix the ingredients together until they form a batter which is only just combined (don’t worry too much if there are any lumps), then stir through the chocolate chips.

5. Spoon approximately 1 and a half tablespoons of batter into each case, followed by a teaspoon of jam then fill the muffin cases with a further tablespoon of batter, ensuring the jam is fully covered.

6. Bake the muffins for 25 minutes, until golden brown.

7. Leave to cool on a wire rack before serving.

Gluten Free Scones Recipe

Scones have always been one of my  favourite bakes. They were the very first thing I was taught to bake at school and are a good bake for baking beginners.

image

I used to have a little trouble making good gluten free scones – the end result would often be quite crumbly and couldn’t get them to rise like I wanted.

I’ve discovered that an egg and a little milk is required to help bind the ingredients together – making the dough ever so slightly wetter than normal (but not sticky) helps to ensure that the scones don’t dry out during baking.

Possibly the most important tip is not to roll the dough out too thin, otherwise your scones will end up rather flat –  start off with a little height (at least 3cm) and you’ll end up with nice tall scones.

I chose to make some of the scones with glacé cherries and some without – feel free to leave them out if you’re not a fan, but if you do use cherries, make sure you wash the syrup off them as they can make the scones a bit soggy in places!

image


Scones – GF/DF options
Recipe makes approximately 6 – 8 Scones.

Ingredients:
250g gluten free self raising flour
1 tsp big powder
75g butter, unsalted (or dairy free alternative like Stork Baking Block)
40g caster sugar
75ml milk (or dairy free alternative)
2 eggs (one for glazing)
50g glacé cherries, chopped and rinsed (optional)

Method:
1) Preheat the oven to 220 C/200 fan C/gas mark 6.

2) In a large bowl, sift together the flour, baking powder and a pinch of salt.

3) Rub together the butter and flour mixture until you have a breadcrumb like texture, then stir through the sugar.

4) Add an egg and start to bring the mixture together using a wooden spoon.

5) Add the milk bit by bit (you might not need it all) and use your hands to bring the mixture together in a smooth dough.

6) Lightly dust a work surface with flour then roll out the dough to about 3 cm thick – don’t roll out the dough too flat or you will have very flat scones!

7) Cut the scones out with 6cm flutted scone cutter. Place the scones on a baking tray lined with greaseproof paper then lightly brush each one with beaten egg.

8) Bake the scones in a preheated oven for 12 to 15 minutes, until golden brown.

9) Leave the scones to cool on a wire rack before serving with jam and clotted cream!

image

If you want to keep up to date with my kitchen adventures you can find me on Instagram @titchyton or on my Facebook page.

Gluten Free Corn Tortillas Recipe

The art making of gluten free bread as always alluded me and unfortunately most of my attempts have ended in complete and utter disaster; so recently I’ve been trying to come of up with easy bread recipes to try and tackle my fear of making gluten free bread.

After a bit of thinking I thought that flatbreads would be a good place to start as they don’t need rise, eliminating many potential problems you find getting  gluten free bread to work – starting with flatbreads definitely made me feel much less daunted!

After a bit of research I decided to trying gluten free Tortilas after reading about an ingredient  called Masa Harina, a gluten free flour which is used in Mexico and South America to make Corn Tortillas.

image

Masa Harina is a type of cornflour, but it is very different from the cornflour you can buy in supermarkets here in the UK.

Masa Harina is made from corn kernels which have been soaked in limewater, this helps the corn to soften before it is ground into flour. As a result this flour can be made into a dough which is very malleable and easy to handle – Ideal for Tortillas!

So far, so good – the only problem is that Masa Harina is quite difficult to find here in the UK as it’s not readily available in supermarkets. I picked some up for £2.60 on my most recent trip to Borough Market, from Cool Chile Co who sell Mexican cooking supplies – good news for all you fellow Londoners, but if you live outside of London your best bet is to buy it online.

image

Making these Tortillas is incredibly simple – all you need to do is mix the flour with some water and a pinch of salt, then knead it into a dough.

I don’t own a Tortilla press so I rolled the dough into small balls and used a heavy pan to flatten them into round discs before frying them lightly on each side.

The Tortillas were strong enough to hold their filling and didn’t begin to disintegrate on contact with hot food, they were also pliable enough to be folded up properly.

image

I was very impressed with my first attempt at homemade Tortillas and was so happy to be able to try out an authentic and traditional way of making them without the stress of having to adapt the recipe to be gluten free!

They tasted amazing and I will definitely be making these again (despite the fact that getting hold of Masa Harina is a little difficult) because now I’ve tasted these these, I don’t think I could ever go back to shop bought!

Gluten Free Corn Tortillas Recipe
(Makes approximately 12 small Tortillas or 6 large Tortillas)

Gluten Free/Dairy Free/Egg Free

Ingredients:
150g Masa Harina (I used Co Chile Co Masa Harina Flour)
100ml cold water
Pinch of Salt

Method:

  1. In a large mixing bowl, mix the flour, salt and water until it comes together to form a soft dough that is not sticky or overly dry.
  2. If the dough is too dry, add slightly more water or if it’s too wet add more flour.
  3. Cover the dough and refrigerate for 10 – 15 minutes.
  4. Roll the dough out into 15 smalls balls (if you are making small tortillas) or 8 large balls.
  5. Use a Tortilla press to shape the the dough into flat discs. If you don’t own a tortilla press, place a ball of dough in-between two sheets of plastic wrap and use a heavy pan or plate to flatten them into shape.
  6. Place a lightly oiled frying pan over a high heat.
  7. Fry each Tortilla for about a minute on each side, then wrap them in a tea towel to stay warm until serving.

Gluten Free Christmas: Kransekake Recipe

For me, every Christmas table should have a showstopper, something extra special which makes the family go “Wow!”

I don’t know about you, but I don’t think there is anything more show stopping than the towering Kransekake Cake which would look simply spectacular at the centre of any Christmas dinner table!
IMG_0393
The Kransekake is a traditional Scandinavian cake which is often served at special occasions including weddings and Christmas celebrations. It consists of 18 almond flavoured rings which are stacked on top of each other to form an impressive tower – If you’re a Marzipan fan, you’ll love this cake!

12360078_984881254917308_60926301423683865_n My Kransekake Design

Although it looks very impressive, it’s actually quite straight forward to make! The rings are made from a dough consisting of ground almonds, icing sugar and egg whites which is shaped to fit Kransekake moulds which can be found at Lakeland.

Kransekake Cakes are usually gluten free, although dough is sometimes rolled out in Semolina flour which is not suitable for Coeliacs. For my Kransekake cake, I rolled the dough out in Cornflour instead of Semolina.
image1-4
Gluten Free Kransekake Recipe – GF/DF

Recipe inspired by Paul Hollywood’s Recipe from ‘The Great British Bake Off’

Ingredients
500g ground almonds, plus cornflour for dusting
500g icing sugar
4 egg whites
1 tsp almond extract
sunflower oil spray

For the Decoration:
2 egg white
500g icing sugar
edible spray glitter
fondant stars (optional)

You will also need 6 Kransekake Moulds (I bought mine from Lakeland)

Method

1. In a large bowl mix together the ground almonds and icing sugar.

2. Add the egg whites and almond extract, then using your hands work the ingredients into a smooth ball of slightly sticky dough.

3. Chill the dough in the fridge for at least two hours.

4. Preheat the oven to 200 C/180 C Fan/gas mark 6.

5. Spray the Kransekake moulds with oil and dust them generously with cornflour.

6. Dust a work surface with cornflour and split the dough into 6 equally sized pieces.

7. Split one of the pieces of dough into three different sized pieces: one large, one medium and one small.

8. Roll the balls of dough out into pieces which are approximately a finger-width and long enough to wrap round the Kransekake moulds.

9. Place the first piece into the Kransekake mould and pinch the ends together. Repeat with all the other pieces until all the moulds are filled.

10. Place the moulds onto a baking tray and bake for 10 minutes or until golden brown.

11. Remove the Kransekake rings from the oven and allow them to set in their moulds – if you try to remove them while they are warm they will break! Once the Kransekake are cool remove them from their moulds and set them aside while you make the icing.

12. To make the Royal Icing, place the egg whites in a bowl and slowly sift in the icing sugar in batches. In between each batch of sugar stir the icing with a wooden spoon or a balloon whisk until the icing thickens up.

13. Spoon the icing into a piping bag fitted with a small round writing nozzle.

14. Before you begin to decorate, sort the rings out into size order.

15. Place the largest ring onto your serving plate (you could use a bit of icing to adhere it to the plate and stop it from slipping around). Pipe a zig-zag pattern onto the ring and place the second largest ring on top. Repeat until all the rings have been neatly stacked.

16. To finish, spray the Kransekake with edible spray glitter. I made mine extra special by covering it in gold stars made from fondant icing.

I hope you all enjoy the Christmas season and have a go at my Christmas recipes this year, which also include my Gluten Free Gingerbread Cookies which I posted last Christmas, my Hazelnut Cranberry and Orange Biscotti and my Cointreau Christmas Cake.
DSC_0020
I am taking a well deserved Christmas break, but I will be back in the New Year with plenty more gluten free recipes for you all to try.  In the meantime, why not check out my out my Instagram page or my Facebook page to see what else I get up to over Christmas!

Wishing you all a very Merry Christmas and a Happy New Year!  xxx

Gluten Free American Style Chocolate Chip Cookies

Today I’m really excited to share with you my recipe for Gluten Free American Style Chocolate Chip Cookies!
image2-2
I’ve been having really bad cookie cravings since I caught a whiff of freshly baked cookies wafting out from Millie’s Cookies while I was walking around Westfield a few weeks ago…

I know you can buy gluten free cookies from the supermarket, but they’re not the same! You might think I am being picky, but supermarket versions are rather chunky and crunchy, not soft and chewy like the ones you can buy freshly made from bakeries.

I decided the only thing for it was to make my own and although I haven’t had a proper cookie in over three years, these cookies are exactly like what I remember! They have a slightly crunchy outside and a lovely soft and chewy centre bursting with chocolate chips.
image1
The trick to making the best chocolate chip cookies to make sure you don’t over bake them. I accidentally over baked the first few which made them a bit too hard, but if you take them out of the oven while they are still quite soft and leave them to set on the baking tray your cookies will retain their chewy centre.

Gluten Free American Style Chocolate Chip Cookies – GF/DF options

Ingredients
175g gluten free self raising flour
100g rice flour
2 tsp cornflour
A pinch of salt
150g butter, melted (or dairy free alternative like Stork Baking Block)
125g caster sugar
75g light brown sugar
2 tsp vanilla extract
2 egg yolks
1 tbsp milk
150g milk or dark chocolate chips (or dairy free alternative)

Method

1. In a large bowl, mix together the flours and the sugar.

2. Add the melted butter, vanilla extract, egg yolks and milk. Mix until all the ingredients are combined then fold through the chocolate chips.

3. Wrap the cookie dough in cling film, then chill the dough in the fridge for a few hours until it has firmed up.

4. Heat oven to 180 C/160 fan/gas mark 3.

5. Line two large baking trays with baking parchment.

6. Separate the dough into pieces that weigh approximately 35g each and roll each one into a ball shape.

7. Place the balls of dough on the prepared baking trays making sure you leave room for the cookies to spread out as they bake.

8. Bake the cookies for 12 – 15 minutes. The cookies should be golden brown and will remain quite soft – don’t be tempted to bake them for longer.  If the cookies have puffed up a bit, gently press them down with your fingers a few times towards the end of the bake so you don’t end up with cookies which are too dense and cake like.

9. Leave the cookies to firm up on the baking tray then carefully transfer them to a wire rack to cool completely.
image2
Tis almost the season to be jolly, so I will have plenty of Christmas recipes coming real soon. In the meantime, come and follow me over on Instagram or Facebook to see what else I’m getting up to!

Gluten Free Profiteroles (Inspired by ‘The Great British Bake Off’)

There’s only one week to go until the final of GBBO 2015 and we find out who the winner is. A few weeks ago I predicted that Ian, Tamal and Nadiya would be the remaining three bakers in the final, but it’s really hard to predict a winner because we all know that in the tent anything could happen! Tamal and Nadiya have been my favourites from the very beginning so I will be happy if either of them win.

Since my last post we have seen the remaining bakers tackle Patisserie in the Quarter-final and Chocolate in the Semi-final. Today I am going to share with you my recipe for gluten free Profiteroles which incorporates an element from both shows – Choux pastry and Chocolate!

image  
I always thought that Choux Pastry would be impossible to make gluten free but it’s actually very straight forward and not unlike making normal Choux!

I strayed slightly from the traditional method of making Choux by adding a small amount of baking powder – normally you would just use plain flour, but I’ve found that adding baking powder helps to give that extra little bit of oomph. This recipe is also Xanthan Gum free which is ideal for those who struggle to tolerate Xanthan Gum and other binding agents.

image

 Profiteroles – GF/DF options

For the Profiteroles:
60g gluten free plain flour
1/4 tsp baking powder
1 tsp caster sugar
55g unsalted butter (or dairy free alternative)
110ml cold water
1 to 2 eggs

For the filling:
350 ml double cream (or dairy free alternative)

For the topping:
100g good quality milk or dark chocolate (or dairy free alternative)
100ml double cream (or dairy free alternative)

1. Preheat the oven to 200 degrees C/Gas Mark 5.

2. Line two baking trays with greaseproof paper.

3. Sift together the baking powder and flour in a small bowl then set aside.

4. Place a heavy bottomed pan over a low to medium heat, add the water, sugar and butter and bring the ingredients to a gentle simmer.

5. Once the butter has melted, remove the pan from the heat and quickly beat in the flour until all the ingredients come together in a smooth ball.

6. Transfer the dough to a large mixing bowl and beat it gently for a few seconds with a wooden spoon to help release some steam – this will help the mixture to cool down.

7. In small bowl whisk the eggs to break up the yolks.

8. Once the pastry mixture is cool, add the eggs a bit at a time whilst beating with an electric hand mixer – don’t add the eggs whilst the mixture is hot or you will end up with scrambled eggs!

9. At first the mixture will look a little bit lumpy but keep beating and adding the egg bit by bit until the pastry becomes smooth. You won’t need to add all the egg and you want to avoid making the mixture too runny as it will be difficult to pipe – the mixture at the right stage should stretchy and have some elasticity when you remove the electric mixer.

10. Transfer the mixture to piping bag and pipe little blobs onto the baking sheets a few cm apart – you don’t need to be too neat.

11. Bake for 25 – 30 minutes until the profiteroles have puffed up and are golden brown in colour – they should be crispy and quite dark in colour or they will go soggy when you fill them.

12. Whilst the Profiteroles are in the oven, make the chocolate topping so that it has time to cool. Melt the chocolate slowly in a heatproof bowl over a pan of simmering water, then add the cream and whisk vigorously to incorporate the ingredients. Leave the mixture to cool in the fridge until required.

13. Remove the profiteroles from the oven and prick the base of each one with a cocktail stick to help release some steam. Transfer them to a wire rack to cool.

14. Whisk the cream with an electric hand mixer until it creates stiff peaks, then transfer to an icing syringe or a piping bag with a fine nozzle. Create a small hole in the base of profiterole and gently fill each one with cream – be careful not to do this too quickly as the the force could cause the pastry to tear.

15. Spread the cooled chocolate topping on the top of each profiterole, then arrange them onto a plate ready to be served!

I hope everyone is looking forward to the GBBO Final as much as I am, let me know what you’re going to bake in celebration in the comments below or come and see what I’m getting up to on Instagram or Facebook.

Gluten Free Marmalade and Yorkshire Tea Loaf

Happy 1st of August, or, as we Yorkshire folk like to call it – Yorkshire Day!

As a Yorkshire lass I had to come up with something special to celebrate today and what could be more appropriate than this Gluten Free Marmalade and Yorkshire Tea Loaf?
image
This loaf isn’t just the perfect accompaniment to a cup of tea, it actually contains tea, which helps to keep the cake nice and moist – what could be better and than a cake made out of tea?

The cake is also lightly flavoured with spicy ginger and orange and is smothered in a thick layer of marmalade glaze which, again, provides moisture and ensures the cake keeps well.

So, pop t’kettle, sit yer sen down and read on to find out how to make your very own Yorkshire Tea Loaf…

Marmalade and Yorkshire Tea Loaf – GF/DF options

Ingredients

100g sultanas
100ml Yorkshire Tea (hot and strongly brewed)
225g gluten free self raising flour
1 tsp baking powder
100g brown sugar
Zest of 1 orange
2 tsp ginger
50g butter, melted (or dairy free margarine)
3 tbsp, marmalade melted (1 tbsp for glazing the cake)
2 eggs

Method:

1. Preheat the oven to 160 C/140 C fan/gas mark 3 then grease and line a 2lb loaf tin with baking parchment.

2. Place the sultanas in a bowl, pour over the tea then leave to soak.

3. Into a large bowl, sift the flour and baking powder, then stir in the sugar, orange zest and ginger.

4. Add the eggs, melted butter and 2 tablespoons of the melted marmalade to the dry ingredients, then pour over the tea soaked sultanas and beat until all the ingredients are combined.

5. Pour the mixture into the prepared tin – don’t worry if the mixture is a little wetter than a normal tea loaf mixture should be as gluten free flour requires a little more moisture.

6. Bake for about 40 – 45 minutes until the cake is firm to touch.

7. Remove the cake from the oven and leave it to cool in the tin for a few minutes before turning it out onto a wire rack.

8. While the cake is warm spoon over the remaining marmalade – which you can reheat a little if it’s cooled down.

image

Happy Yorkshire Day!

Coeliac Awareness Week: Gluten Free Cheese Scones

Here in the UK it is Coeliac Awareness Week and to help raise awareness of this important campaign I am posting very simple Gluten Free recipes to help any newly diagnosed Coeliacs get started.

My first post was my Victoria Sandwich Recipe and today I will be sharing my recipe for Gluten Free Cheese Scones.
image
Scones are a true classic and a bake that should be in every baker’s repertoire. They are perfect for beginners (they were certainly the first thing I learnt to make) and possible to achieve Gluten Free – you just need to make sure the dough is moist enough!

Gluten Free Cheese Scones – GF/DF options

This recipe makes approximately 8 scones.

Ingredients:
250g gluten free self raising flour
1 tsp baking powder
75g butter, unsalted
A pinch of salt
75g mature cheddar, plus extra for the top.
2 eggs (one for glazing)
75ml milk (or dairy free alternative)

Method:

1) Preheat the oven to 220 C/200 fan C/gas mark 6.

2) In a large bowl, sift together the flour, baking powder and salt.

3) Rub together the butter and flour mixture until you have a breadcrumb like texture, then stir through the cheese.

4) Add an egg and start to bring the mixture together using a wooden spoon.

5) Add the milk bit by bit and use your hands to bring the mixture together in a smooth dough.

6) Lightly dust a work surface with flour then roll out the dough to 3/4cm thick – don’t roll out the dough too flat or you will have very flat scones!

7) Place the scones on a baking tray lined with greaseproof paper. Lightly brush the top of each scone with beaten egg then sprinkle over a little bit more cheese.

8) Bake the scones in a preheated oven for 15 – 18 minutes until they are golden brown.

9) Leave the scones to cool on a wire rack or enjoy warm with lashings of butter! To refresh the scones, sprinkle them with a little cold water and gently warm them in the oven.

Please don’t forget to check out my Victoria Sandwich Recipe for Coeliac Awareness Week or if you are looking for more inspiration take a look at my Recipes Page.

You can also keep up to date with my kitchen adventures on:
Instagram: https://instagram.com/titchyton/
Facebook – https://www.facebook.com/titchyton