I am often asked by vegan friends to make a birthday cake suitable for vegans, and this chocolate sponge recipe is the one I go to every time because it never fails to please. I’ve served this cake to both vegans and none vegans and they are always so surprised that is just like “normal” cake, AND that it’s gluten free!

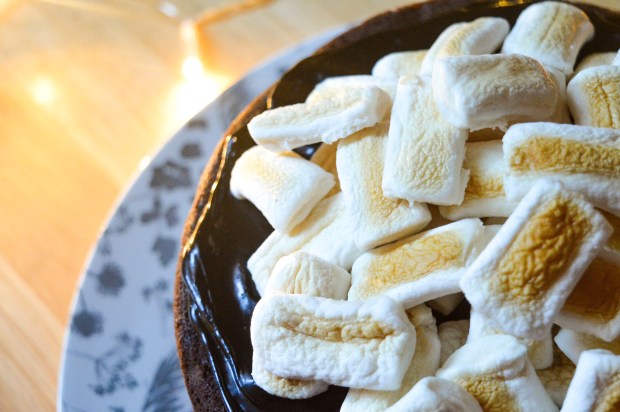
I came across vegan marshmallows at my local supermarket and I really wanted to come up with a fun way to use them in a bake. I’m a big fan of S’mores, so I decided to combine them with my vegan chocolate cake recipe to make a Vegan S’mores Cake.
Freedom Mallows are really similar to “real” marshmallows in both taste and texture. When I toasted them they lost their shape a little, but they are so close to the real thing I hardly think that matters. I found them in Sainsbury’s, but they can also be found in Holland and Barratt or online.

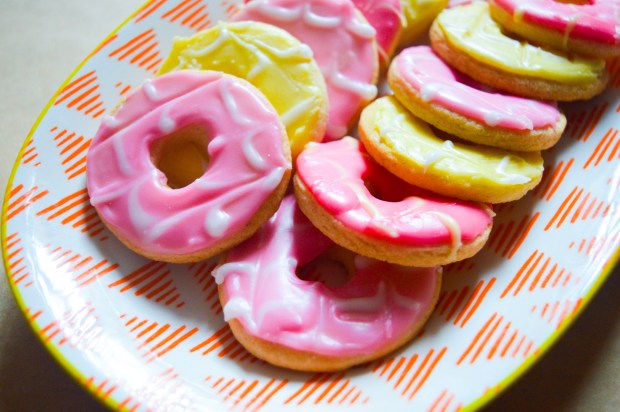
If you’re looking for a cake that is suitable for a party with guests who have multiple allergies, intolerances or requirements then this is the recipe for you. It definitely has the “wow” factor required for a birthday cake or special occasion – no need to prepare more than dessert with this easy crowd pleaser!
Gluten Free and Vegan S’mores Cake
Ingredients
For the sponge:
300g gluten free self-raising flour
50g cocoa powder
200g caster sugar
2 tsp baking powder
375ml sweetened soya milk
150ml sunflower oil
For the frosting:
75g cocoa powder
75g golden syrup
50g dairy free butter
To decorate:
150g vegan marshmallows (I used Freedom Mallows)
Method
1) Preheat the oven to 180 C/160 C fan/gas mark 4.
2) Grease and line three 7 inch sandwich tins with greaseproof paper.
3) In a large bowl, mix together the cocoa powder, gluten free flour, caster sugar and baking powder until combined.
4) Whisk together the oil and soya milk in a separate bowl, then add this to the dry ingredients. Whisk until the ingredients are just combined and quickly pour the batter into the prepared tins.
5) Tap the tins gentle on the work surface to get rid of any air bubbles and bake for 15 minutes or until the cake is firm to touch and cooked right through.
6) Leave the cakes to cool slightly in their tins, before turning them out onto a wire rack to cool.
7) To make the frosting, melt together the butter and golden syrup in a small pan over a medium heat. Sift in the cocoa powder and stir until combined. Remove the pan from the heat and leave to cool – the mixture will become less runny and spreadable as it cools down.
8) To Assemble the cake, place one of the sponges on a serving plate then spread a third of the frosting over the top. Repeat with the remaining sponges until you have all three sponges stacked on top of each other – there should be a layer on frosting on top.
9) Spread the marshmallows out across baking tray lined with greaseproof paper. Grill the marshmallows for 30 – 60 seconds or until golden brown – keep an eye on them so they don’t burn.
10) Leave the marshmallows to cool slightly, then pile them on top of the cake.
I love seeing your take on my recipes, so remember to share a snap of your S’mores cakes over on Facebook, Twitter or Instagram using the hashtag #titchytonbakes.


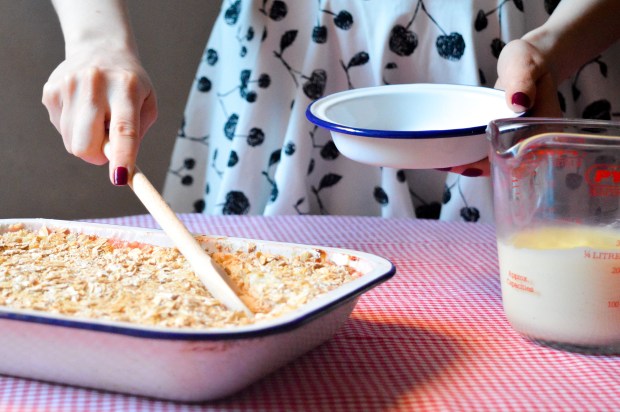


 When it comes party food, I think the prep needs to be as simple as possible – both of these recipes can be prepared in advance and finished off just before serving, giving you plenty of opportunity to mingle amongst your guests.