Coeliac Awareness Week: Gluten Free Cheese Scones

Here in the UK it is Coeliac Awareness Week and to help raise awareness of this important campaign I am posting very simple Gluten Free recipes to help any newly diagnosed Coeliacs get started.

My first post was my Victoria Sandwich Recipe and today I will be sharing my recipe for Gluten Free Cheese Scones.
image
Scones are a true classic and a bake that should be in every baker’s repertoire. They are perfect for beginners (they were certainly the first thing I learnt to make) and possible to achieve Gluten Free – you just need to make sure the dough is moist enough!

Gluten Free Cheese Scones – GF/DF options

This recipe makes approximately 8 scones.

Ingredients:
250g gluten free self raising flour
1 tsp baking powder
75g butter, unsalted
A pinch of salt
75g mature cheddar, plus extra for the top.
2 eggs (one for glazing)
75ml milk (or dairy free alternative)

Method:

1) Preheat the oven to 220 C/200 fan C/gas mark 6.

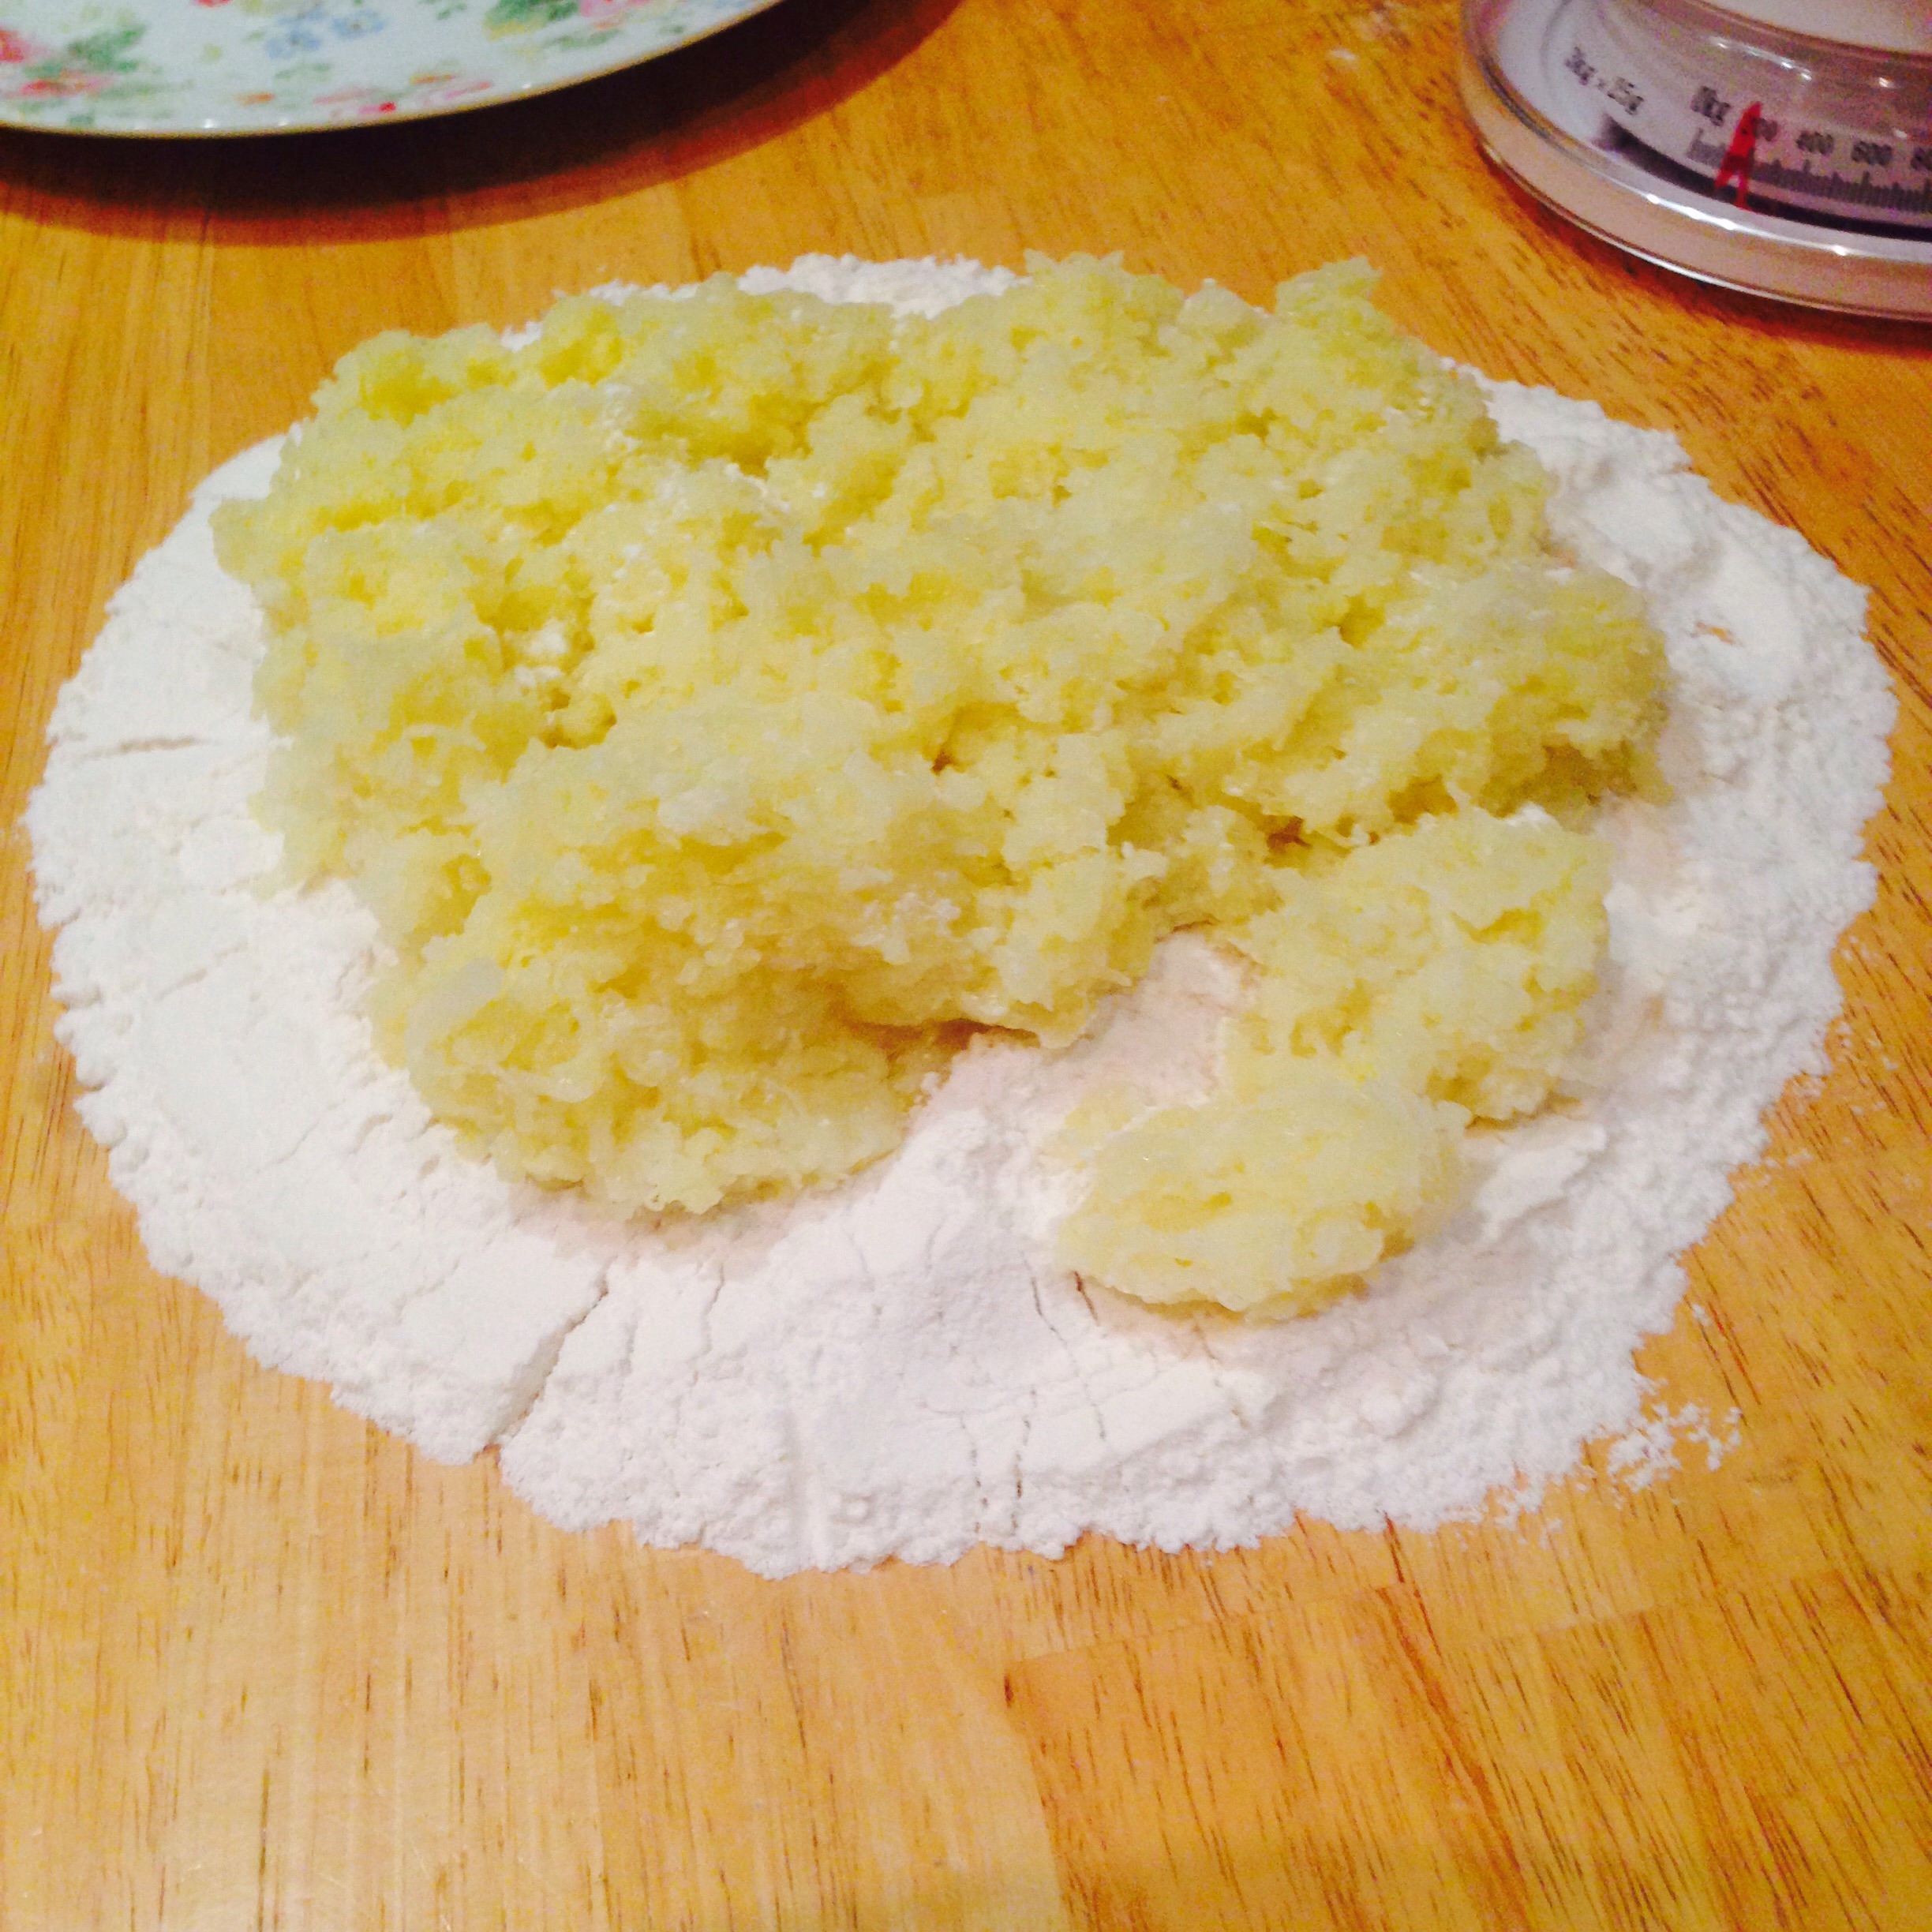
2) In a large bowl, sift together the flour, baking powder and salt.

3) Rub together the butter and flour mixture until you have a breadcrumb like texture, then stir through the cheese.

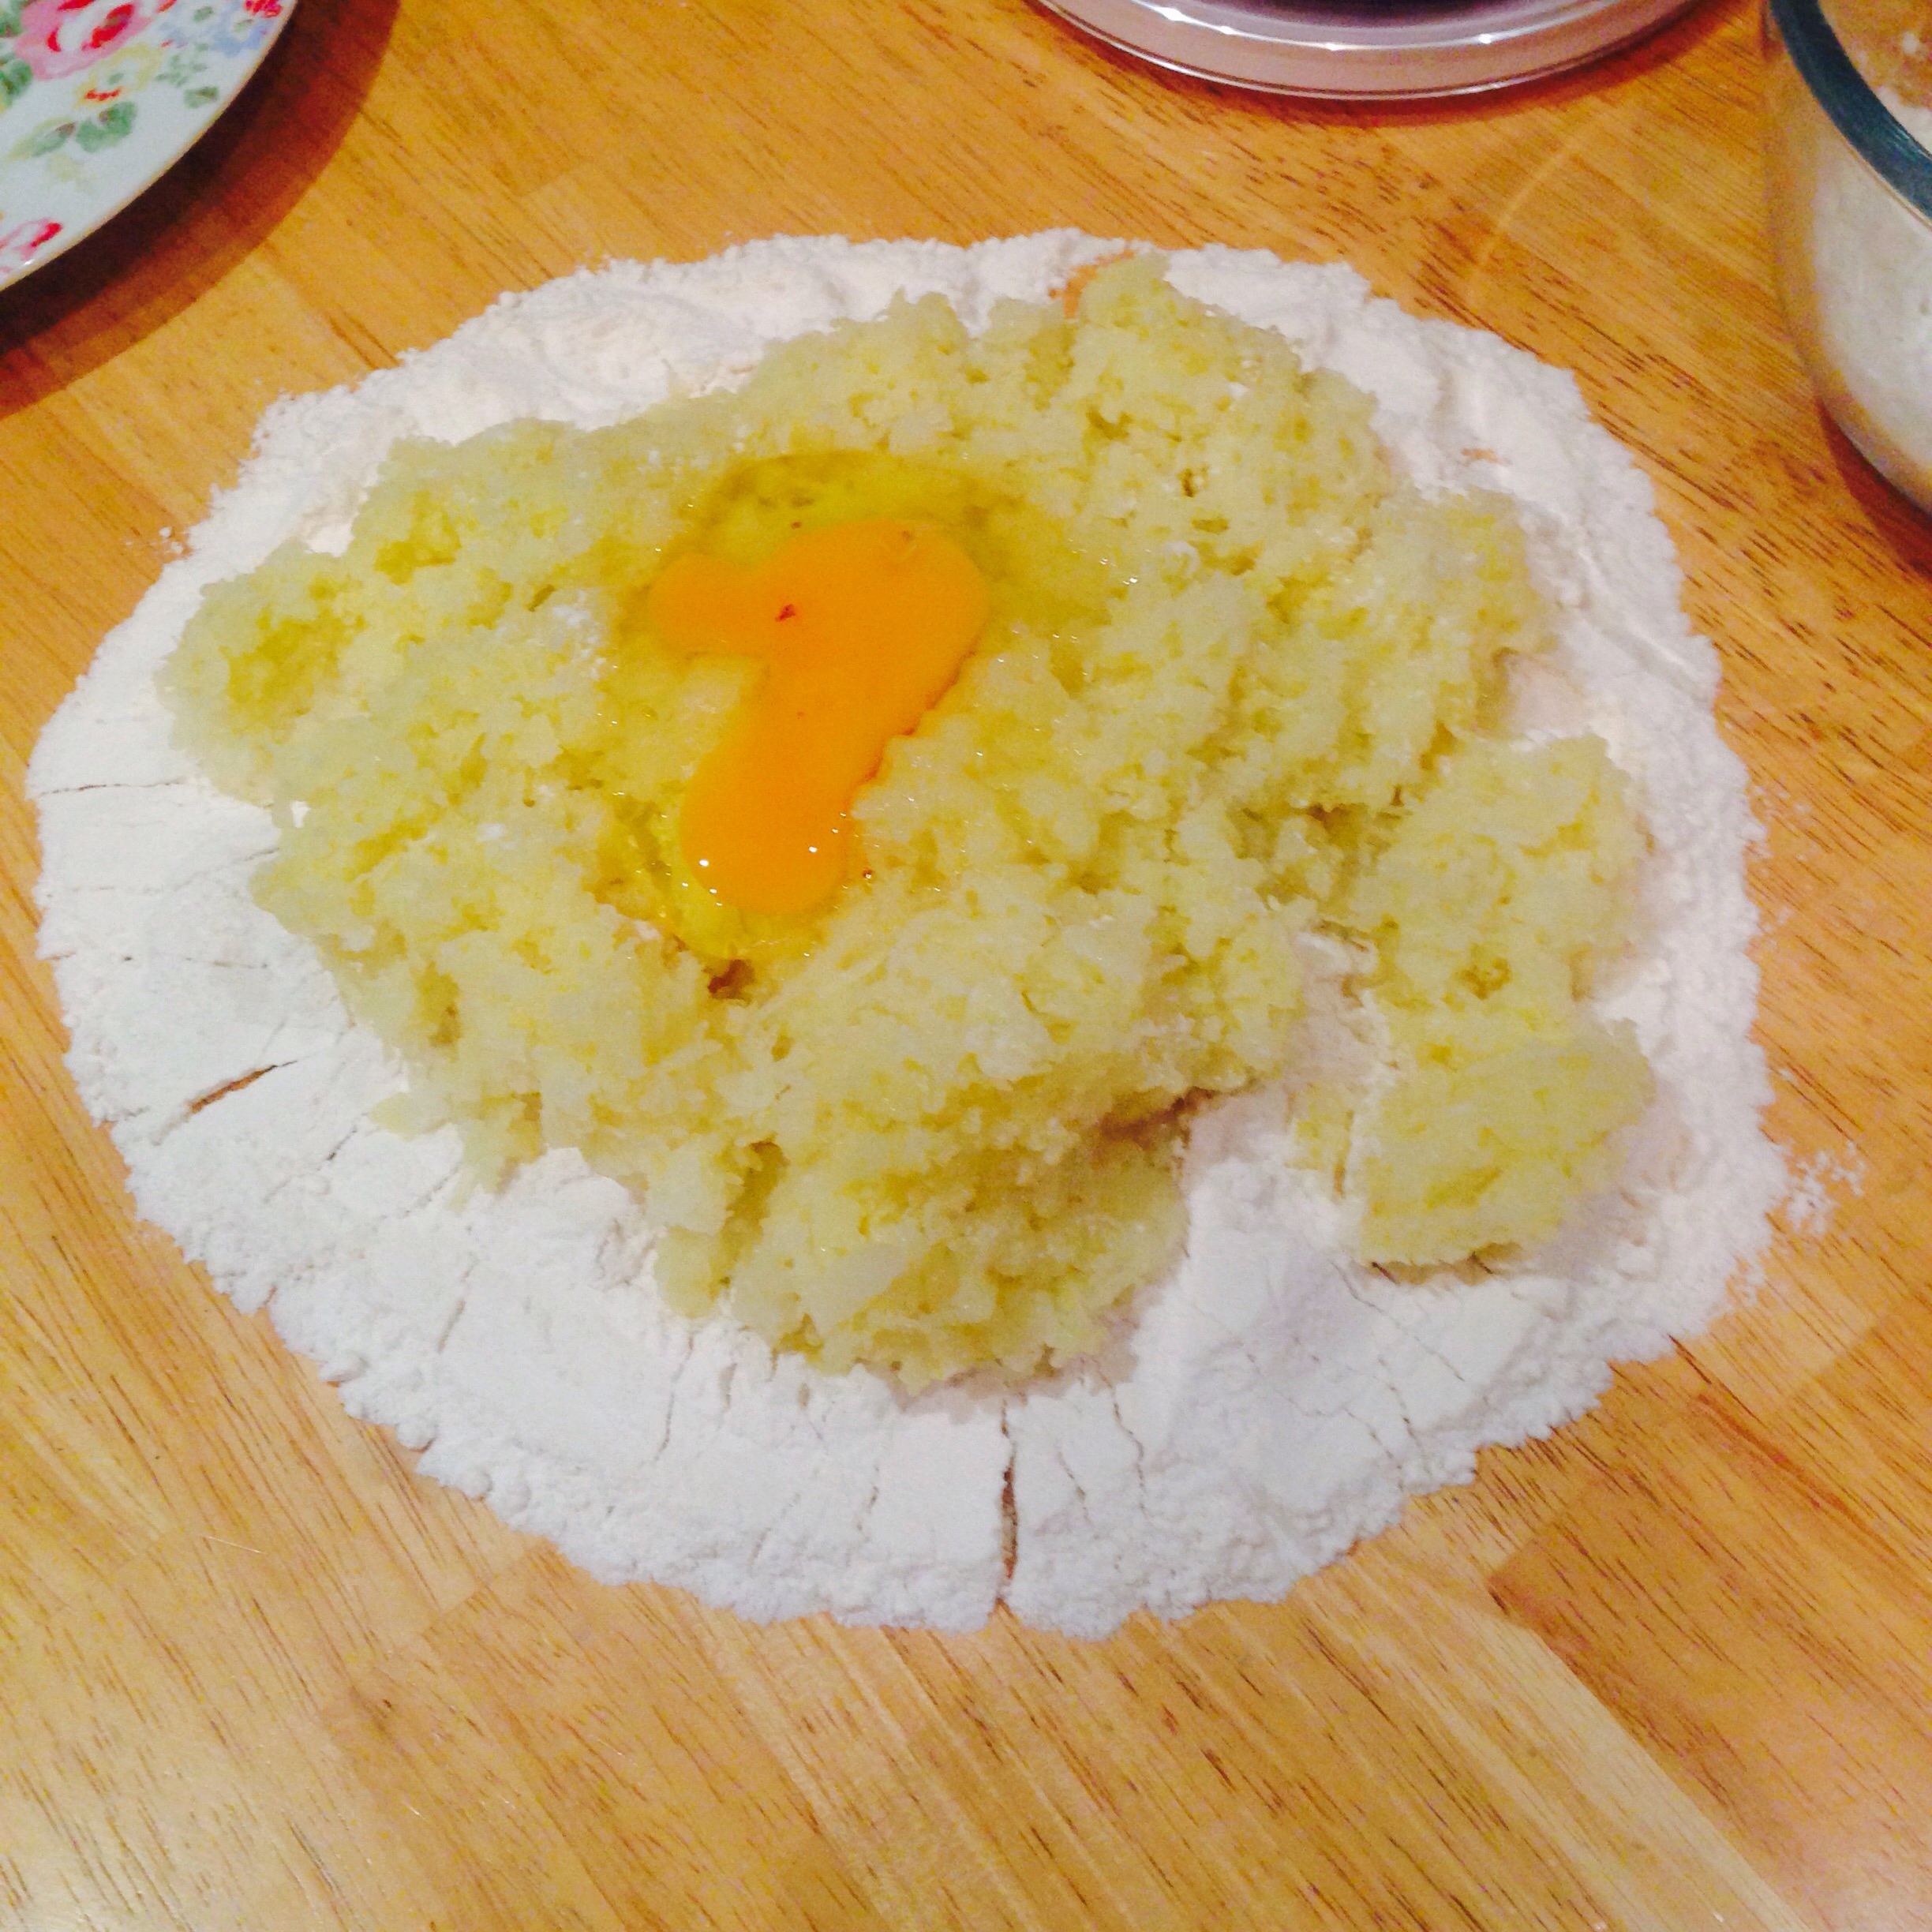
4) Add an egg and start to bring the mixture together using a wooden spoon.

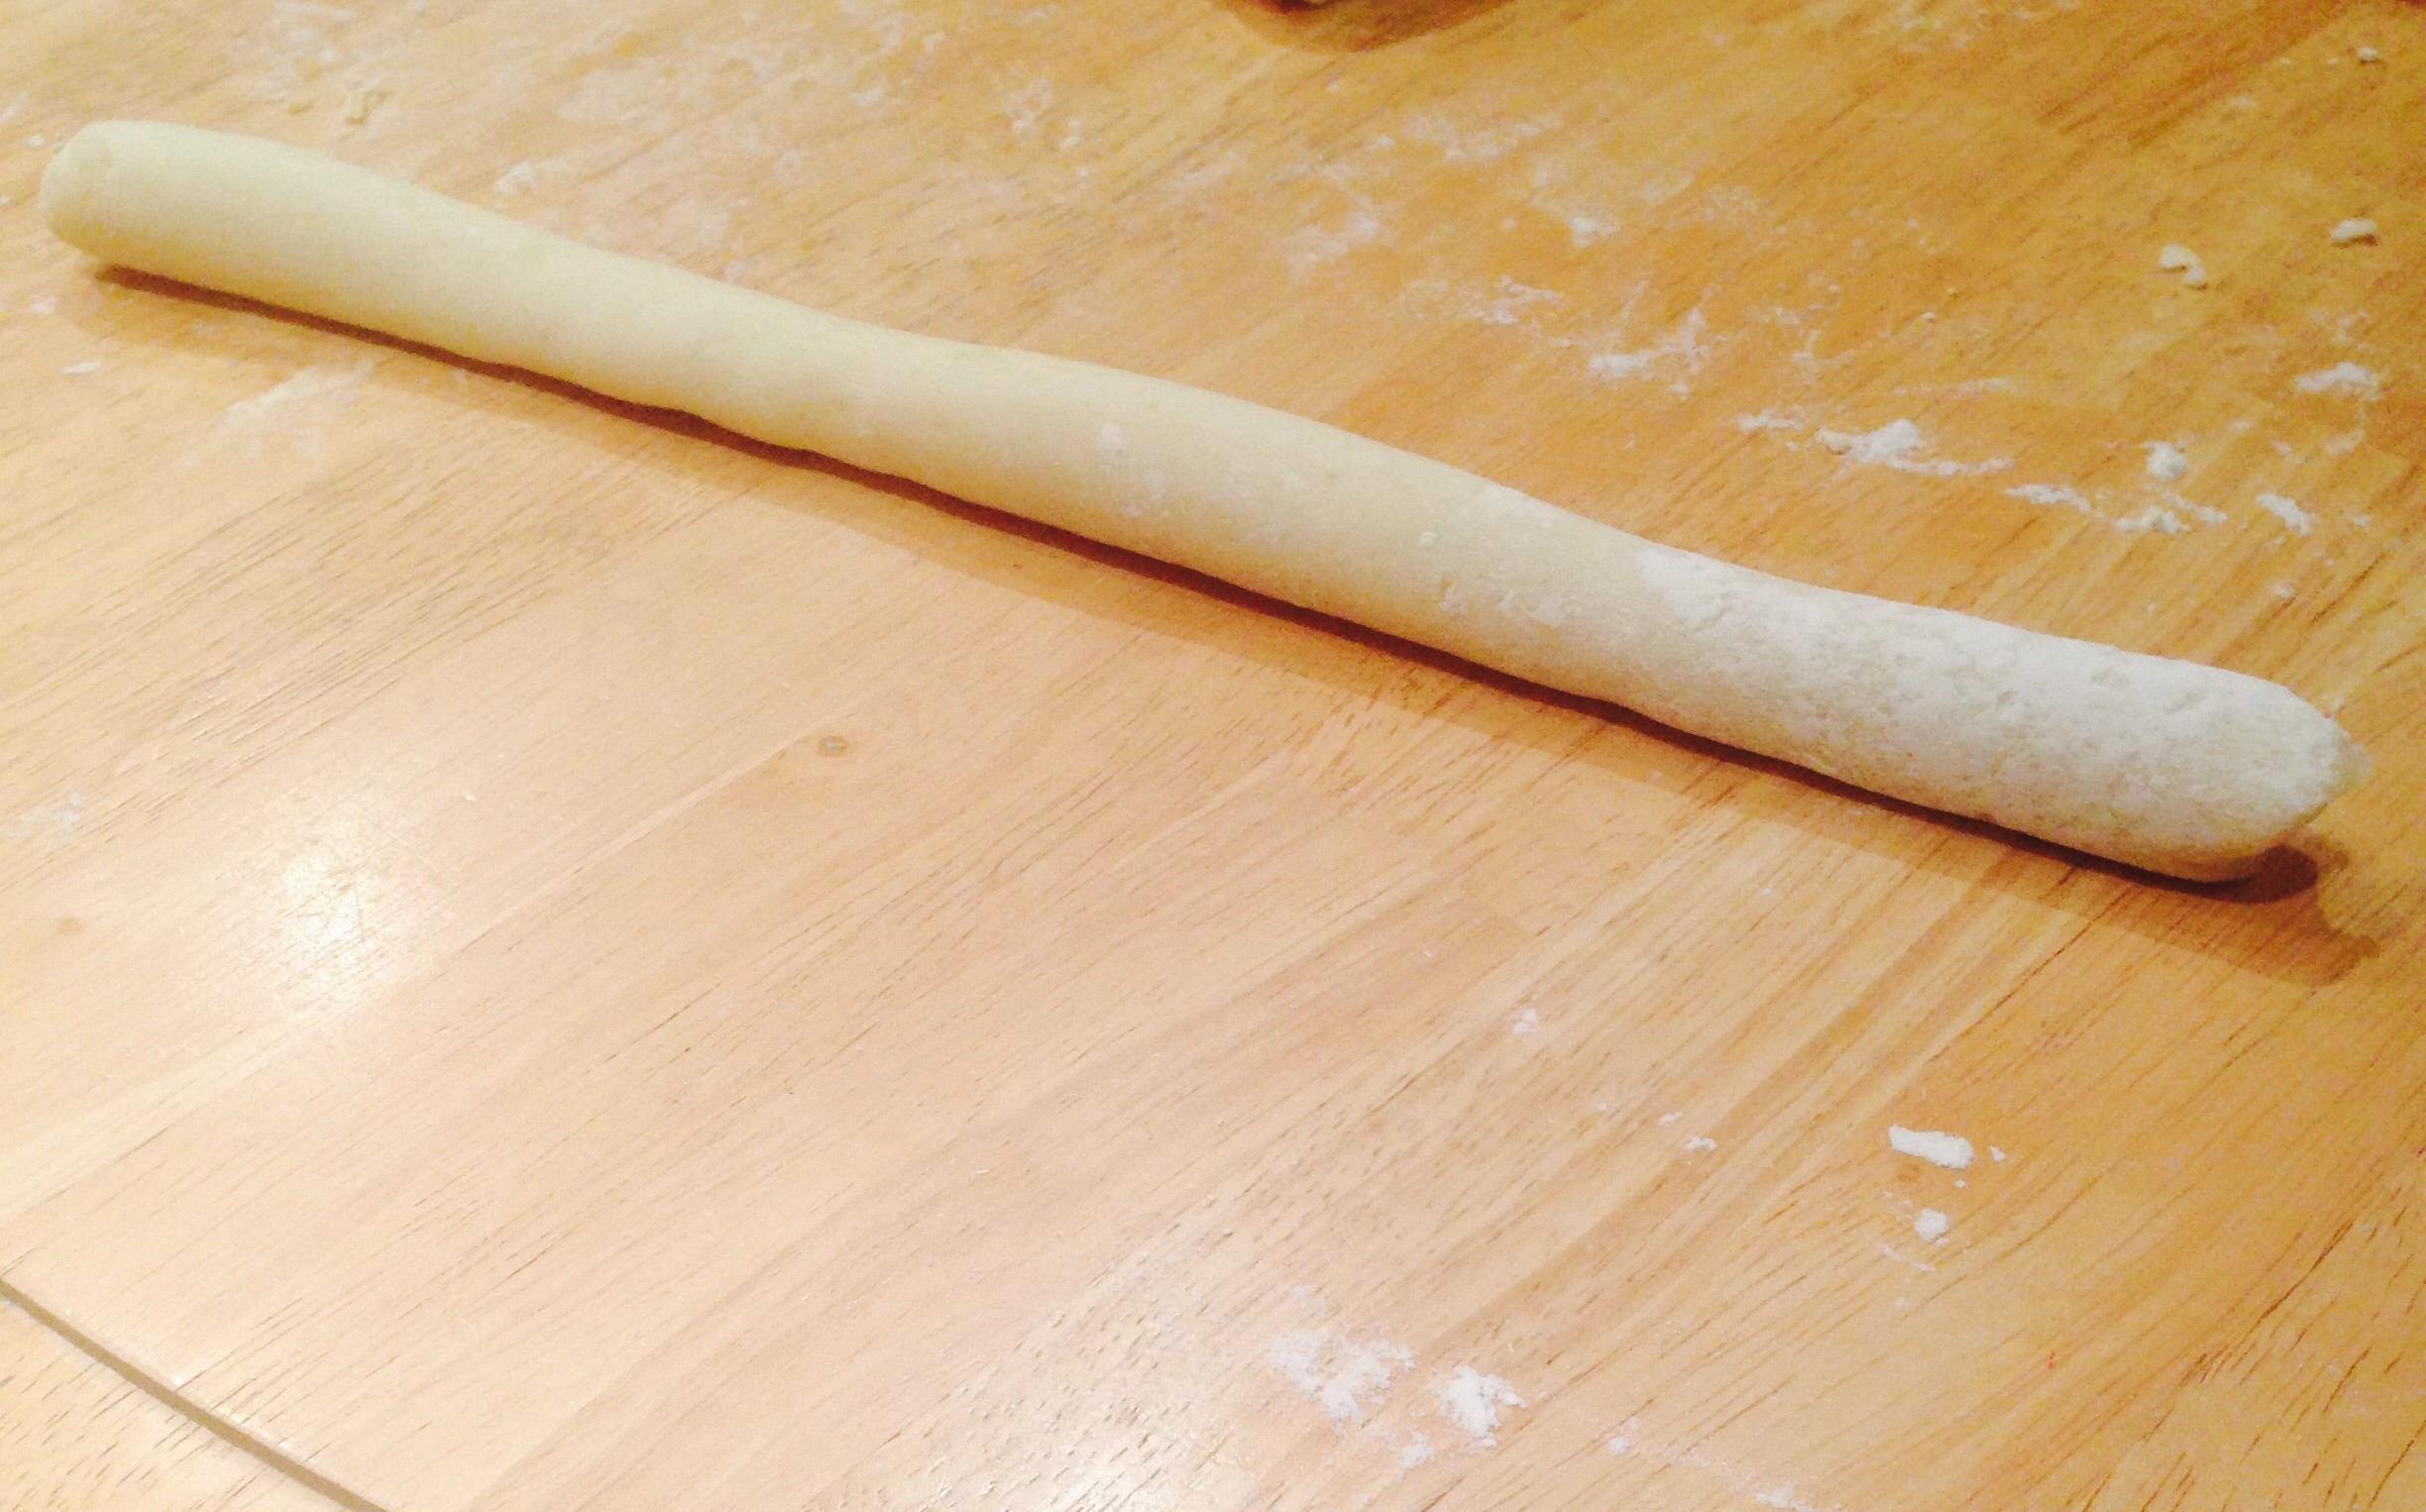
5) Add the milk bit by bit and use your hands to bring the mixture together in a smooth dough.

6) Lightly dust a work surface with flour then roll out the dough to 3/4cm thick – don’t roll out the dough too flat or you will have very flat scones!

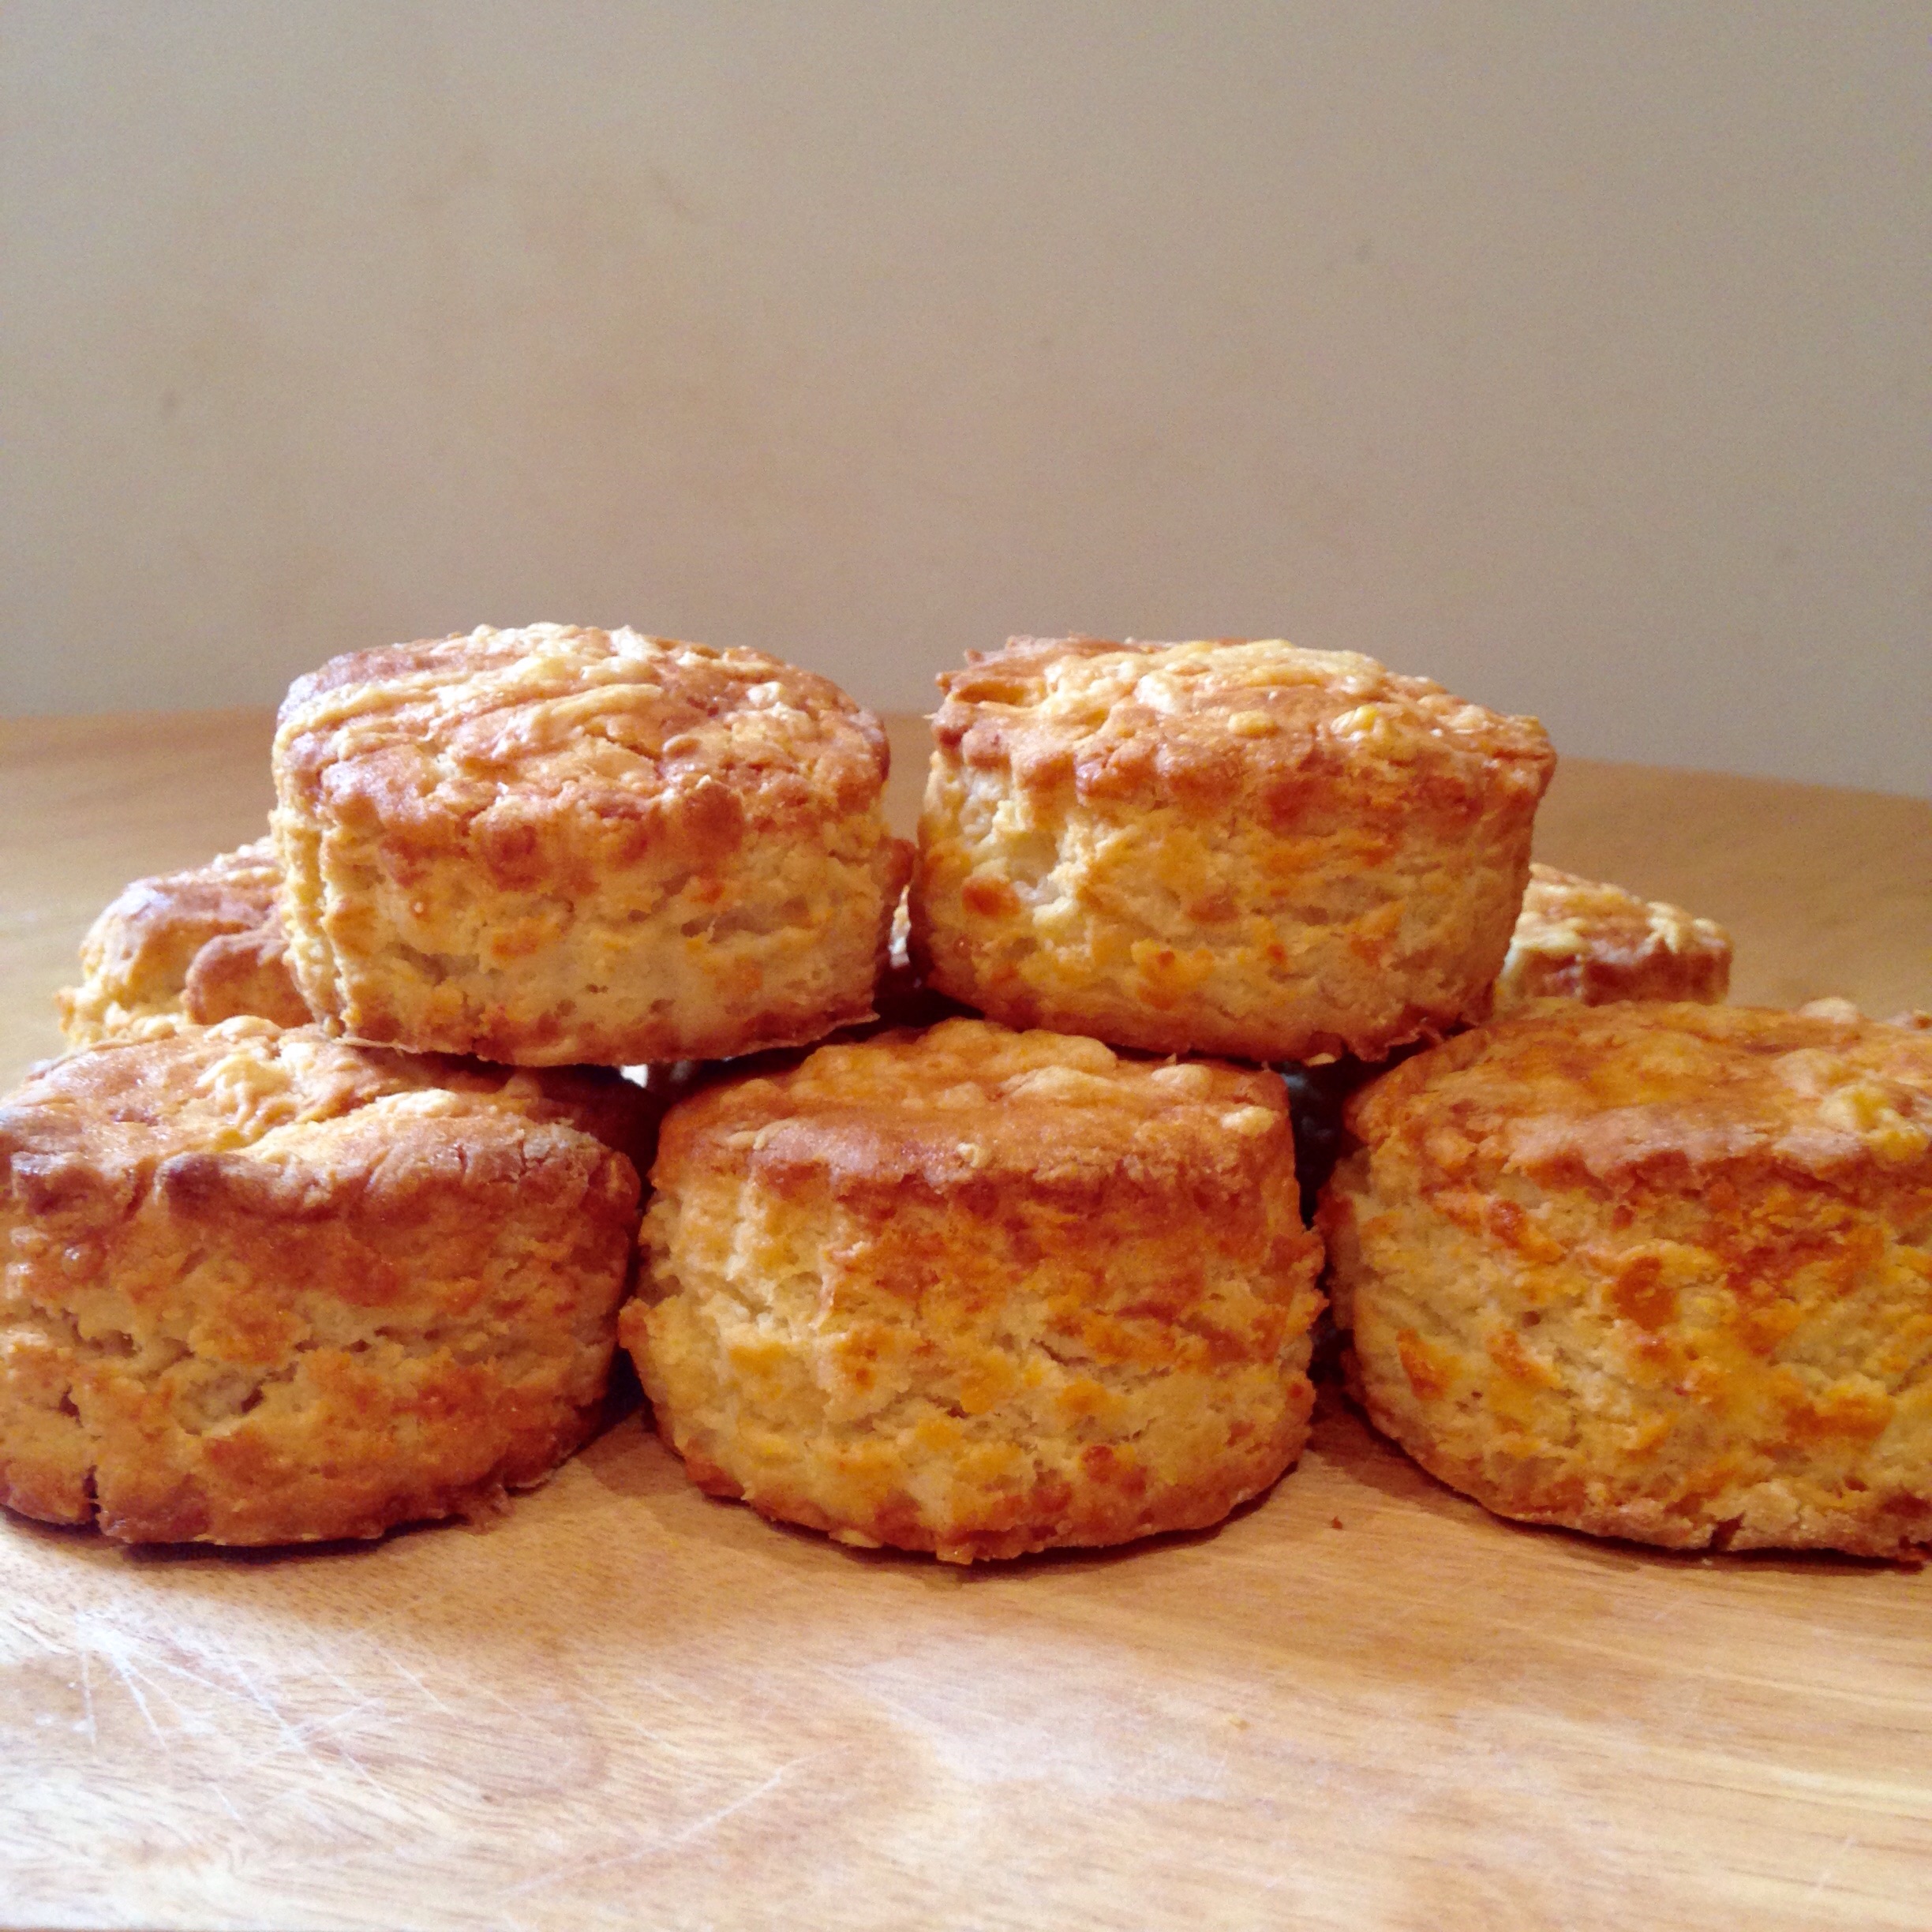
7) Place the scones on a baking tray lined with greaseproof paper. Lightly brush the top of each scone with beaten egg then sprinkle over a little bit more cheese.

8) Bake the scones in a preheated oven for 15 – 18 minutes until they are golden brown.

9) Leave the scones to cool on a wire rack or enjoy warm with lashings of butter! To refresh the scones, sprinkle them with a little cold water and gently warm them in the oven.

Please don’t forget to check out my Victoria Sandwich Recipe for Coeliac Awareness Week or if you are looking for more inspiration take a look at my Recipes Page.

You can also keep up to date with my kitchen adventures on:
Instagram: https://instagram.com/titchyton/
Facebook – https://www.facebook.com/titchyton

Gluten Free ‘HP Sauce’

Today I had a bacon Sandwich with HP Sauce for the first time in almost 3 years… it was glorious!

DSC_0125

If you asked me which foods I miss the most since giving up gluten, top of my list would be HP Sauce – a staple condiment on the British dinner table.

It has always been my favourite, and is a firm fixture on my family’s dinner table. In fact, we couldn’t live without it so much that we would take it on holiday to Italy with us – that, and Yorkshire Tea!

I was upset once I realised I could no longer eat HP Sauce as it contains malt vinegar… but, I am a firm believer that with creativity it’s possible to eat everything thing I used to before, and so, I decided it was finally time to attempt making my own HP Sauce. The aim? To make it as close to the real deal as possible.

DSC_0126

Gluten Free HP Sauce – GF/DF/EF

This recipe makes approximately 500ml.

You will need one 550ml Glass Preserve Bottle or a Twist Top Bottle which you will need to Sterilise as follows:

1. Remove the wax seal or lid. Wash the bottle in hot soapy water, rinse well then and leave to dry.
2. Place the bottle in an oven on a low temperature (140 degrees C/ Gas Mark 1) for 15 minutes, do this shortly before the sauce is ready so that the bottle remains warm.
3. Sterilise the wax seal or lid in a pan of boiling water for 10 minutes.
4. If you are using a clip top bottle, replace the wax seal once the bottle has been sterilised.

Ingredients:

1 tbsp olive oil
4 shallots, finely chopped
2 garlic cloves, finely chopped
65g dates, with the stones removed and chopped.
2 tbsp tomato puree
250 ml water
1 tsp ground ginger
1 tsp ground cinnamon
1/2 tsp turmeric powder
1 tsp ground pepper
50ml apple juice
150ml cider vinegar
50ml balsamic vinegar
1 tbsp molasses or black Treacle
1/2 tbsp dark brown sugar
1 tbsp cornflour

Method:

1) Heat the olive oil in a large heavy bottomed pan over a medium heat.

2) Fry the shallots and garlic for 4 -5 minutes until soft, then add the dates and 150 ml of the water.

3) Using a hand blender, blend the ingredients into a thick paste.

4) Add the another 50 ml water (you should still have 50 ml left for later), tomato puree, ginger, cinnamon, ground pepper, and turmeric powder. Give it a good stir and then simmer the ingredients over a low heat for 10 minutes.

5) Remove the pan from the heat, then press the mixture through a sieve with a wooden spoon into a clean pan.

6) Add the remaining water, apple juice, cider vinegar, balsamic vinegar, molasses and sugar then return the pan to the heat and boil the sauce for 5 minutes.

7) Place the cornflour into a small bowl, then add a few tablespoon of liquid from the sauce to to make a paste.

8) Add the cornflour paste to the sauce and then whisk with a balloon whisk to ensure there are no lumps.

9) Boil the sauce for a further 4 minutes whilst whisking continuously.

Tip. Don’t worry if there are a few lumps after you’ve added the cornflour – just sieve the sauce again.

10) Remove the sauce from the heat and leave to cool slightly before carefully pouring the sauce into your sterilised bottle –  you may need to use a funnel to help you do this safely.

11) Leave the sauce to cool before storing -the sauce should keep up to 3 – 4 weeks in the fridge.

I hope you give my recipe a try this weekend. If you are looking for Gluten Free inspiration you can check out all the recipes I have posted to date on my Recipes page.

Remember that you can also keep up to date with all my kitchen adventures on:
Instagram or on my Facebook page.

Gluten Free Baked Beans

Hooray, it’s the weekend! And what could be a more perfect weekend recipe than homemade Gluten Free Baked Beans?
image
I know what you are thinking – ‘You can get baked beans out of a tin!’ – but nothing beats homemade baked beans, especially as part of a lovely English Breakfast at the weekend. Some tinned baked beans often include lots of additives and not all brands are gluten free.

The recipe is incredibly quick, so if you are looking for an easy and effort free way to make your weekends breakfasts more special, you’ve found it!

Gluten Free Baked Beans – GF/DF/EF

Ingredients:
1 tbsp sunflower Oil
1 onion, finely chopped
1 garlic clove, finely chopped
1 400g tin of plum tomatoes
1 tbsp of tomato purée
200 ml of gluten free vegetable stock
1 tsp paprika
1 tsp brown sugar
1 tsp English mustard
1 tbsp red wine vinegar
400g (x 2 tins drained) haricot beans
Salt & pepper to season.

Method:

1) Blend the tomatoes in a food processor and set aside for later.

2) Heat the oil in a large sauce pan over a medium heat then fry the onion and garlic until the onions are soft.

3) Add the tomato purée, tomatoes, stock, paprika, sugar, mustard and red wine vinegar then cook the sauce at a gentle simmer for 5 minutes to help the sauce thicken.

4) Drain the beans then add them to sauce. Continue to simmer for a further 5 minutes until the sauce has thickened.

5) Season with salt and pepper, then your baked beans are then ready to serve!

I served mine as part of a delicious English Breakfast, but you could serve them with chips, wedges, jacket potatoes or just plain old beans on toast!

This recipe makes quite a nice large batch, so leftovers can be frozen in individual portions, which are handy to have stashed in the freezer for when you are in a rush.

Gluten Free Gnocchi

I have always been a keen baker, but I can’t say I have always been the most confident cook – until I gave up gluten!

When I started my Gluten Free diet over two years ago I decided to become a better cook, believing that if I had better cooking skills I would find a way to eat everything I used to before.  What I didn’t expect was how enthusiastic I would become about food and how much it’s taken over my life. I love experimenting to find away to eat ‘normal’ dishes and this newfound enthusiasm has prevented me from feeling down about the food I can’t eat.

Now, as well as baking all the sweet treats I love, I have started to develop savoury recipes and today I’m going to share with you one of the first savoury recipes on my blog, this very easy Gluten Free Gnocchi recipe.

image
Making food from scratch is so rewarding but can often be very time consuming. I’m pleased to say this recipe is very quick as you only need 4 ingredients and you won’t require any specialist equipment. Gnocchi also cooks in a matter of minutes, making it a quicker option than pasta.

Gluten Free Gnocchi – GF/DF
Serves 3 – 4 people.

Ingredients:
800g potato (approximately 2 Large Potatoes)
200g all purpose gluten free flour
1 large egg
1/2 tsp Salt

Method:

1) Peel and cut the potatoes into similar sized chunks to ensure the potatoes cook evenly.

2) Place the potato into a steamer and cook for approximately 20 mins until it starts to become soft – but do not over cook.

You can boil the potatoes but I prefer to use a steamer as it prevents the potatoes from soaking up too much moisture. If you boil the potatoes you will need to ensure you drain the potatoes well and soak up any excess moisture with paper towels.

3) Drain the potatoes and leave them to cool on kitchen paper in order to help them dry out.

4) Finely grate the cooled potatoes – you can also use a potato ricer.

5) Place the flour and salt onto a clean work surface, make a well in the middle of the flour for the potatoes, then add the egg.
image     image
6) Use your hands to work the ingredients together until it starts to form a smooth dough.
7) Work the dough into a rectangle and then cut the dough into slices using a dough cutter.
image
8) Roll out each piece of dough into a ‘rope’.
image
9) Cut each rope into inch long pieces.
image
1
0) Roll each piece up into a ball then indent them with a fork to create the classic gnocchi indentation.
image
11) Place the Gnocchi in boiling water and cook for 2 – 3 minutes – you will know the Gnocchi is cooked when they float to the surface. Remove the Gnocchi from the heat immediately and drain to prevent it from over cooking.

Gnocchi is so versatile, so you can experiment with a variety of toppings. I like to top mine with tomato sauce and mozzarella cheese then gently bake it in the oven to create a Gnocchi Bake.  Delicious!