Gluten Free Christmas: Hazelnut, Cranberry and Orange Biscotti Recipe

It’s December which means one thing and one thing only… IT’S CHRISTMAS!!!

We are only a week into December and my friends have already accused me of Buddy The Elf levels of excitement at least a hundred times… but I can’t help it because Christmas is my favourite time of the year!
image1
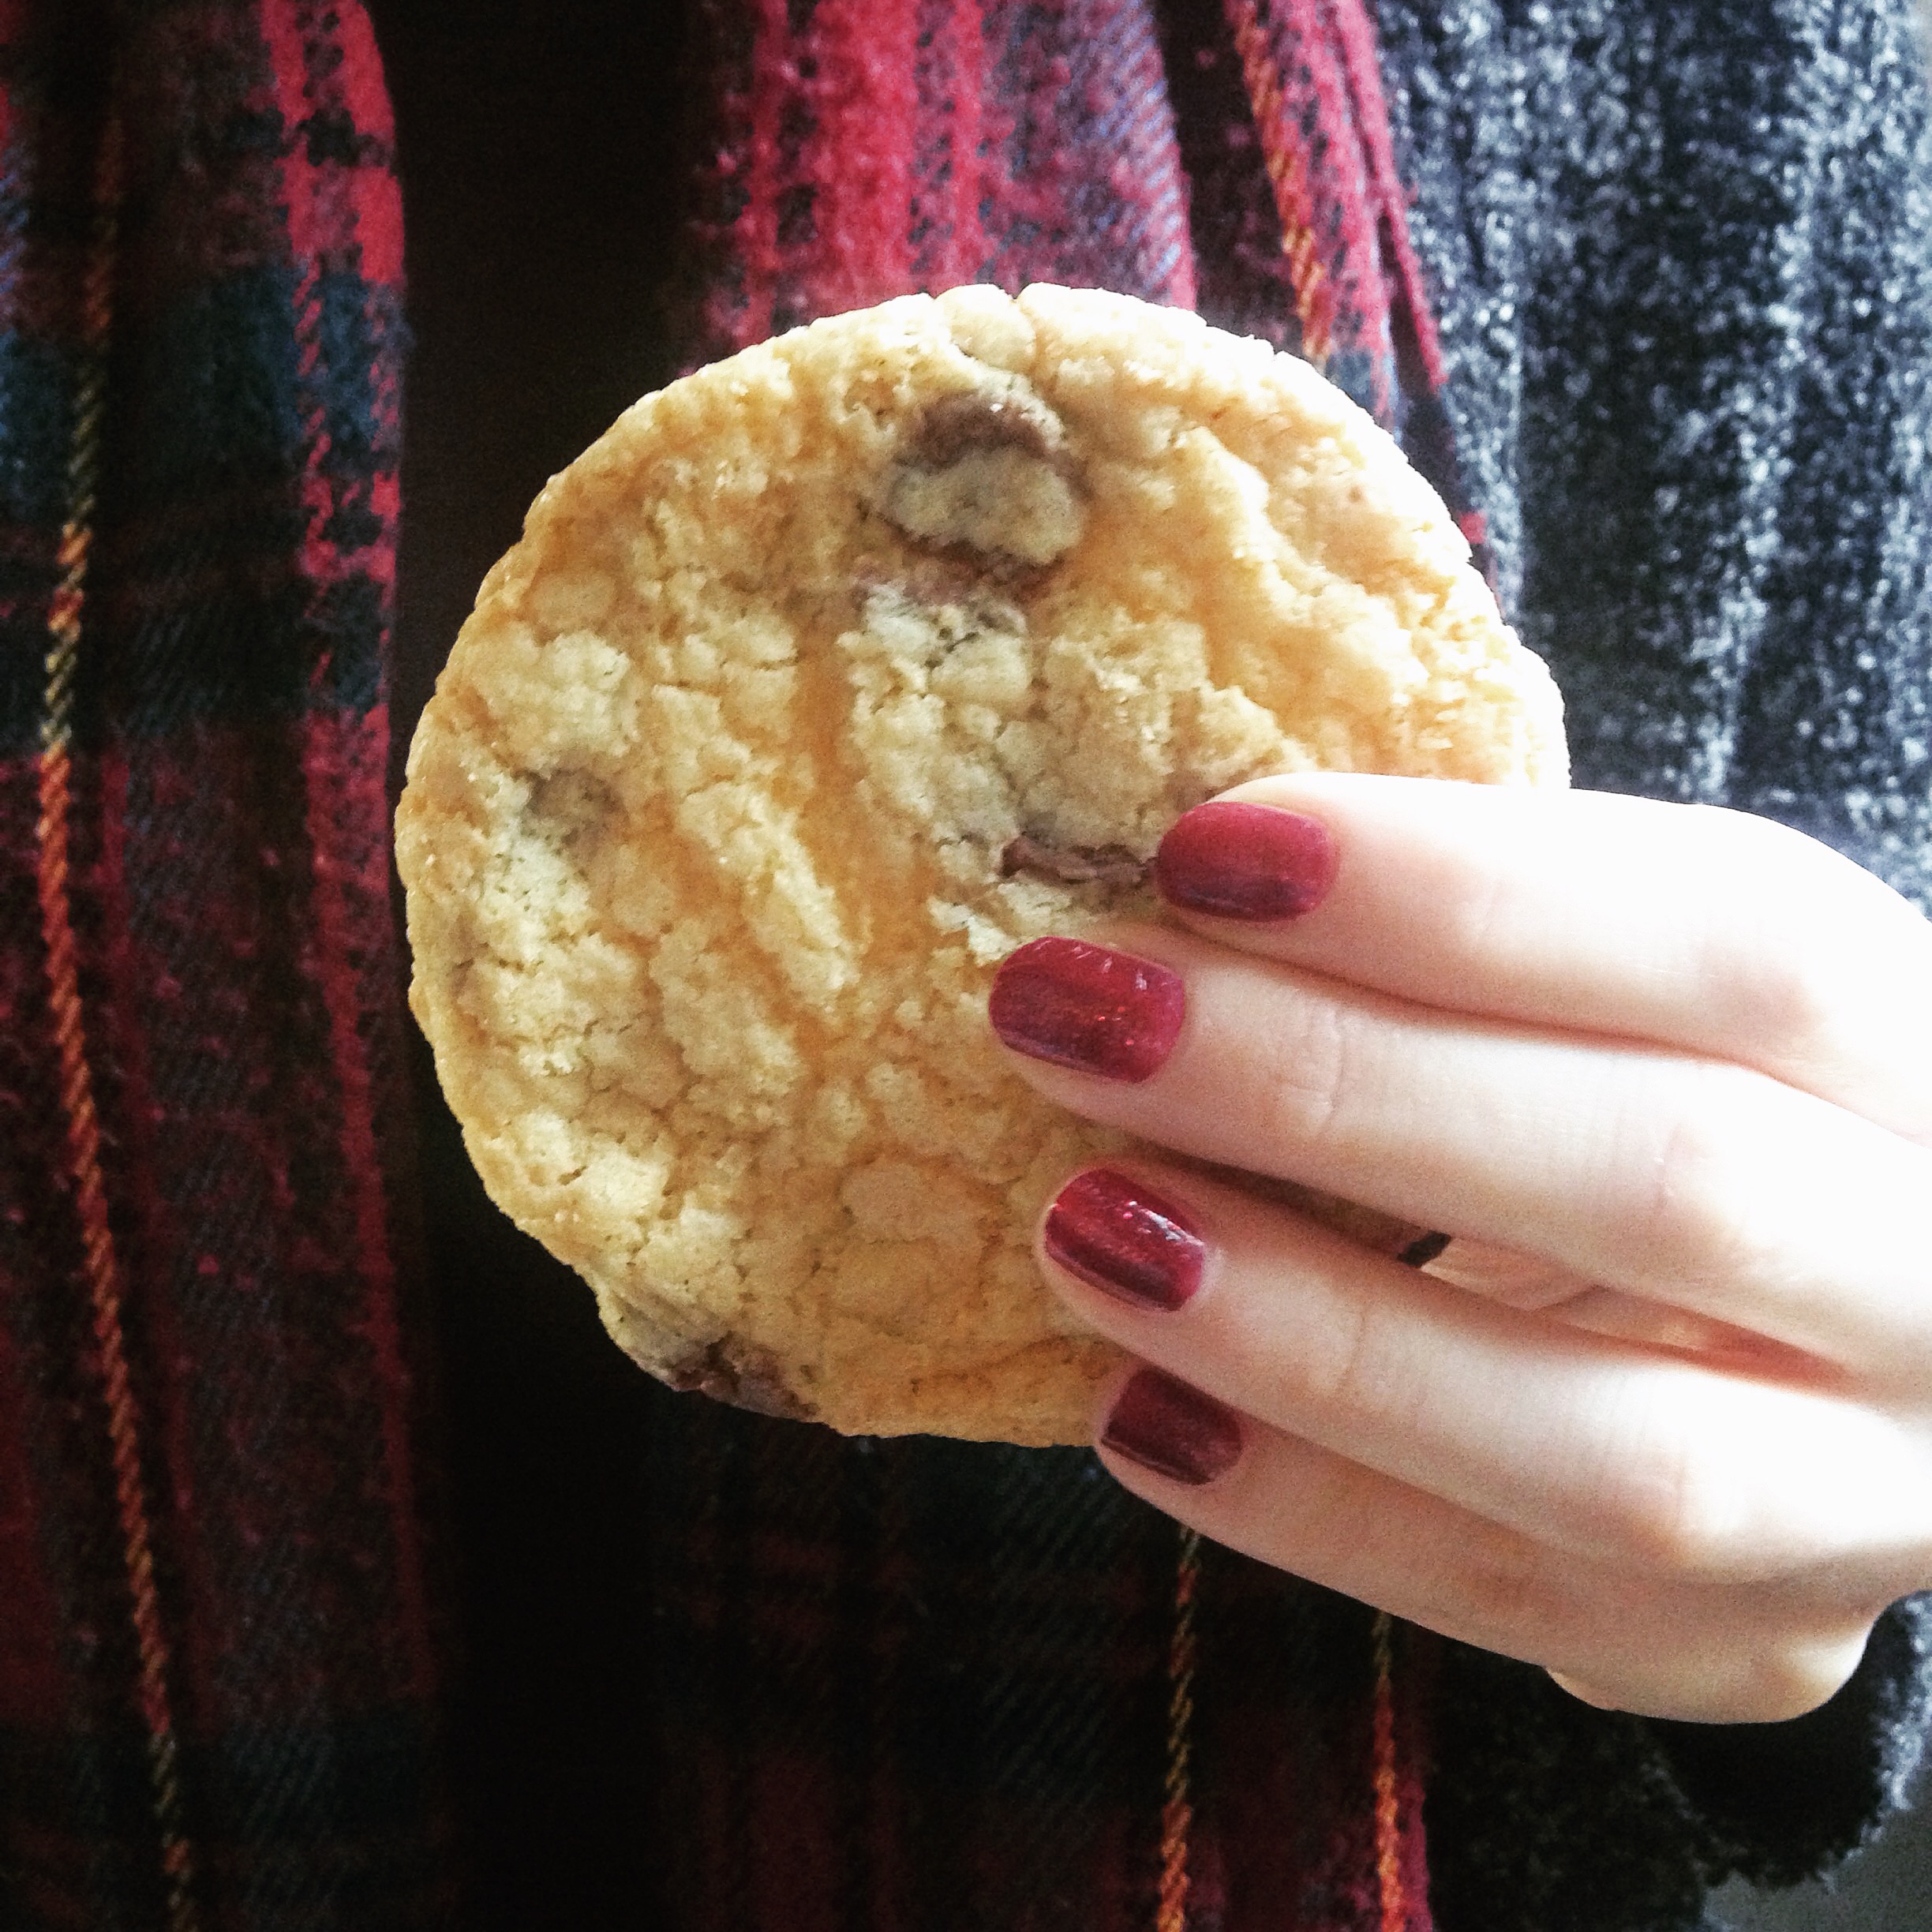
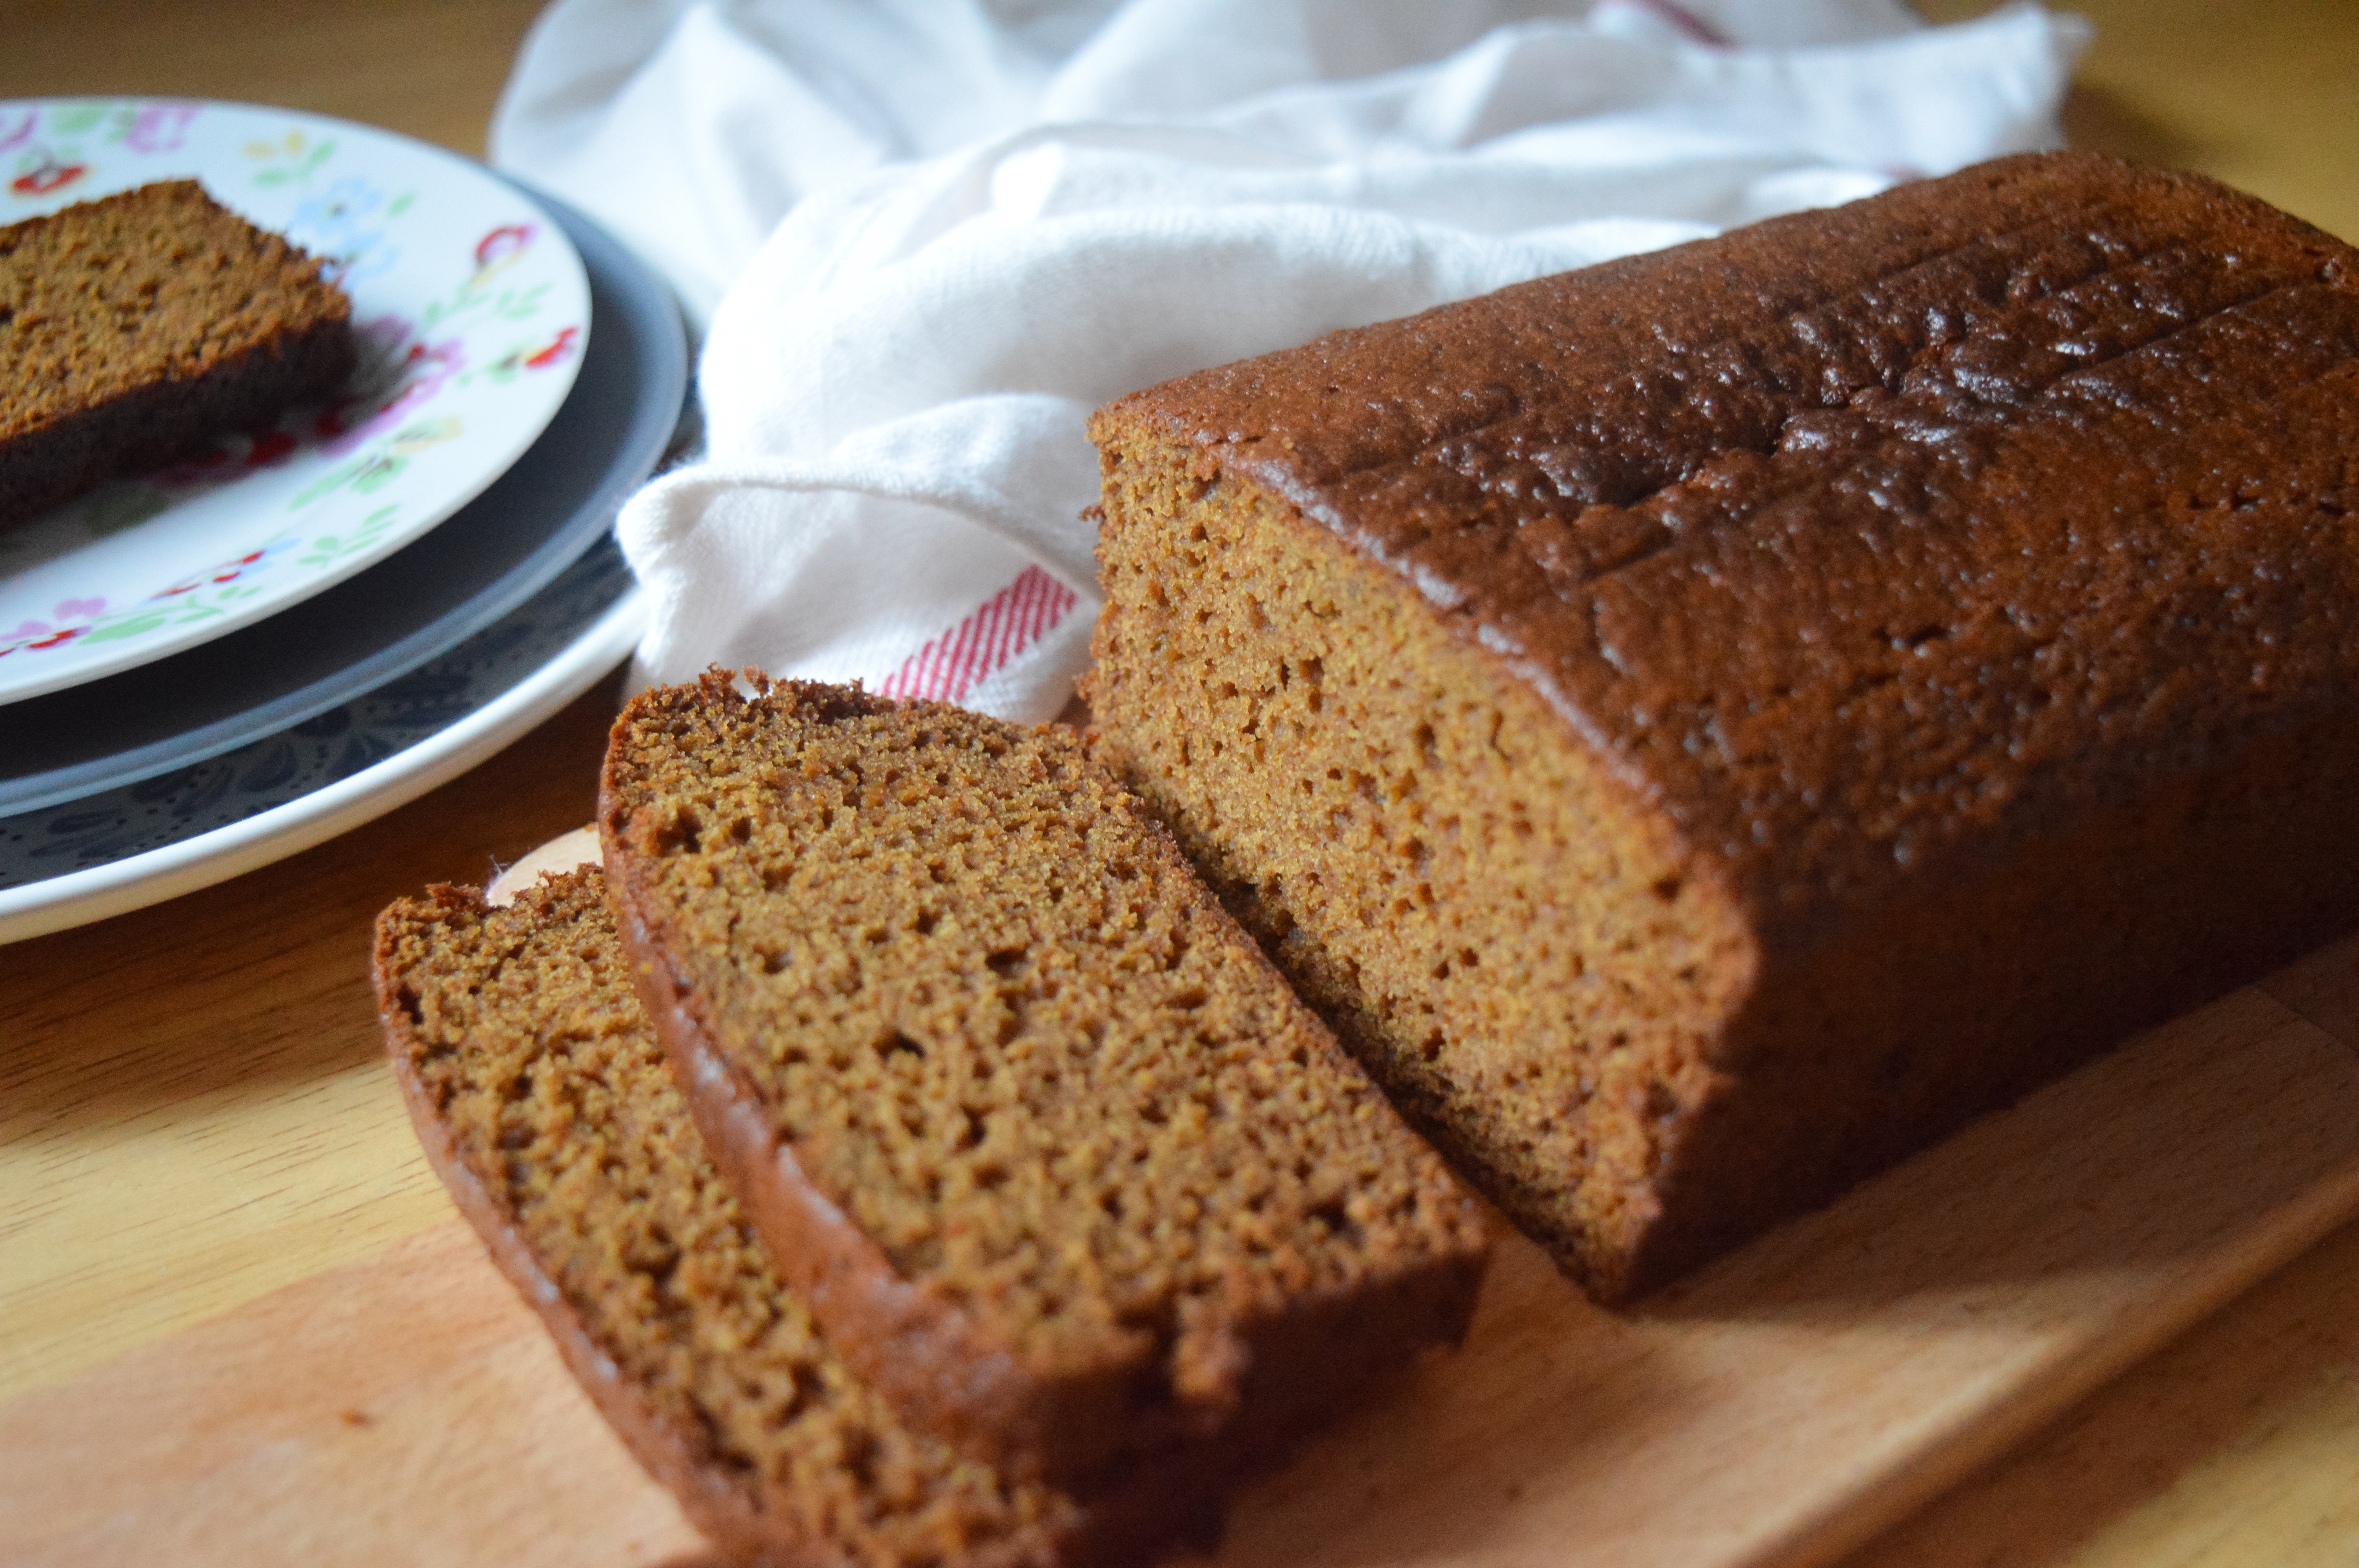
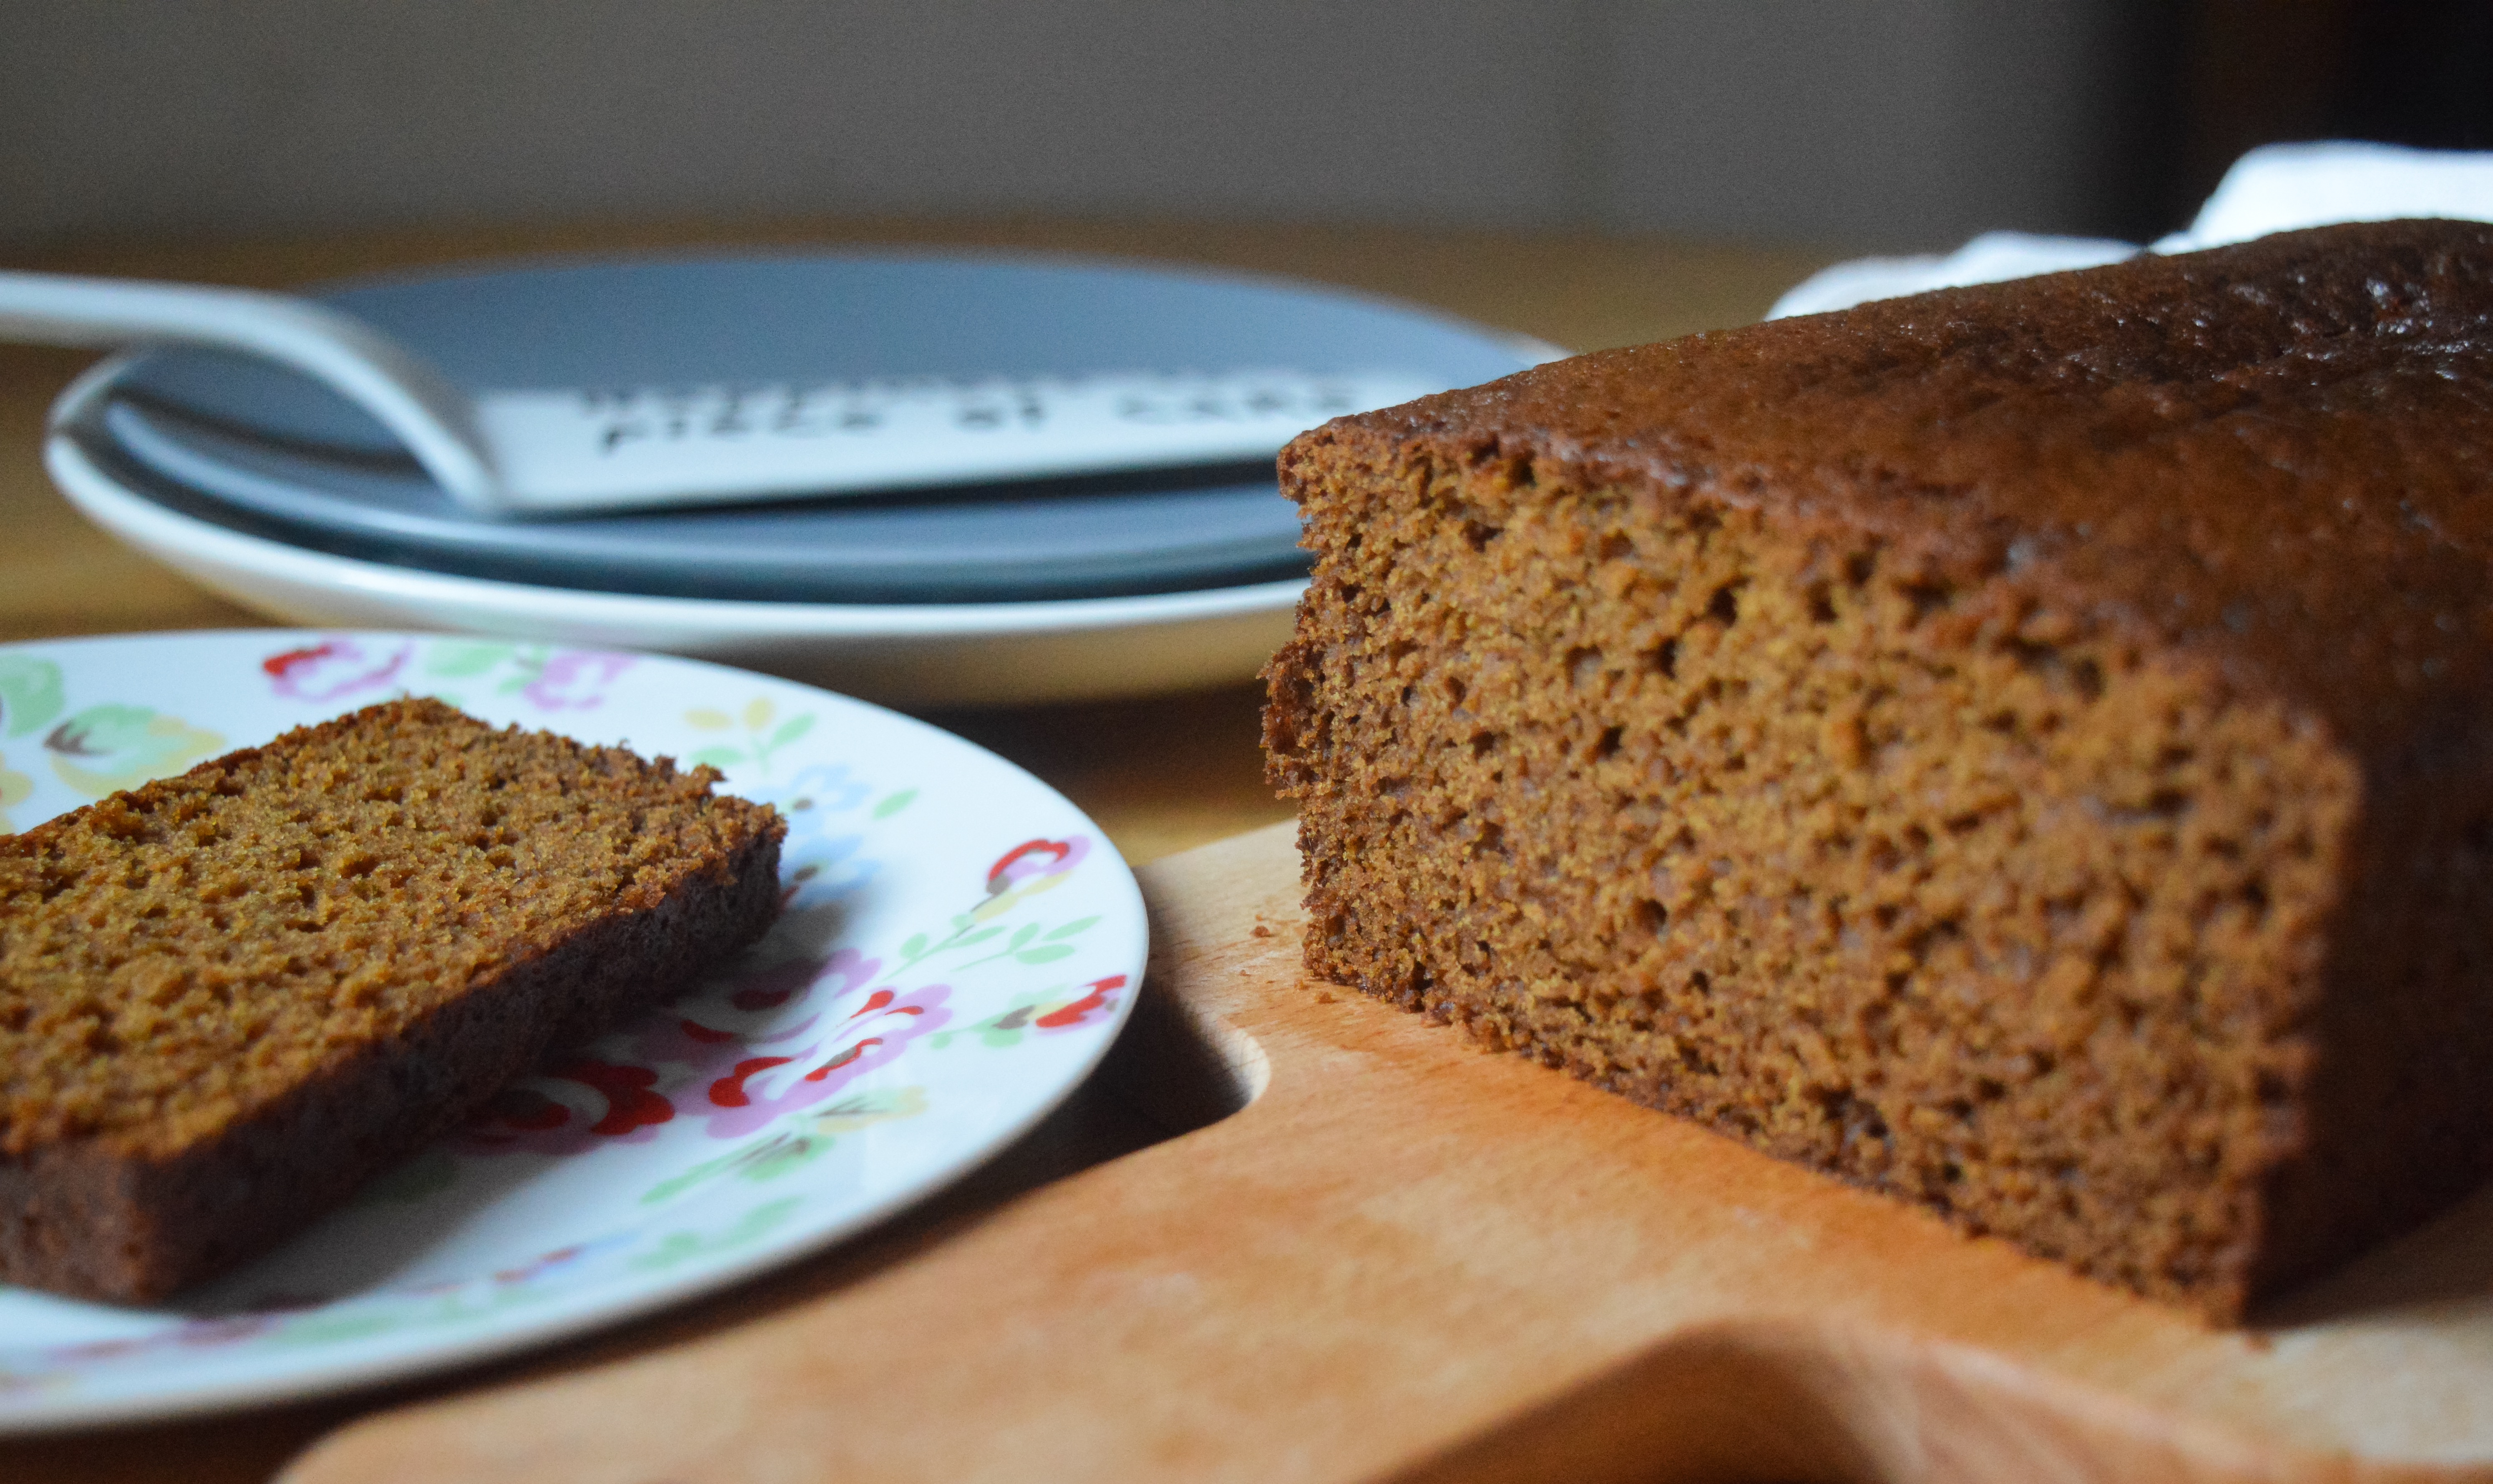
The decorations are up, I’ve made my first batch of gingerbread, I’ve drunk my first mulled wine of the season and I’ve listened to my Christmas playlist on loop for about a week so I can confirm that I am officially in full Christmas mode.
PicCollage
For me, the best thing about Christmas is the food. I love all the flavours that the season has to offer more than any other time of year and quite frankly it’s not christmas without spicy gingerbread, chewy chestnuts, juicy clementines or even Brussels sprouts!

Following a gluten free diet has never stopped me enjoying Christmas either. If anything, I’ve found more enjoyment in food because having to bake my own festive treats is all part of the fun.

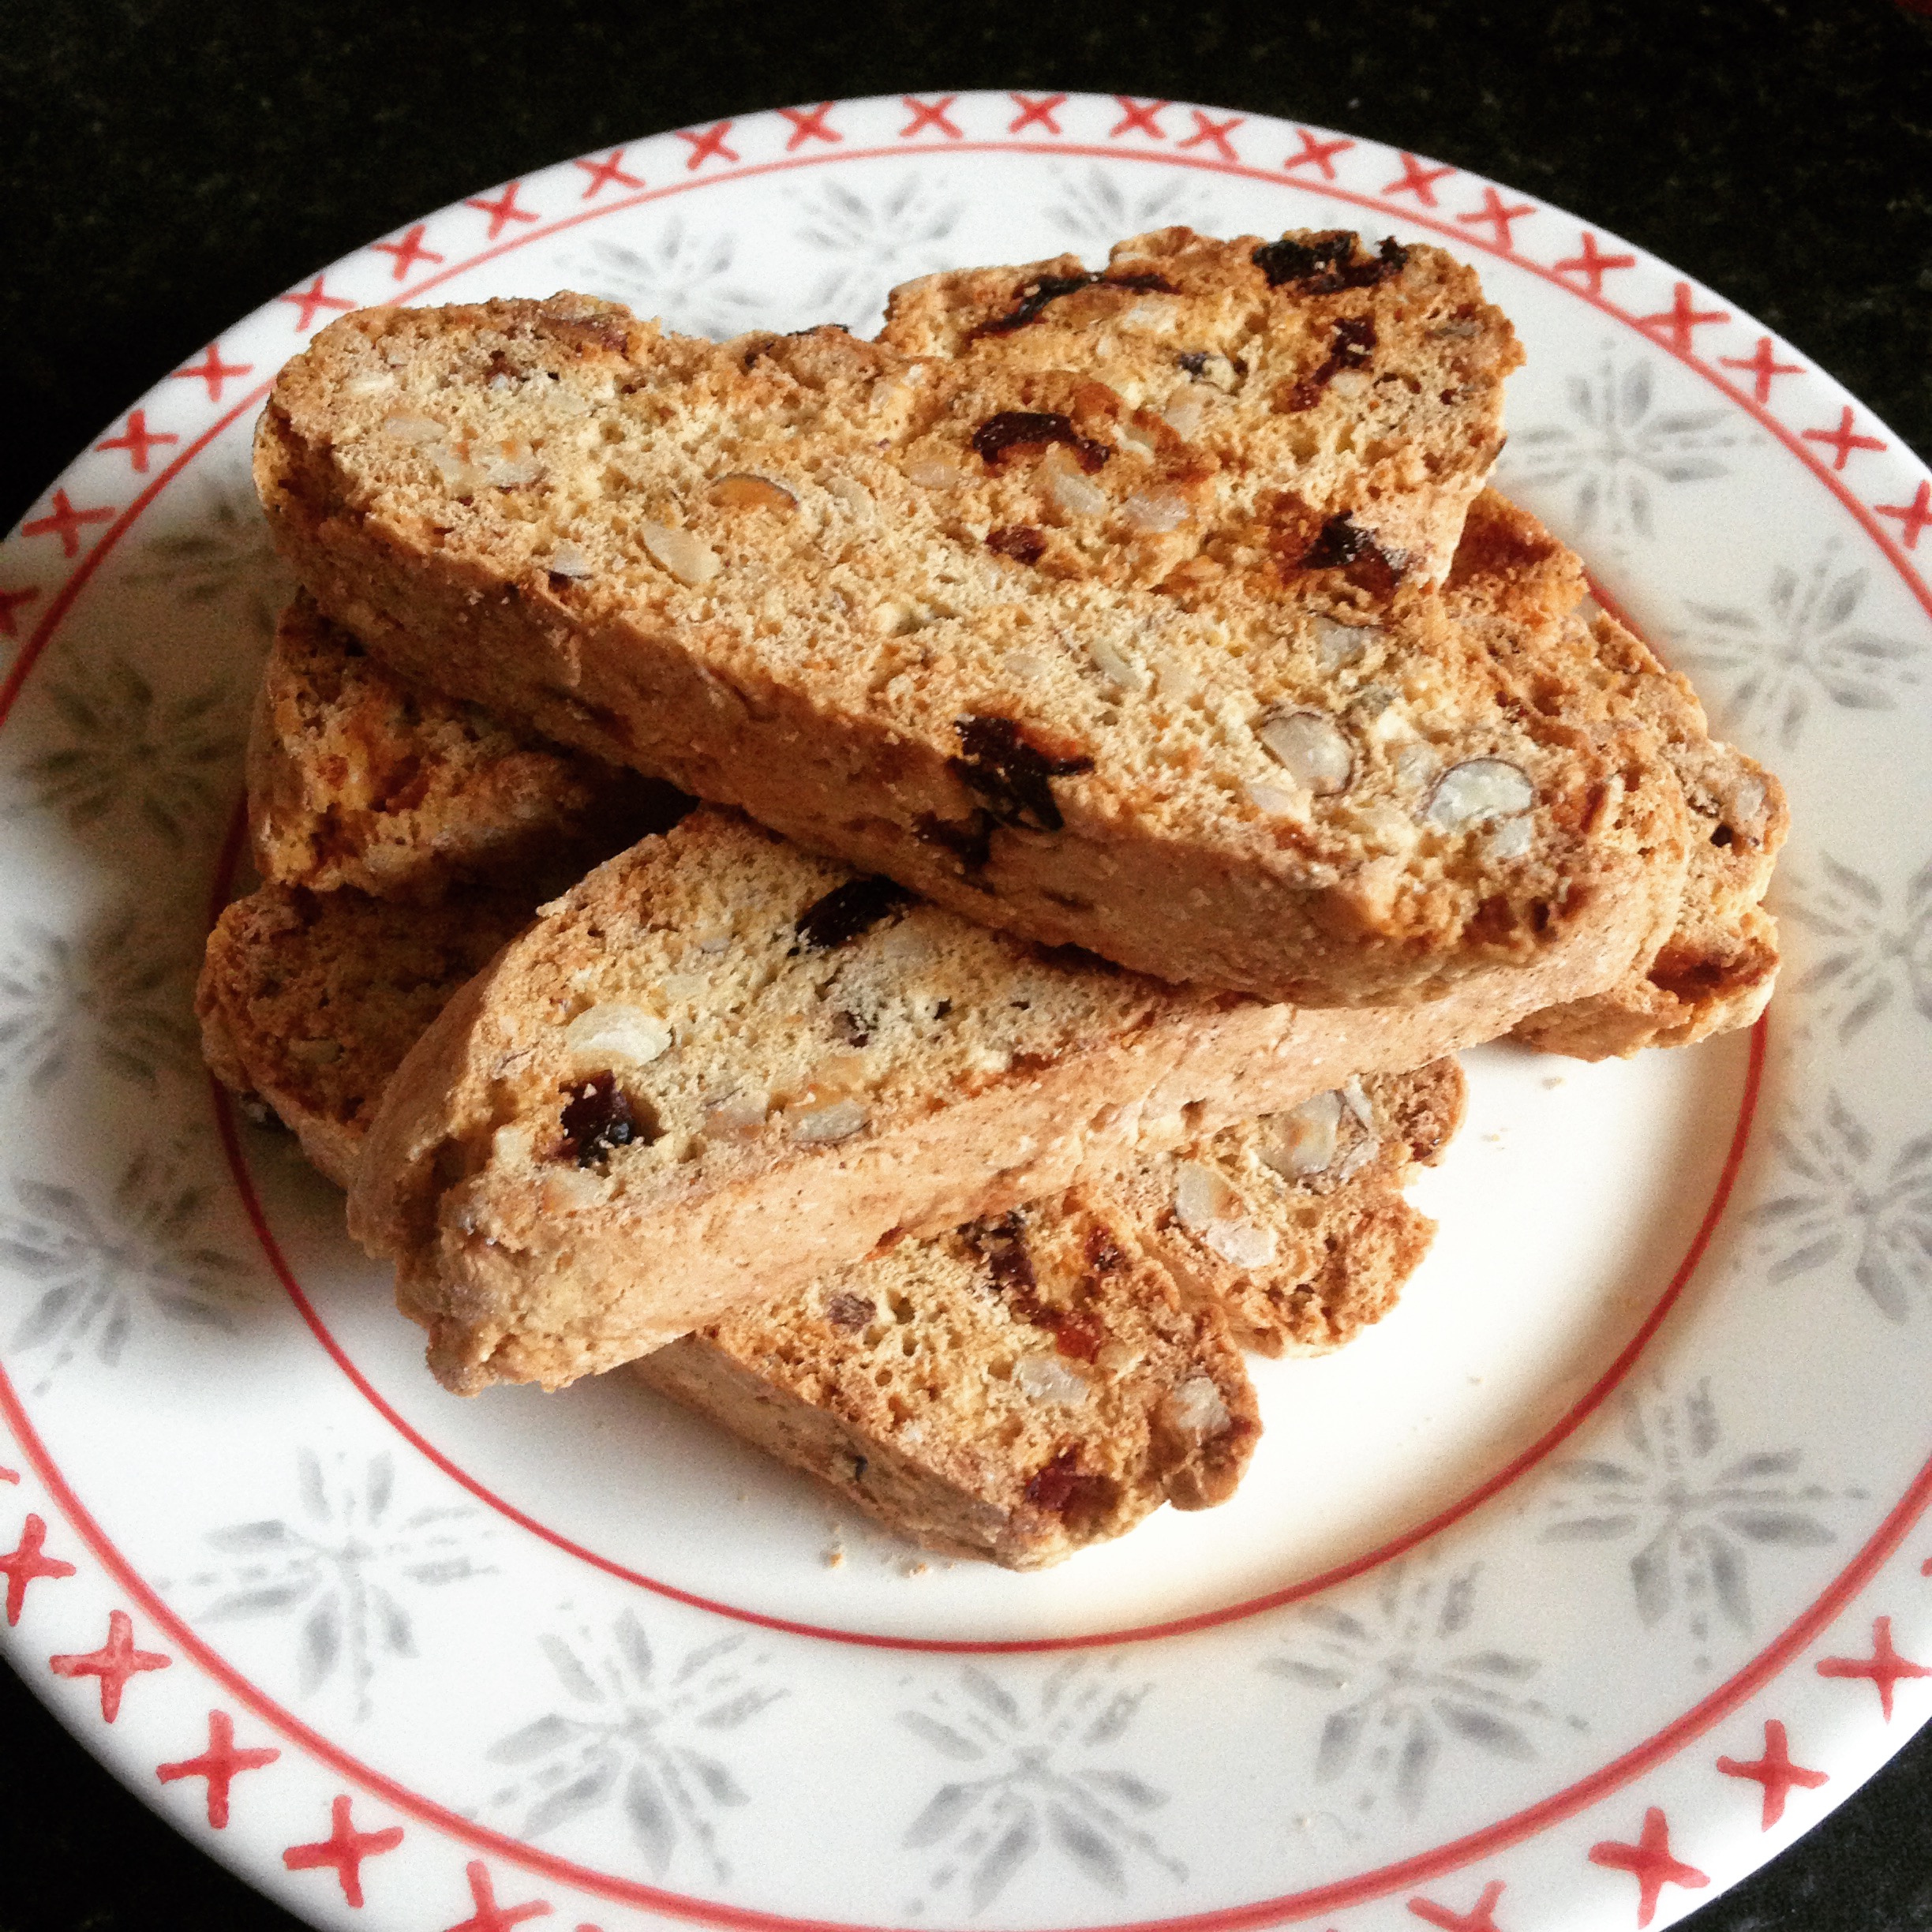
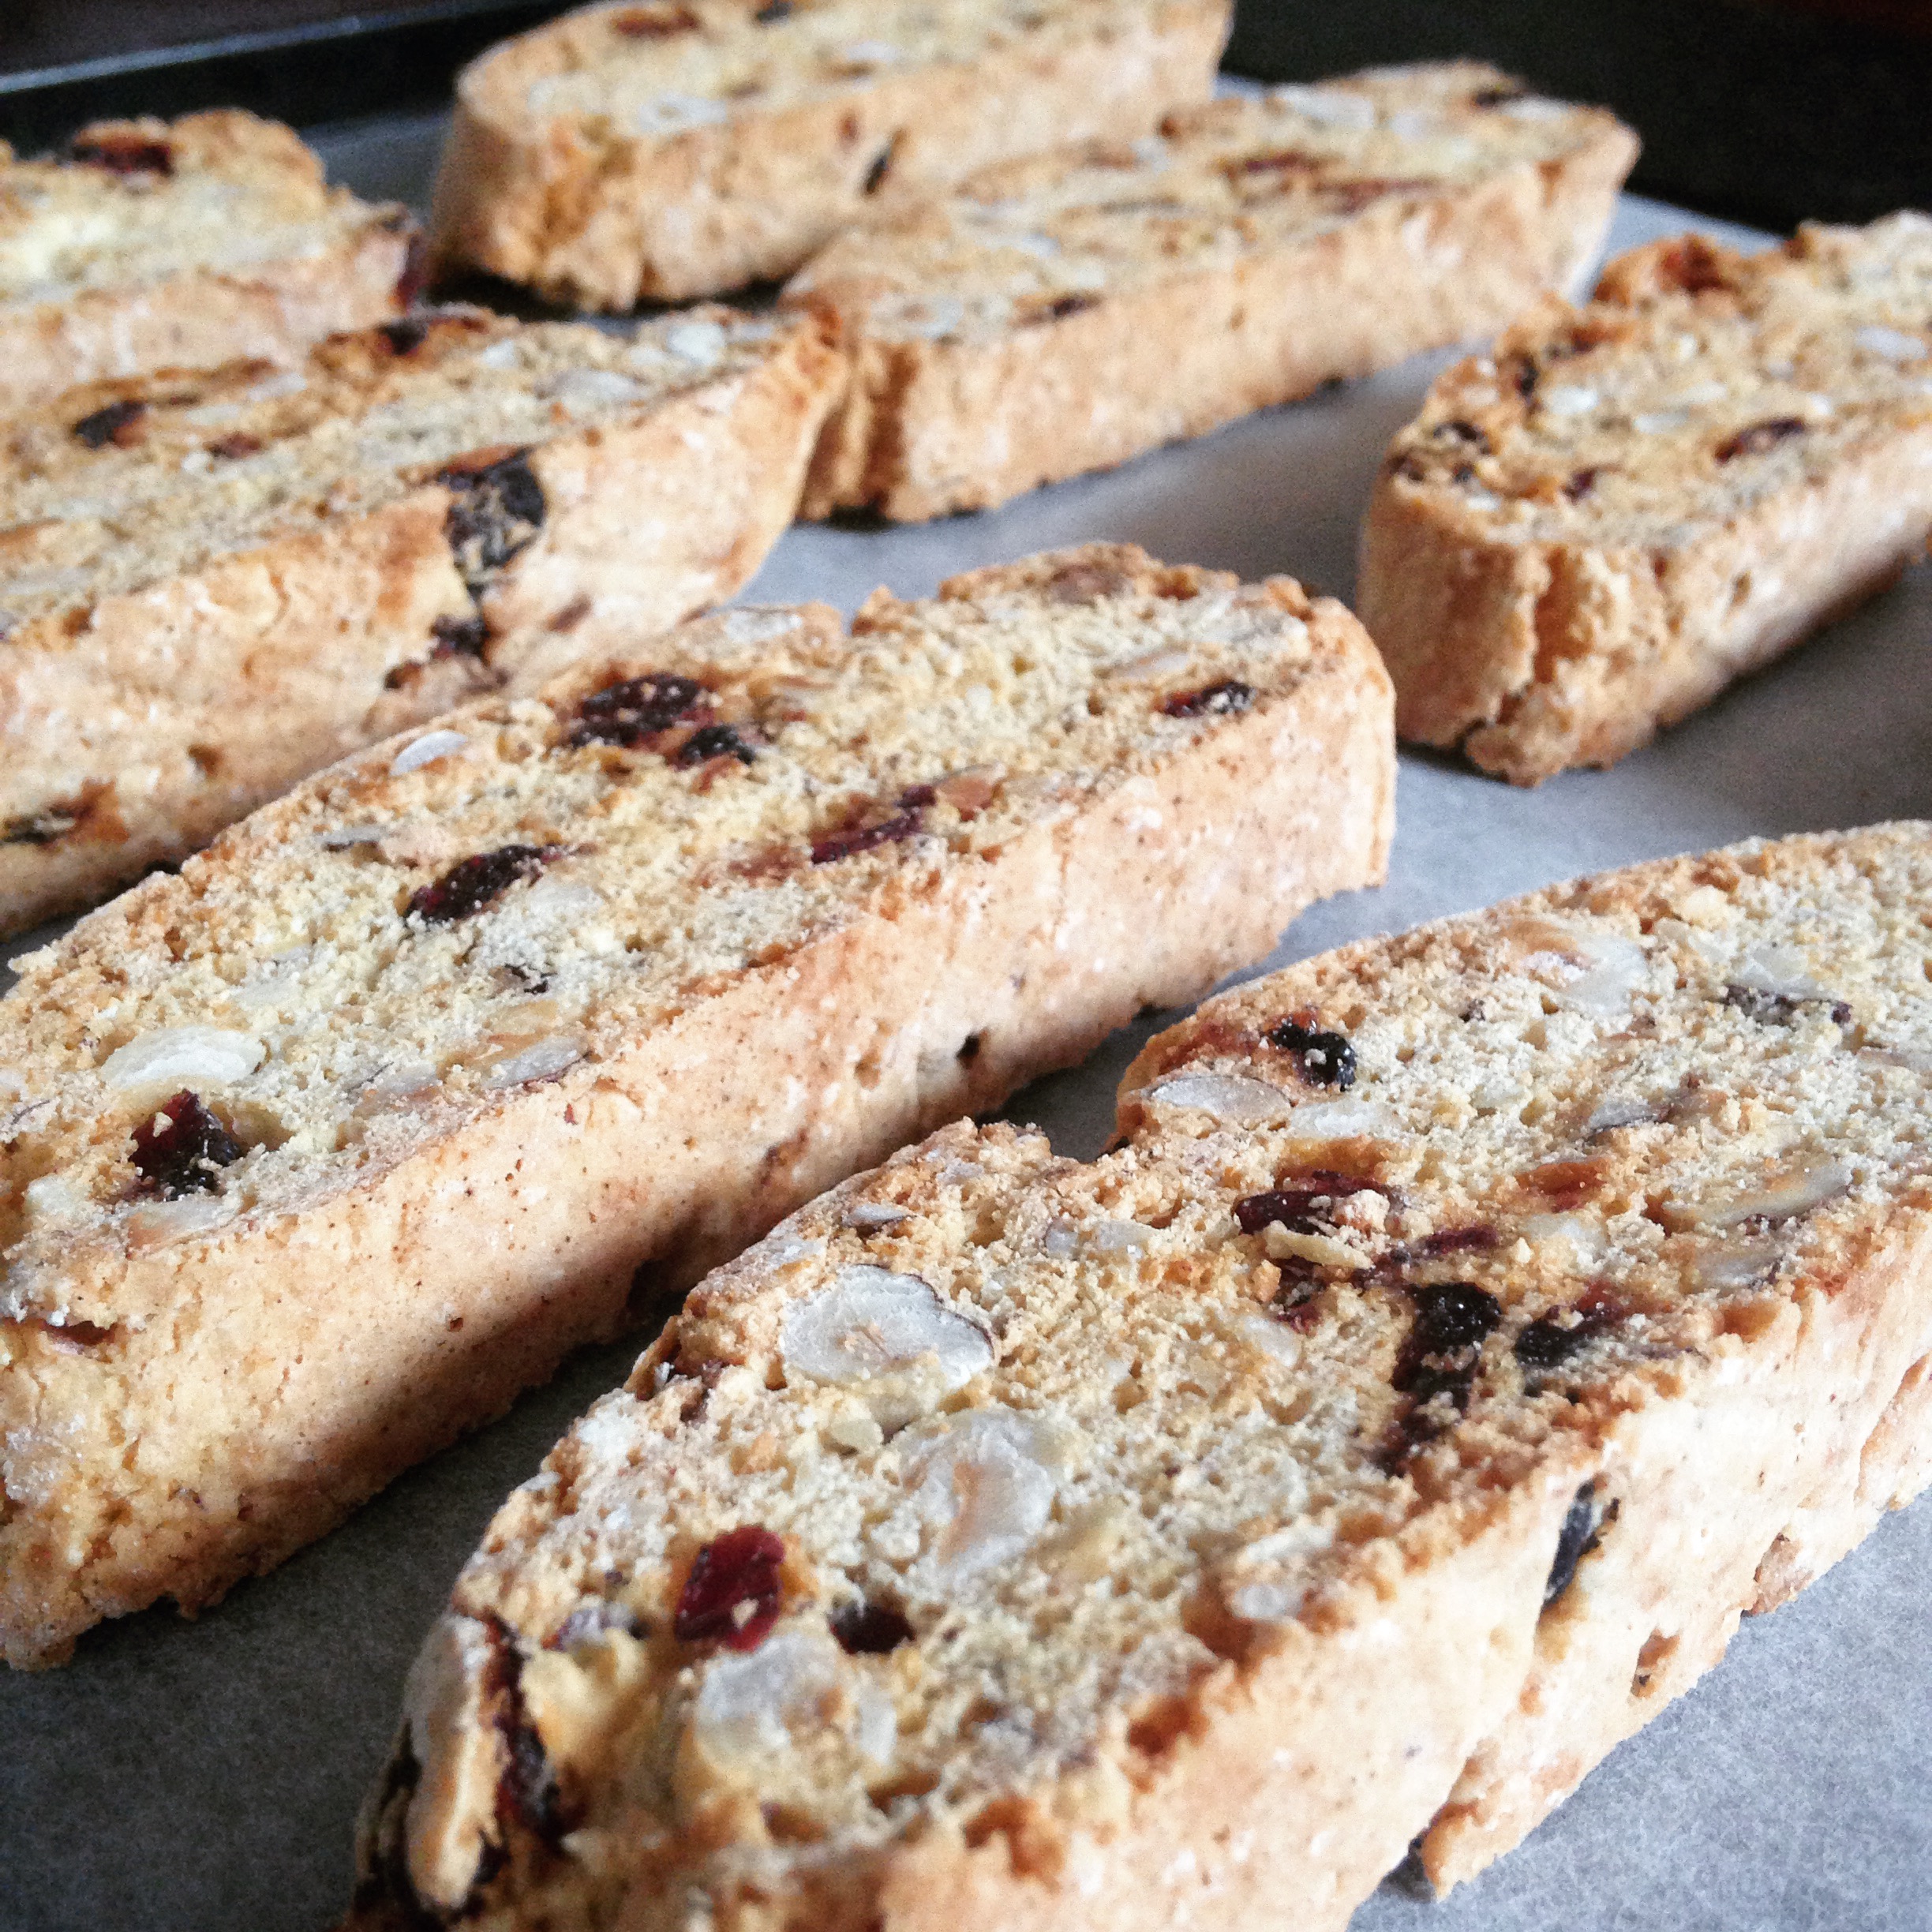
I have tonnes of Christmas recipes which I cannot wait to share with you but I’m going to start with my Hazelnut, Cranberry and Orange Biscotti recipe.
image2
Since I shared my Cranberry, Almond and White Chocolate Biscotti recipe a few months back I’ve had it in my mind to create a version using more festive flavours for Christmas.

When my family and I arrive home from church on Christmas morning we usually enjoy a cup of tea or coffee with a sweet treat just before opening all the presents. I think this year these Biscotti would be absolutely perfect and I will definitely be making a batch for the big day.
image3
Hazelnut, Cranberry and Orange Biscotti – GF/DF

Ingredients:
150g caster sugar
1 tsp baking powder
300g gluten free self raising flour, plus extra for shaping the dough
3 large eggs
150g blanched hazelnuts, roughly chopped
75g dried cranberries
1 tsp orange zest
2 tsp hazelnut syrup or extract (I used Monin Hazelnut Syrup)

Method:

1. Preheat oven to 180 C/160 C fan/gas mark 4.

2. Line a large baking tray with greaseproof paper.

3. In a large bowl, stir together the caster sugar, baking powder and flour.

4. Add the eggs, cranberries and hazelnuts then mix until all the ingredients are combined.

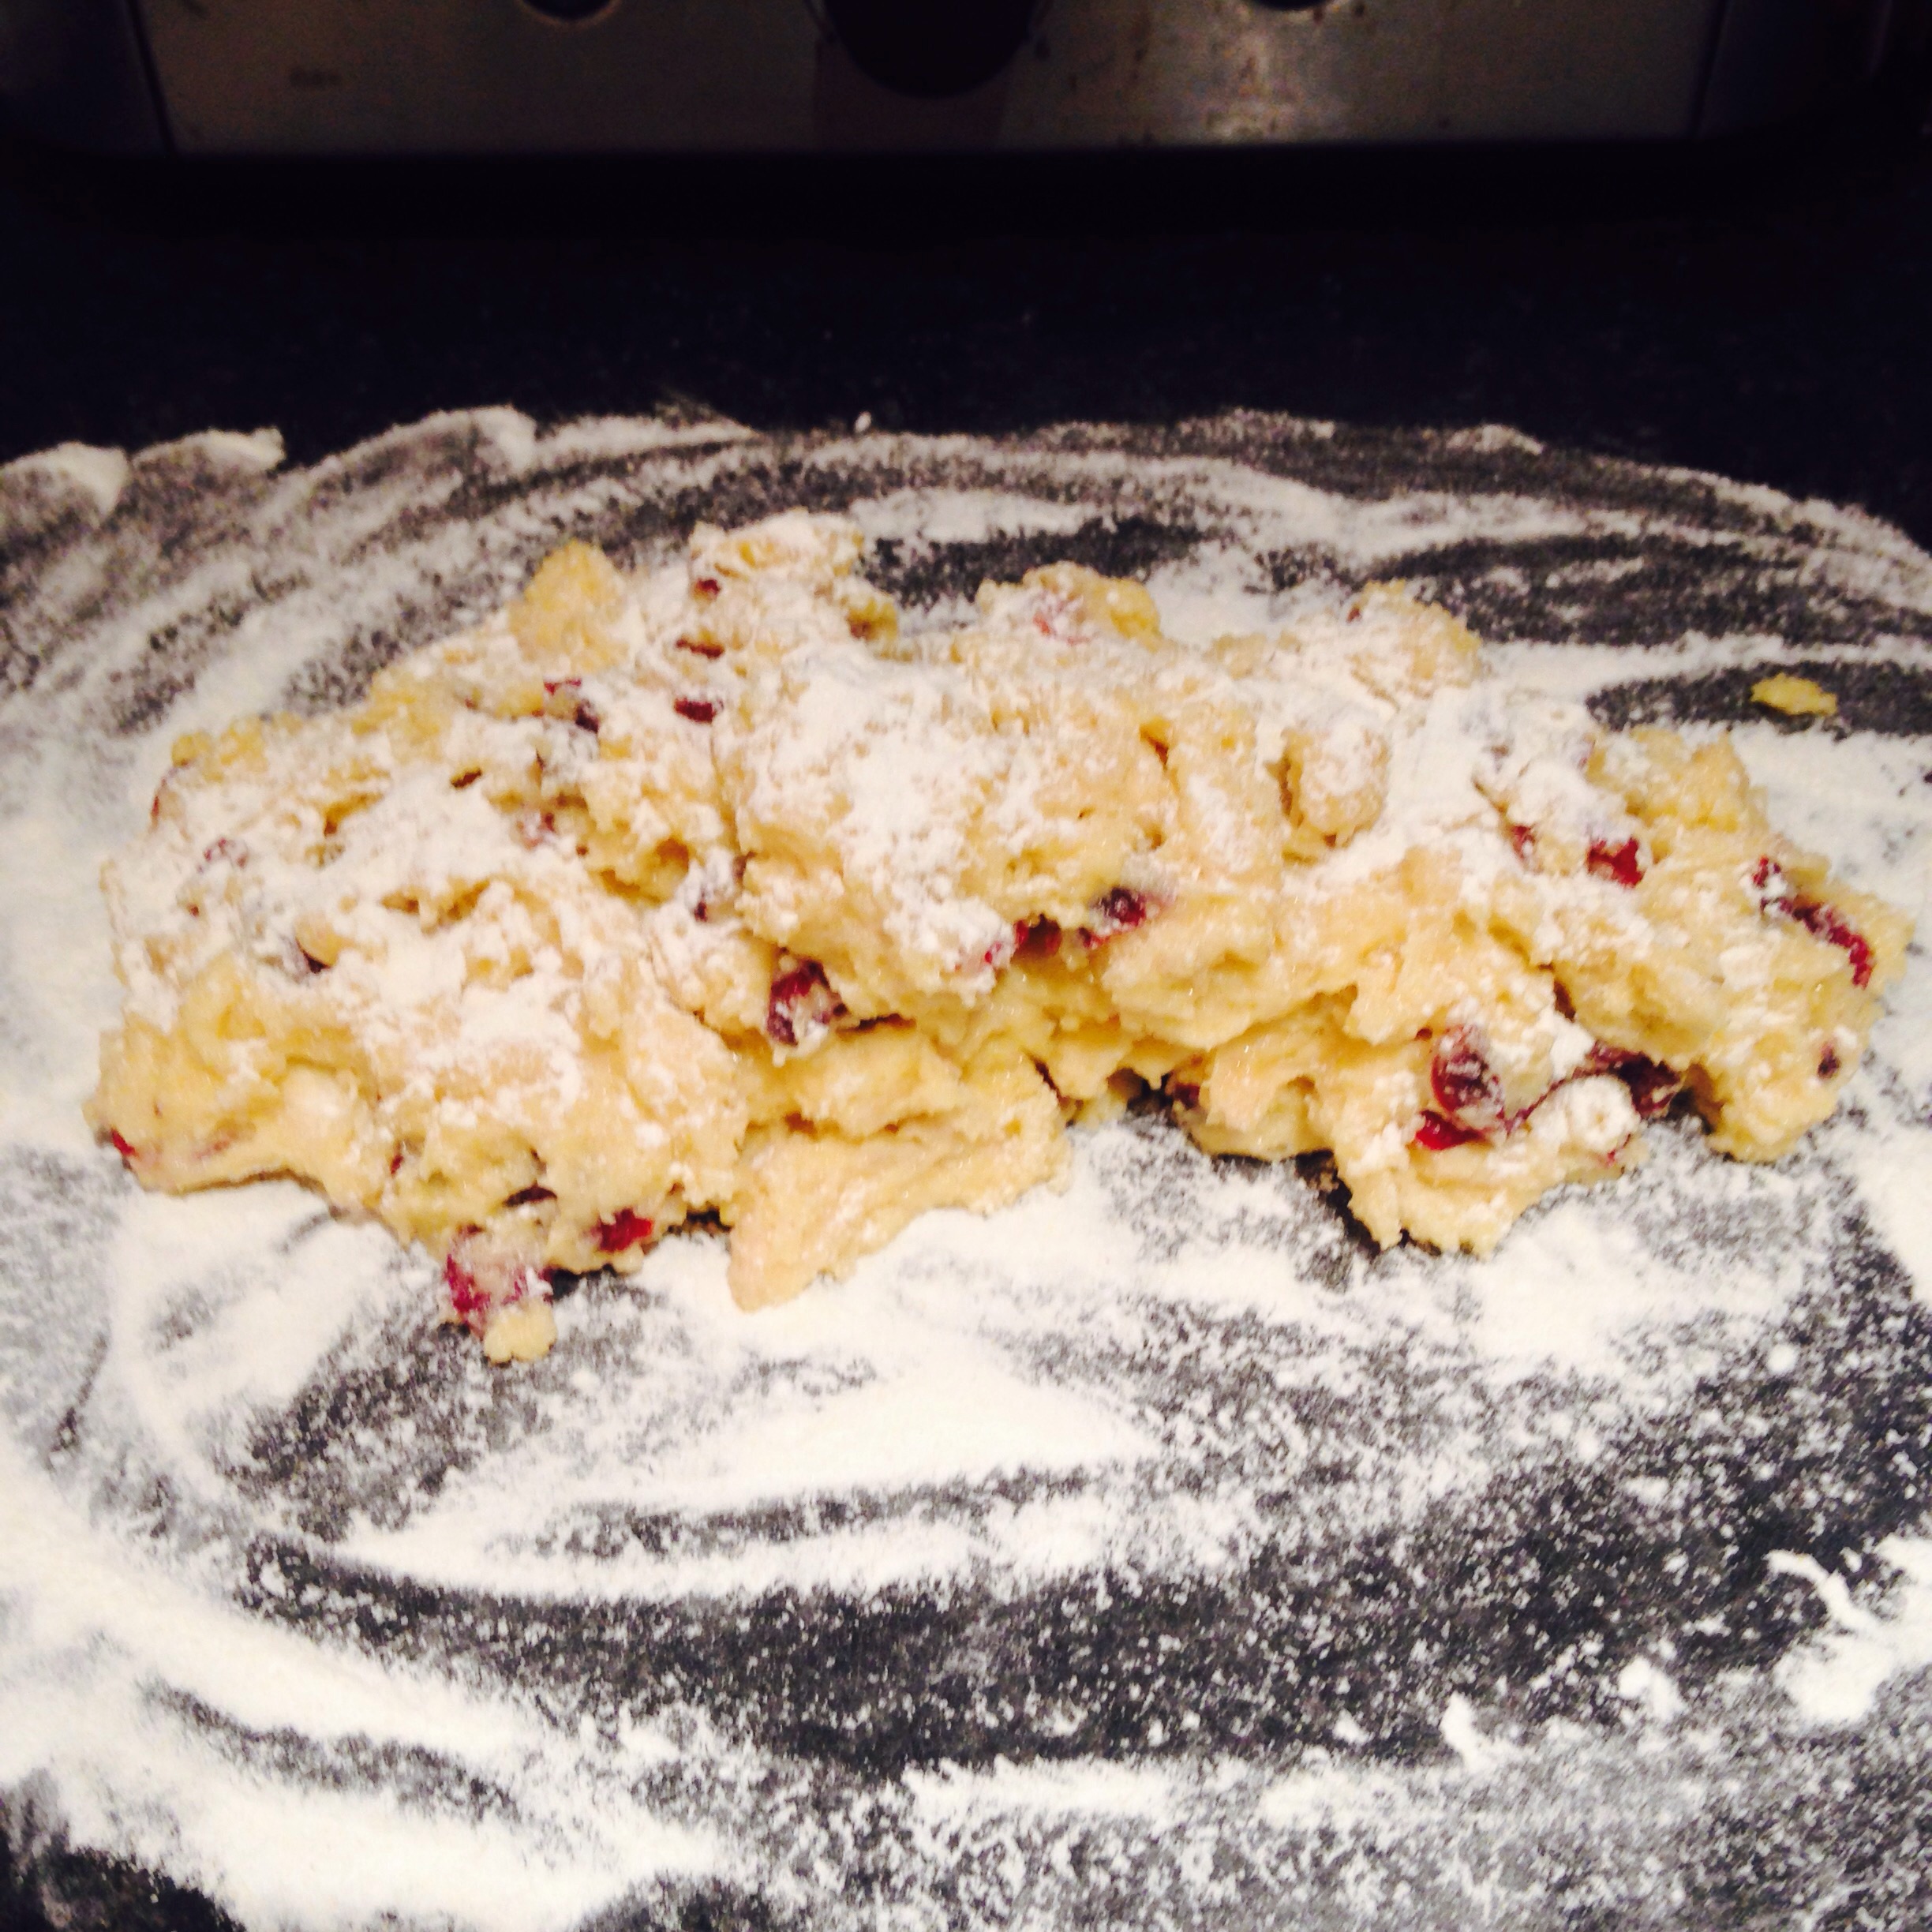
The mixture will be slightly wetter than expected so please don’t panic and add more flour. Remember that gluten free flour needs more moisture than regular flour and these biscuits are going to be baked twice – if you add more flour you’ll end up with a very dry dough which will result in an overly dry biscotti that cannot be baked twice.

5. Separate the mixture into two halves and generously dust a work surface with a flour.

6. Spoon one half of the mixture onto the work surface into a rough log shape then dust the mixture with a generous layer of flour – do not knead or roll the mixture but gently use your hands to shape the mixture into a log shape. The flour will stick to the mixture like a coating which will help the log keep it shape whilst allowing the inside to stay soft.
image    image
7. Transfer to the log to a baking tray (you could use a cake lifter to help) then flatten the log slightly so it’s approximately the width of a ciabatta. Repeat the with the other half of the mixture then place the second log on the tray – make sure you leave a little room between to allow them to expand slightly.

8. Bake for 20 to 25 minutes or until the biscotti is golden brown. Transfer the biscotti to a wire rack to cool completely. Leave the oven on.

9. Once the biscotti is cool, slice it diagonally across into inch thick slices. Do not attempt to slice the biscotti whilst still warm or it will crumble.

10. Transfer the biscotti back onto the baking tray and bake for a further 6 to 8 minutes on each side. Leave the biscotti to cool completely before serving.
image1
I can’t wait to show you what else I have planned for Christmas, but if you are looking for more Christmas inspiration in the meantime, why not take a look at my Gluten Free Gingerbread Cookies recipe which I posted last Christmas, or, follow me over on Instagram or Facebook to see what else I’m getting up to.

Gluten Free American Style Chocolate Chip Cookies

Today I’m really excited to share with you my recipe for Gluten Free American Style Chocolate Chip Cookies!
image2-2
I’ve been having really bad cookie cravings since I caught a whiff of freshly baked cookies wafting out from Millie’s Cookies while I was walking around Westfield a few weeks ago…

I know you can buy gluten free cookies from the supermarket, but they’re not the same! You might think I am being picky, but supermarket versions are rather chunky and crunchy, not soft and chewy like the ones you can buy freshly made from bakeries.

I decided the only thing for it was to make my own and although I haven’t had a proper cookie in over three years, these cookies are exactly like what I remember! They have a slightly crunchy outside and a lovely soft and chewy centre bursting with chocolate chips.
image1
The trick to making the best chocolate chip cookies to make sure you don’t over bake them. I accidentally over baked the first few which made them a bit too hard, but if you take them out of the oven while they are still quite soft and leave them to set on the baking tray your cookies will retain their chewy centre.

Gluten Free American Style Chocolate Chip Cookies – GF/DF options

Ingredients
175g gluten free self raising flour
100g rice flour
2 tsp cornflour
A pinch of salt
150g butter, melted (or dairy free alternative like Stork Baking Block)
125g caster sugar
75g light brown sugar
2 tsp vanilla extract
2 egg yolks
1 tbsp milk
150g milk or dark chocolate chips (or dairy free alternative)

Method

1. In a large bowl, mix together the flours and the sugar.

2. Add the melted butter, vanilla extract, egg yolks and milk. Mix until all the ingredients are combined then fold through the chocolate chips.

3. Wrap the cookie dough in cling film, then chill the dough in the fridge for a few hours until it has firmed up.

4. Heat oven to 180 C/160 fan/gas mark 3.

5. Line two large baking trays with baking parchment.

6. Separate the dough into pieces that weigh approximately 35g each and roll each one into a ball shape.

7. Place the balls of dough on the prepared baking trays making sure you leave room for the cookies to spread out as they bake.

8. Bake the cookies for 12 – 15 minutes. The cookies should be golden brown and will remain quite soft – don’t be tempted to bake them for longer.  If the cookies have puffed up a bit, gently press them down with your fingers a few times towards the end of the bake so you don’t end up with cookies which are too dense and cake like.

9. Leave the cookies to firm up on the baking tray then carefully transfer them to a wire rack to cool completely.
image2
Tis almost the season to be jolly, so I will have plenty of Christmas recipes coming real soon. In the meantime, come and follow me over on Instagram or Facebook to see what else I’m getting up to!

Gluten Free Ginger Cake

Autumn is here and as the weather turns colder I look forward to all the flavours the new season has to offer. Gone are the summer fruits, in are the wintery comfort foods and what could be more comforting than slice of warm and spicy ginger cake?

image

In my opinion, comfort food should be as fuss free and simple to achieve as possible. My ginger cake recipe is exactly that and requires no advanced techniques – simply mix the ingredients together and bake!

This cake certainly packs a punch and has a very strong spicy ginger flavour, so feel free to use less ginger if you’d prefer a milder flavour.

image 
Ginger Cake – GF/DF options

Ingredients:
200g gluten free self raising flour
200g light brown sugar
2 – 3 tsp ground ginger
1 tsp bicarbonate of soda
55g unsalted butter, melted (or dairy free alternative)
2 large eggs
1 tbsp golden syrup
1 tbsp black treacle
100ml strong black tea, cooled

Method:

1. Preheat the oven to 180 C/160 C fan/gas mark 4 then grease and line a 2lb loaf tin with baking parchment.

2. In a large bowl: Mix together the flour, sugar, ginger and bicarbonate of soda.

3. In a separate bowl: whisk together the eggs, golden syrup and treacle.

4. Make a well in the centre of the ingredients, add the egg mixture, melted butter and tea then mix until you are left with a smooth and lump-free batter.

5. Pour the mixture into the prepared loaf tin. Bake for 30 – 35 minutes, when the cake is done it should be firm to touch.

6. Turn the cake out onto a wire rack and leave to cool before serving.

image

This cake matures really well and tastes even better after a day or two. If you can wait, wrap your cake in some greaseproof paper and store it in an air tight container for at least 12 hours before you tuck in – the longer you leave his cake, the sticker it gets! This cake will be at it’s best for at least 5 days and keeps for up to 7 days, if stored properly in an airtight container.