Gluten Free Easter: Vanilla Sugar Cookies with Royal Icing

Easter Sunday may only be one day away but there is still enough time to get baking some delicious Easter treats.

Today I am going to share with you a recipe which is so easy to whip up at the last minute and requires very few ingredients: Vanilla Sugar Cookies with Royal Icing.
image

The recipe is so simple and easy to make – just be sure to chill the cookie dough for a few hours to make it easier to handle. You can make the cookies your own by choosing different shaped cookie cutters and by decorating them however you fancy!

image
They would also make a beautiful Easter gift for anyone you know who isn’t keen on chocolate!

Vanilla Sugar Cookies – GF/DF options

Ingredients:

For the cookies:
150g sugar
150g butter
130g rice flour
150g self raising gluten free flour
1 egg
1 tbsp milk (or dairy free alternative)
1 tsp vanilla extract

For the Royal Icing:
1 egg white
250g icing sugar

Method:

1) In a large bowl, mix the gluten free flour and suagr until combined.

2) Rub in the butter until you have a bread crumb like texture.

3) Add the egg and vanilla essence and start to bring the ingredients together using a wooden spoon.

4) Tip the contents onto a lightly floured surface and use your hands to work the ingredients into a soft dough.

Tip. Don’t worry if the dough seems a little sticky as it will be refrigerated which help it to firm up – don’t be tempted to add more flour!

5) Wrap the dough in cling film and place in the fridge for at least and hour.

6) Preheat the oven to 170 C/150 fan/gas mark 4 and line a baking tray with greaseproof paper.

7) Dust a clean surface with rice flour and roll out the dough using a rolling pin.

8) Cut out the cookie shapes with your chosen cutters and transfer them to the prepared tray using a palate knife.

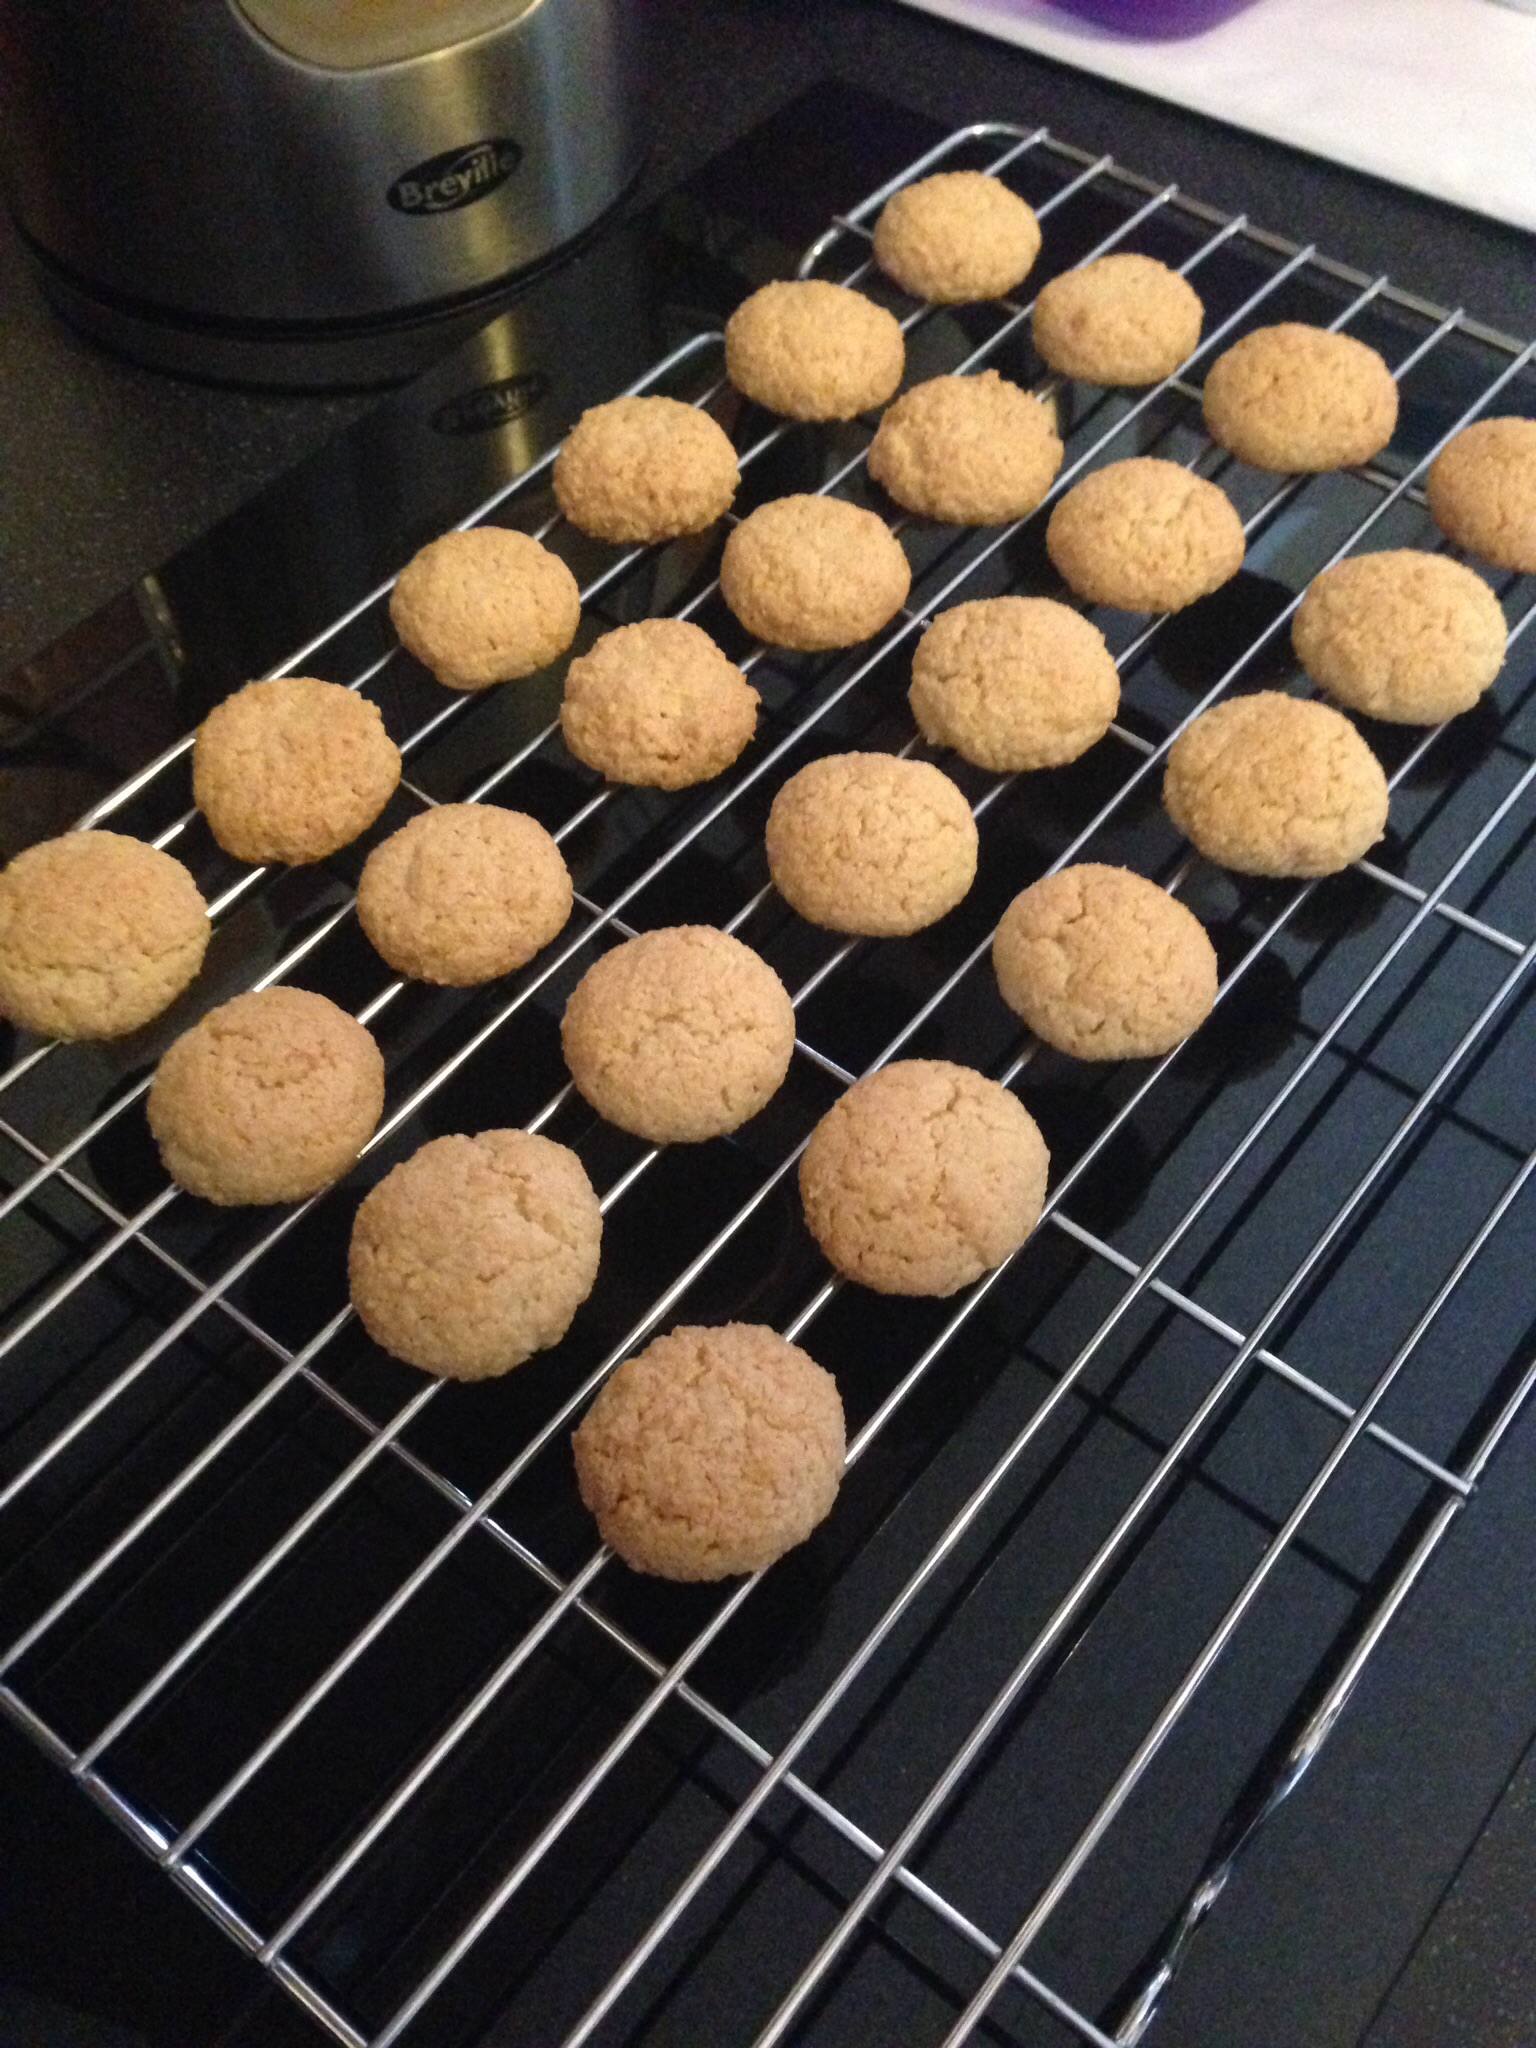
9) Bake for 10 – 12 minutes or until the biscuits are firm and a light golden brown – be sure to keep an eye on them as they could quickly over-bake.

10) Transfer the biscuits to a wire rack to cool.

11)  To make the Royal icing, place 1 egg white in a bowl and slowly sift in the icing sugar in batches. In between the batches of icing sugar, stir with a wooden spoon or a balloon whisk until the icing thickens up, it is now ready to be used. Transfer the icing into a piping bag, if you are not using your icing straight away cover the bowl with cling film to prevent air getting to it which will cause it to harden. If you wish to decorate the cookies in different colours, simply add a few drops of food colouring to the icing.

12) Decorate the cookies however you fancy!

image
You can see what else I’m getting up to over Easter  over on Instagram or on my Facebook Page.

I hope you all have a lovely Easter weekend and eat plenty of Chocolate!

Gluten Free Florentines

Happy New Year! January is here and I’m sure most of you are getting back into the swing of things after a busy (but hopefully not too stressful) festive season.

If you are feeling the winter blues, fear not! My Gluten Free Florentines recipe is bound to bring a little sunshine into your life.

image

Florentines are traditional Italian biscuits, they typically contain nuts and candied peel which are melted together with butter and sugar then smothered in a delicious layer of chocolate.

image

I first attempted to make Florentines after they were featured as a technical challenge on last years ‘The Great British Bake Off’. They were relatively easy to adapt into a Gluten Free version as they don’t contain very much flour, however, they were tricky little devils to get right!

After a few trials and a bit of research I have discovered that all they require is a little bit of patience. I would recommend setting yourself a good bit of time to make Florentines and make sure you give the biscuits your full attention as they will need to be watched like a hawk! Mary Berry recommends that you weigh the ingredients out very carefully so use electric scales to measure your ingredients if you can.

Gluten Free Florentines – GF/EF/DF options

(Recipe adapted from Mary Berry’s Recipe on BBC food as featured on ‘The Great British Bake Off)

50g Butter

50g Demerara Sugar

50g Honey

50g Gluten Free Plain Flour (I used Doves)

50g Glacè Cherries – finely chopped

50g Candied Peel – finely Chopped

25g Flaked almonds -finely Chopped

25g Desiccated Coconut

200g of good quality Plain Chocolate (or Milk Chocolate if you prefer!)

Can I make these dairy free? Sure! You can substitute butter for Stork (the hard baking Block) and the chocolate for dairy free chocolate, which can be found the in FreeFrom section of most supermarkets.

Method

1) Preheat your oven to 180C/Gas 4 and line three baking trays with baking parchment.

Tip. I have very small oven so I decided to bake each tray separately. If you have enough shelves you can bake them all at once, but you will need to swap the trays around to ensure they are all evenly baked. 

2) In small heavy bottomed pan measure the butter, sugar and honey. Heat the ingredients over a low to medium heat until the butter has melted.

3) Remove the pan from the heat. Add the Gluten Free flour, Cherries, Candied Peel, Almonds and Coconut and mix well.

4) Spoon six teaspoonfuls of the Florentine mixture onto each of your baking trays – make sure you leave plenty of space in-between each one to allow them to spread out as they bake.

5) Bake the Florentines for 8-10 minutes or until golden-brown.

Tip. Make sure you keep an eye on your Florentines. A couple of seconds could mean the difference between beautiful golden brown florentines or completely burnt ones!

6) Remove your florentines from the oven and leave them to cool before using a palate knife to lift them onto a cooling rack.

Tip. Don’t attempt to remove your Florentines from the trays whilst they are still warm as they will just fall to pieces.

7) To make the chocolate coating, gently melt the chocolate in a heatproof bowl over a pan of simmering water.

Tip. Try not to let the bowl touch the water as it will burn the chocolate.

8) Spread melted chocolate over the bottom of each florentine, then using a fork, make the classic zigzag pattern through the chocolate.

Tip. Traditionally Florentines are quite lacy which means some chocolate may bleed through to the other side of the biscuit. I recommend gently painting the chocolate on each one using a pastry brush!

9) Leave your florentines to set on the cooling rack with the chocolate side facing up then serve with an espresso. Delicious!

Gluten Free Christmas: Gingerbread Cookies with Royal Icing

It’s almost Christmas which means time for preparing those bakes for the big day!

IMG_9827

Today I’m going to share with you a recipe for Gluten Free Gingerbread Cookies which would make a lovely gift or edible tree decoration!
Gingerbread is my favourite and I have lovely memories of making it with my mum and sister during the Christmas holidays, but until now I’ve never made it gluten free!

In the past I have found making Gluten Free biscuits quite tricky, usually they would end up rising, lose their shape and the texture would be far too chewy. After a few experiments with different types of flour, I have come up with the perfect Gingerbread Cookie recipe that has both the taste and texture of proper Gingerbread – I guarantee no one would be able to tell they are Gluten Free!

These cookies would also make a lovely homemade Christmas gift. The recipe makes a very large batch (perfect if you’ve got lots of special people to give presents to) and the cookies keep well if stored in an airtight container or a clip top jar.

image3

Gingerbread Cookies with Royal Icing – GF/DF Options

Ingredients

For the Cookies:
125g gluten free self raising flour blend
200g rice flour, plus extra for dusting
1 tsp bicarbonate of soda
2 tsp ground ginger
2 tsp cinnamon
125g unsalted butter (to make dairy free, use Stork Original Baking Block)
150g soft dark brown sugar
2 tbsp golden syrup
1 tbsp black treacle
1 large egg

For the Royal Icing:
1 egg white
250g Icing Sugar

Method:

1) In a large bowl, sift together the flours, bicarbonate of soda, ginger and cinnamon.

2) Using your hands, rub the butter into the dry ingredients until it becomes like fine bread crumbs and then stir through the dark brown sugar.

3) In a separate bowl whisk the egg with a fork, then add this to the cookie mixture along with the golden syrup and black treacle.

4) Mix until the ingredients come together. The cookie dough will appear quite wet at this stage but don’t be tempted to add more flour or you will dry out the dough!

5) Gently knead the dough on a floured surface with floured hands until it turns into a smooth, soft and slightly sticky ball of dough. Dust the dough with rice flour as you knead to stop it sticking to the work surface.

6) Wrap the dough in cling film and leave to chill in the fridge for at least 2 hours – chilling helps the dough to firm up so it can be rolled out.

7) Heat your oven to 180 C/160 C fan/gas mark 4.

8) Roll out the cookie dough on a floured surface. Using festive cookie cutters, cut out the shapes you want then arrange the cookies on a baking tray lined with greaseproof paper.

9) The cookies will take different times to bake depending on their sizes:

Small Cookies – 8 to 10 minutes
Medium Cookies – 10 to 12 minutes
Large Cookies – 12 to 15 minutes

You will know when the cookies are done if they lift off the baking sheet easily. The cookies shouldn’t get too brown – watch out for burnt edges!

10. Transfer the cookies to a wire wrack to cool.

11. To make the Royal Icing, place 1 egg white in a bowl and slowly sift in the icing sugar in batches. In between each batch of sugar stir the icing with a wooden spoon or a balloon whisk until the icing thickens up.

12. Transfer the icing into a piping bag, if you are not using your icing straight away cover the bowl with cling film to prevent air getting to it which will cause it to harden.

13. Finally, have fun decorating your cookies however you choose!

I am taking a well deserved holiday, but I will be back in the New Year with more gluten free recipes for you all to try.  In the meantime, come and check out my out my Instagram page to see what else I get up to over Christmas!

Wishing you all a very Merry Christmas and a Happy New Year!  xxx

Gluten Free Amaretti Biscuits Recipe

A lot of my recent bakes have been quite challenging, so today I am taking it back to  basics with my Italian Amaretti Biscuits Recipe.

Amaretti Biscuits are bite-sized almond flavoured biscuits which you will often find served alongside a cup of coffee. Traditionally they are made using Ground Almonds instead of flour which makes them Gluten Free, unfortunately a lot of shop bought versions are bulked out with wheat flour which makes them unsuitable for Coeliacs.

image

Luckily they are incredibly quick and easy to make at home! This recipe makes approximately 44 small biscuits from only 4 ingredients and takes less than 30 minutes to do.

Amaretti Biscuits – GF/DF

Ingredients

1 egg white

85g ground almonds

85g caster sugar

1/2 tsp vanilla extract

Method

1) Preheat the oven to 190 C/170 C fan/gas mark 4.

2) In a mixing bowl whisk the egg whites with an electric hand mixer until they become firm.

3) Fold in the ground almonds, caster sugar and vanilla extract until the mixture comes together to form a paste. Do not over mix the paste or it will become too runny.

4) Line three baking sheets with greaseproof baking paper and lightly grease with butter using a pastry brush. You can use a diary free alternative such as oil or dairy free spread instead of butter if you wish.

5) Transfer the paste into a piping bag with a medium plain nozzle and pipe small round blobs onto the baking sheets, leaving space in between each one to allow the biscuits to expand in the oven.

If you are not confident with piping you can use a teaspoon to place each blob on to the baking trays, I just think piping gives a neater finish.

6) Bake the biscuits in a preheated oven for 10 to 12 minutes or until they are a lovely golden brown.

7) Once you have removed your biscuits from the oven leave them to cool on the baking tray for a few moments, they should then lift off the baking paper quite easily.

Amaretti Biscuits will keep up to two weeks if you store them properly, either in a clip top jar or in an airtight container.