Gluten Free LadyFingers (Inspired by ‘The Great British Bake Off’)

I am really enjoying the current series of Bake off. Does anyone else think the challenges are even more difficult this year? It’s been great to see gluten free baking featured on the show and I wasn’t surprised that the bakers found gluten free bread so tricky!

It’s been a few weeks since I’ve posted a GBBO related bake, so today I am going to share with you my recipe for gluten free LadyFingers as featured on Victorian Week, as part of the Charlotte Russe Showstopper.

image

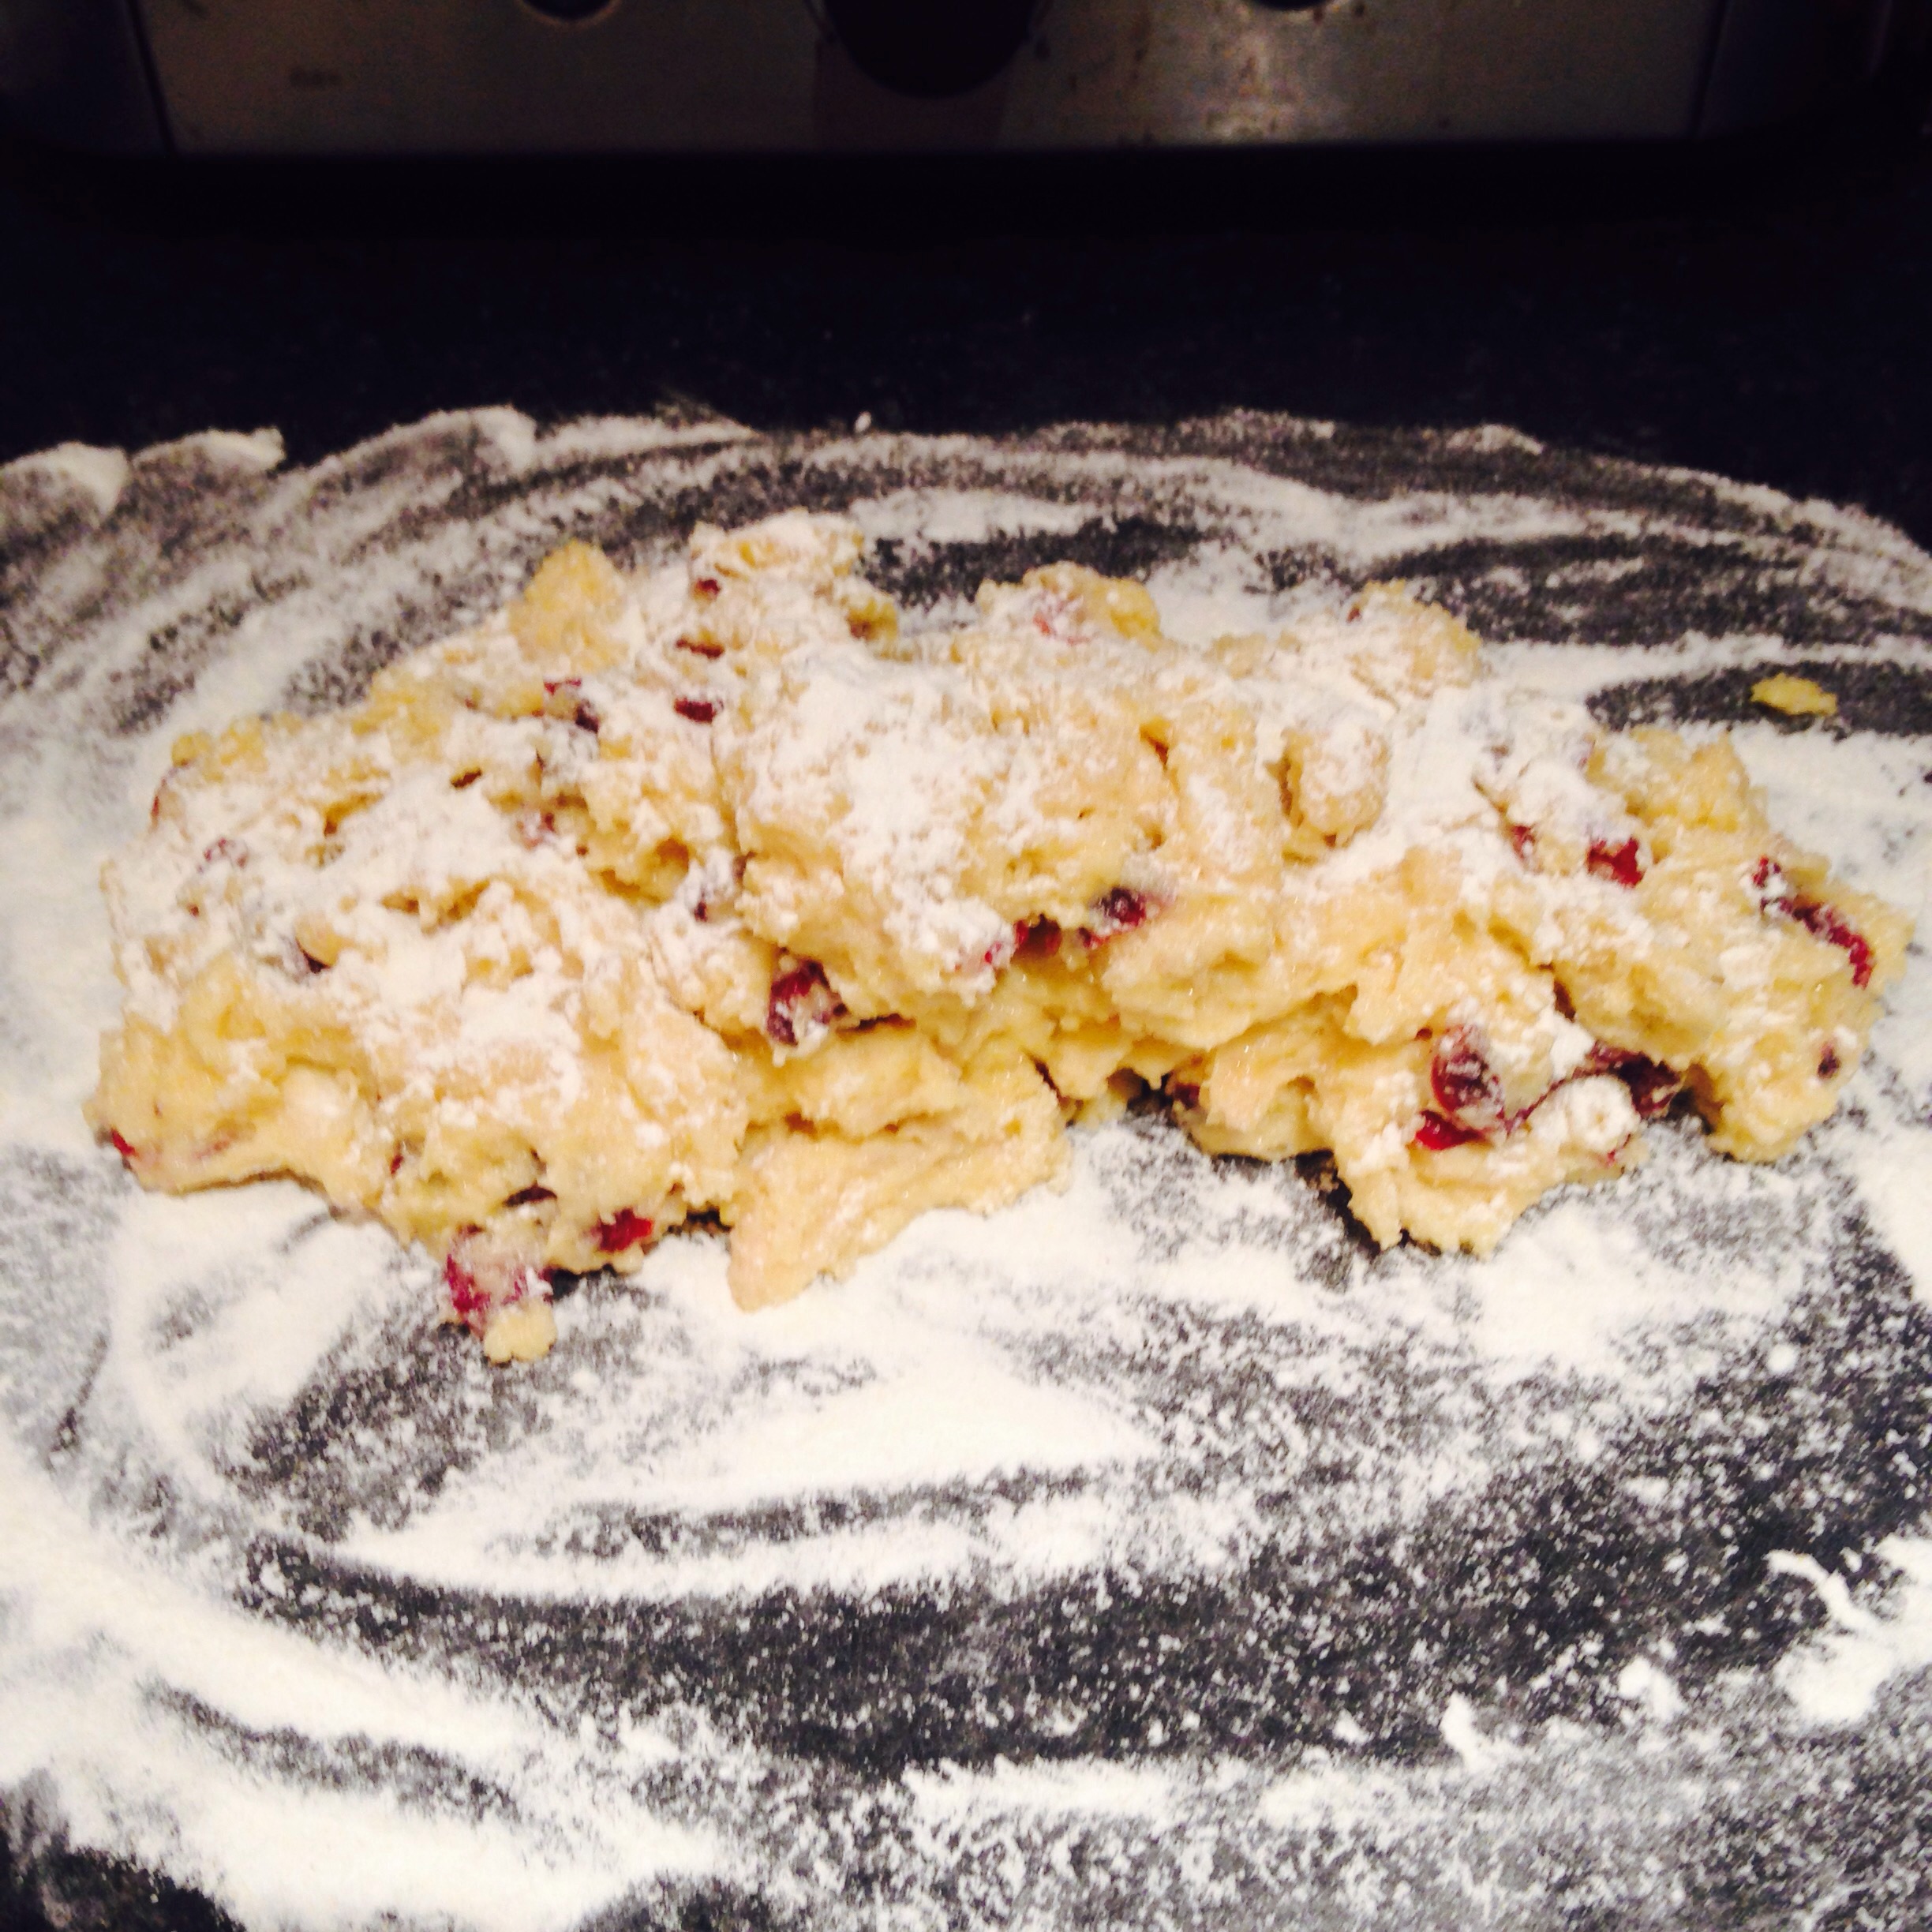
LadyFingers, or Sponge fingers as they are also known, are a vital component of number of bakes, including trifle and tiramisu. They are made from a fatless sponge batter, so a good electric whisk or stand mixer is required to whip up enough air into the batter. I am also pleased to say this recipe is Xanthan gum free, perfect for those of you who struggle with Xanthan gum and other binding agents.

So, what are you waiting for? It’s time to start planning your very own Charlotte Russe Showstoppers, complete with gluten free LadyFingers!

Gluten Free LadyFingers – GF/DF

Ingredients: 

4 eggs, separated into egg whites and egg yolks
100g caster sugar
125g gluten free plain flour
1 tsp vanilla extract
a few drops of lemon juice

Method:

1. Preheat 200 C/180 C fan/gas mark 5.

2. Line two baking trays with parchment paper.

3. In a large bowl: whisk the egg yolks with a electric hand mixer for a few seconds then add the half of the caster sugar and the vanilla extract. Beat the eggs for a few minutes until the mixture is very thick.

4. In a separate large bowl: whisk the egg whites with a few drops of lemon juice until the egg whites start make soft peaks. Add the rest of the caster sugar and beat the egg whites until they form stiff peaks.

5. Sift the flour into the egg yolk mixture, then fold the egg whites a bit of a time through the egg yolk mixture until all the ingredients are fully incorporated and you are left with a stiff batter.

6. Transfer the mixture into a piping bag which is fitted with a 1/2 inch nozzle.

7. Pipe the batter into 7cm long fingers leaving a good gap between each one to allow them to expand slightly.

8. Bake for 6 to 8 minutes, until slightly golden brown.

9. Leave the fingers to cool on the tray for few minutes then use a palate knife to transfer them to a cooling rack.

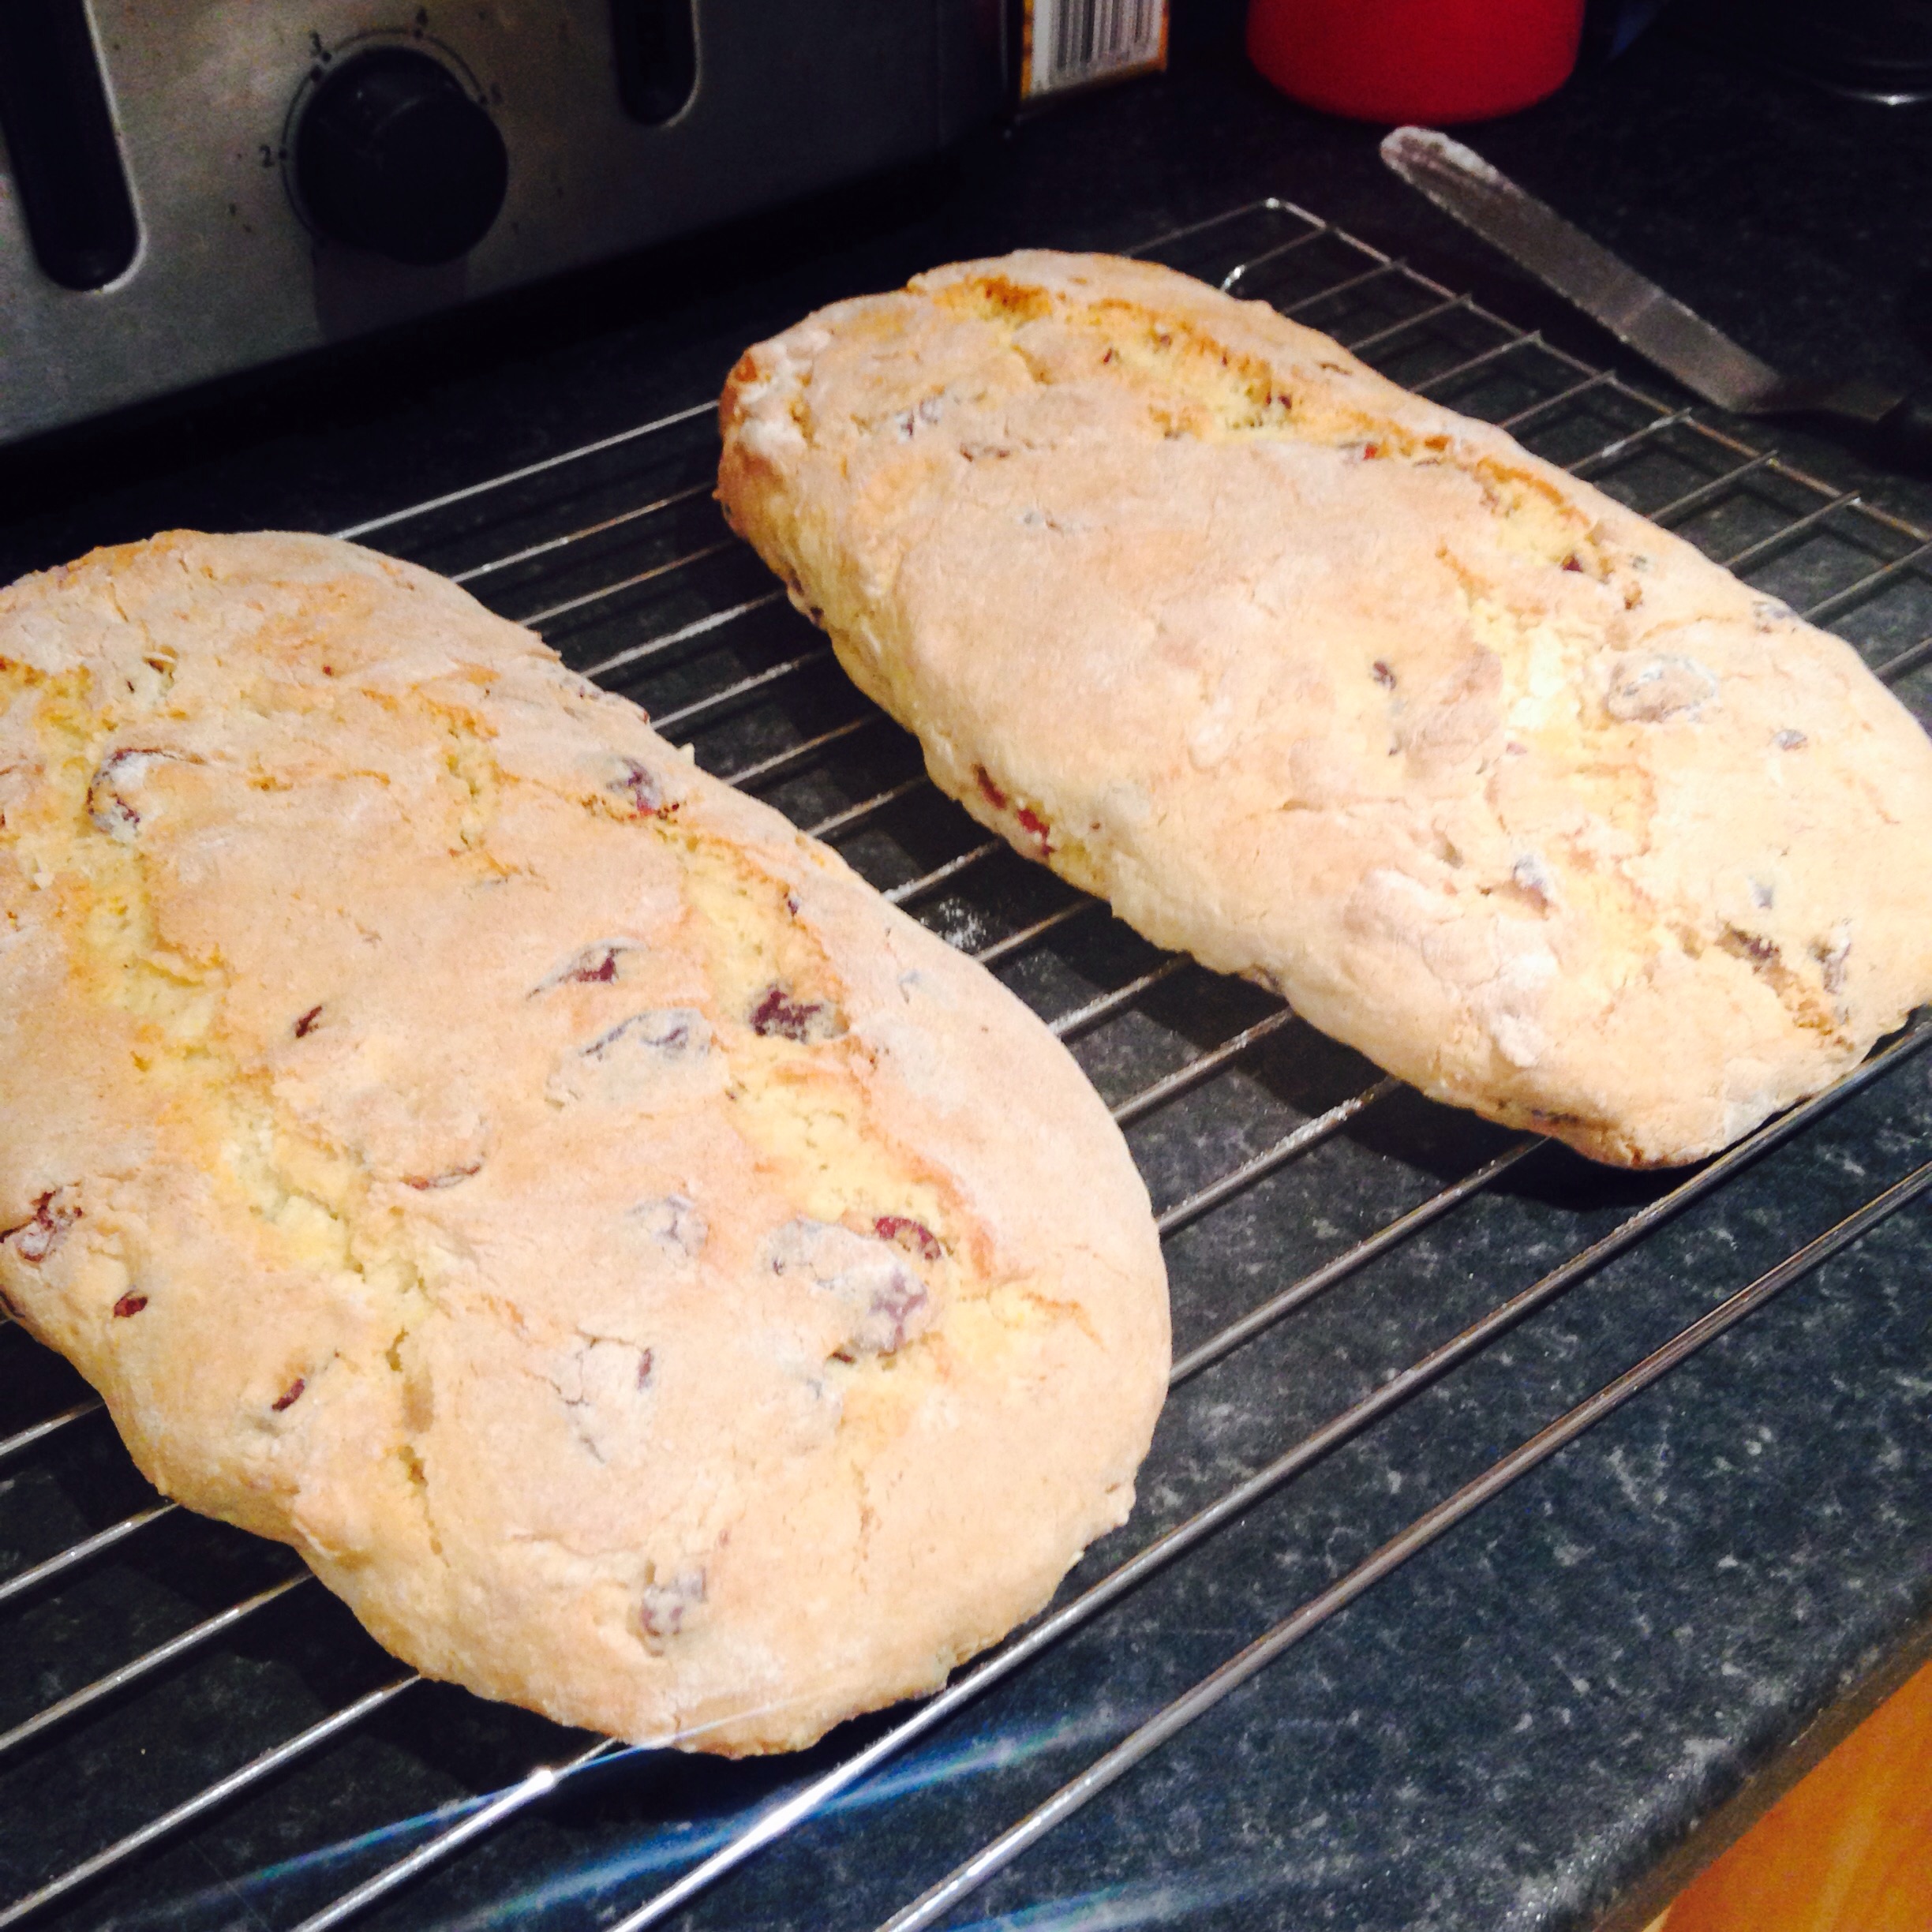
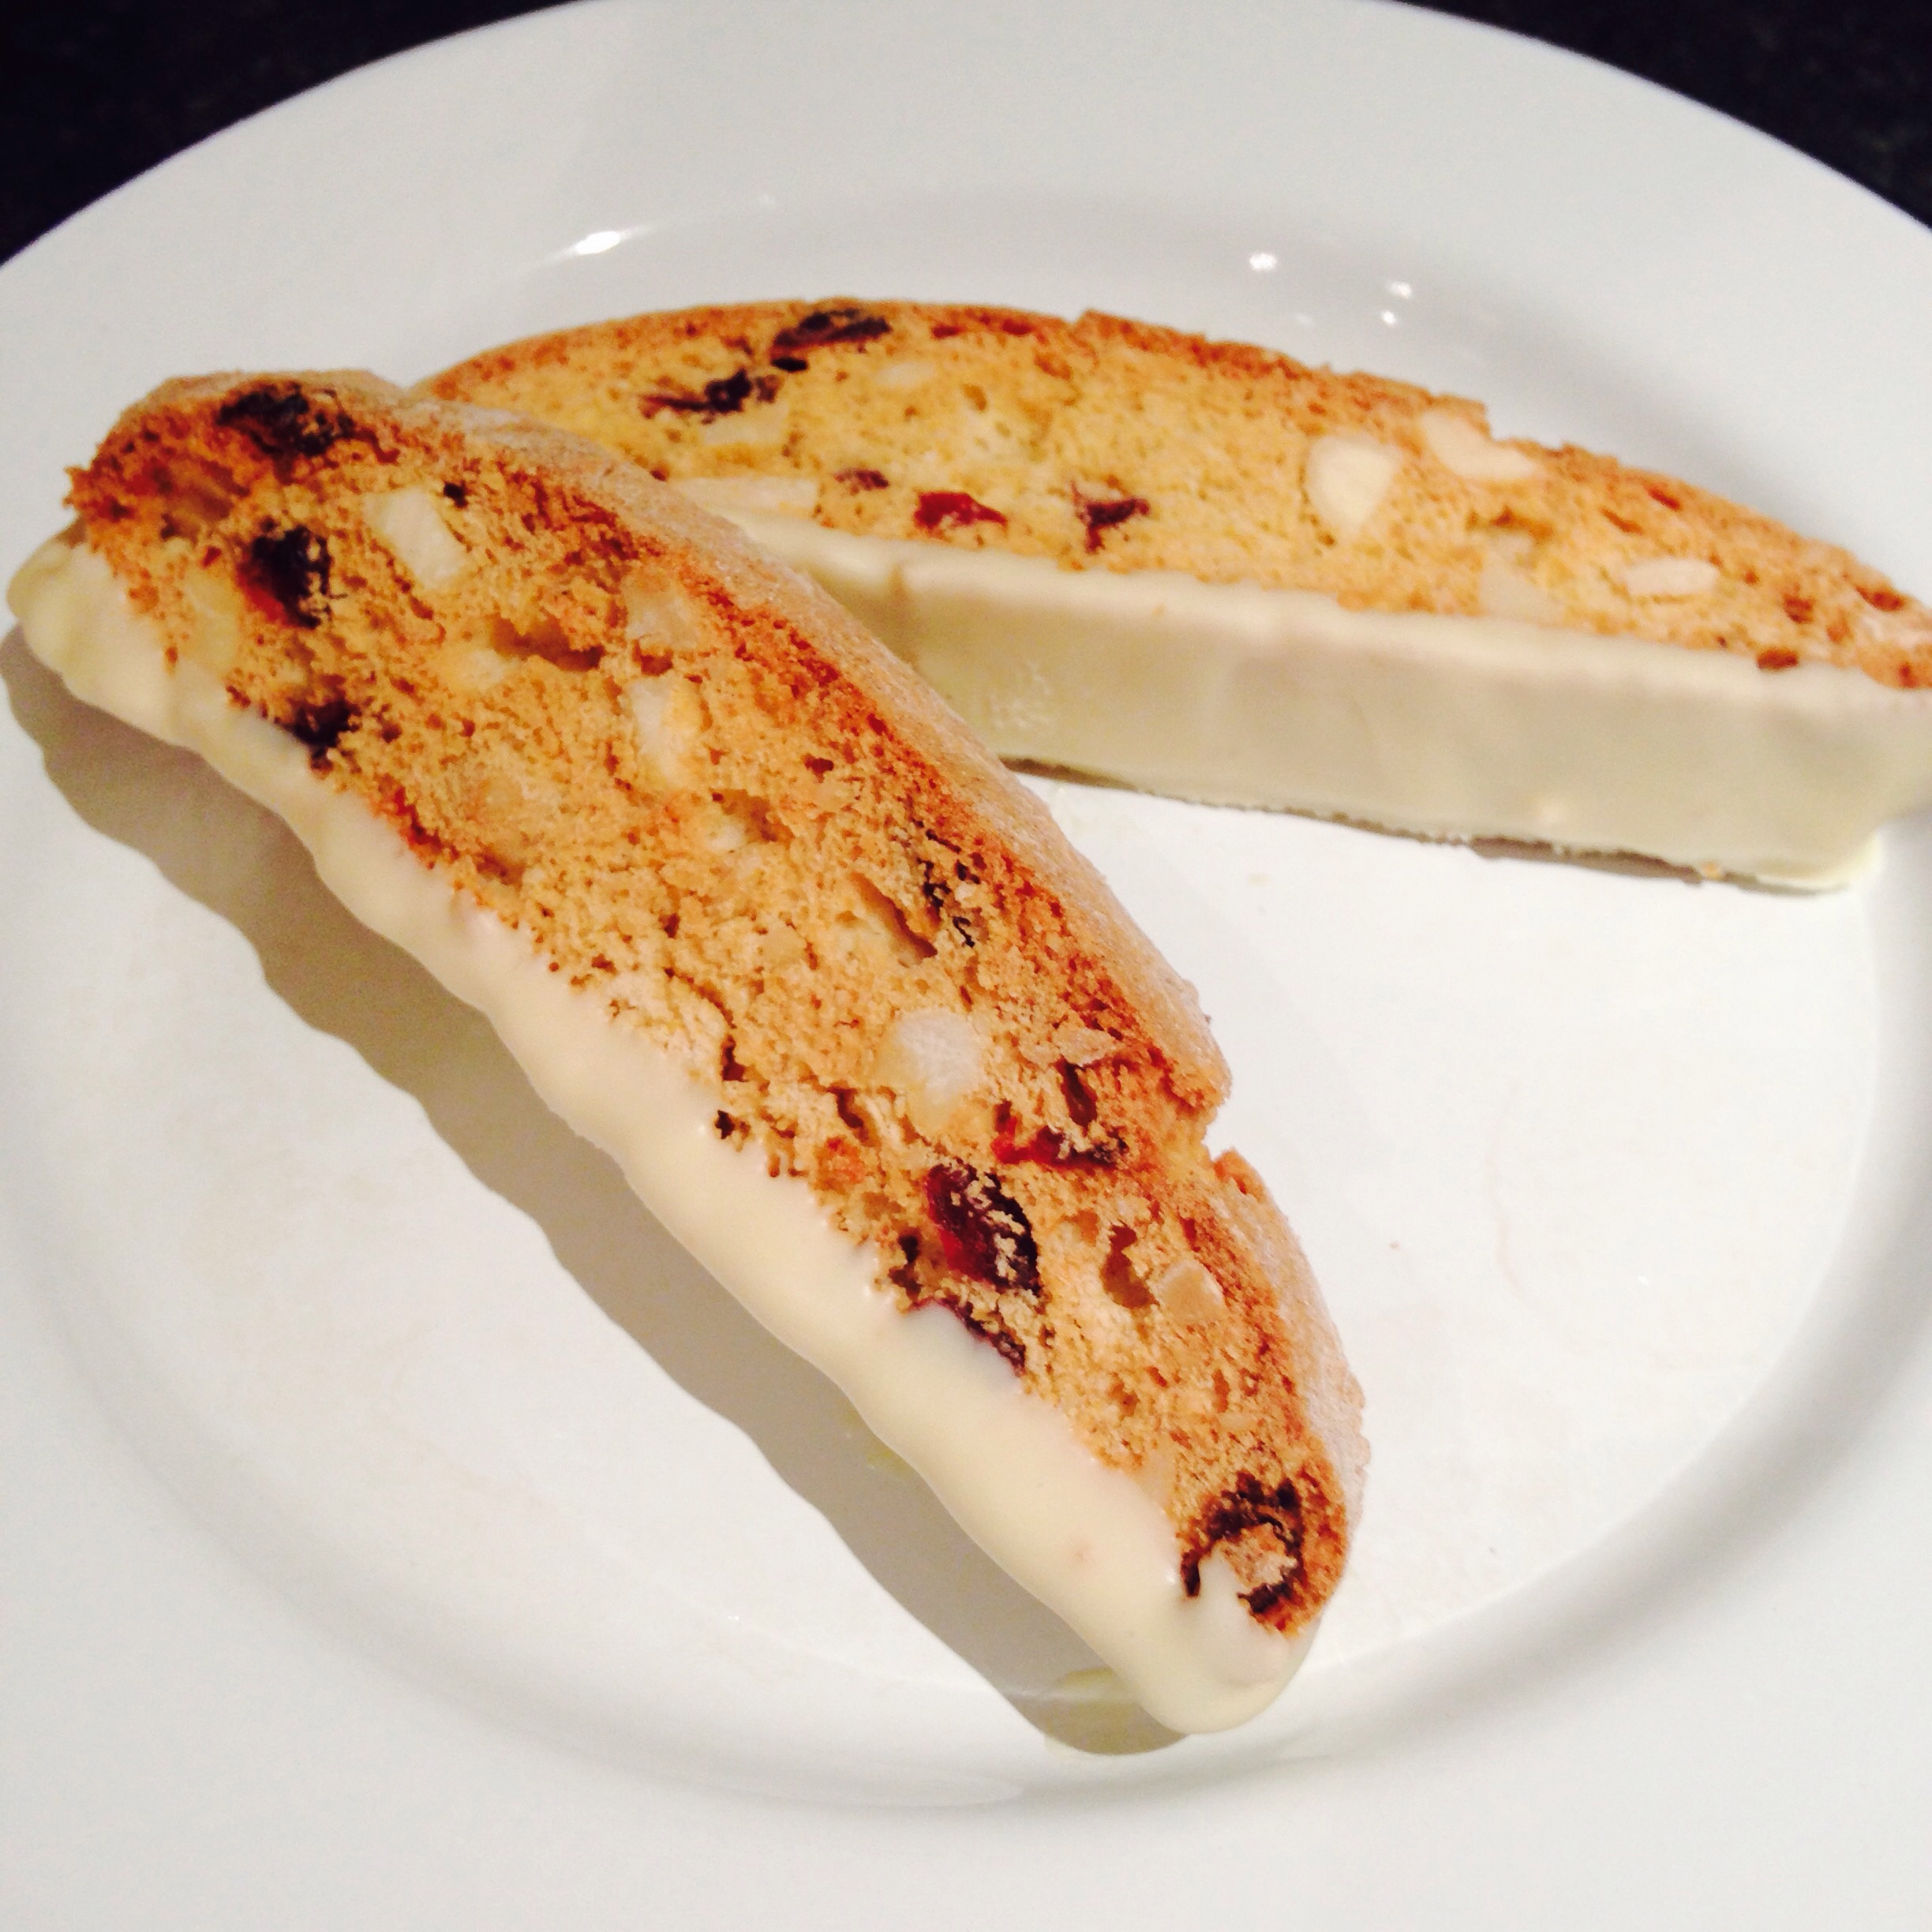
Other recipes I’ve posted from this series of ‘Bake Off’ include my gluten free Madeira recipe and my gluten free Biscotti Recipe.

You can keep up to date with my kitchen adventures on Instagram or Facebook. I’m also pleased to announce I am going to be contributing the occasional recipe to the Daily Spectacle website and you can find both my gluten free Blueberry Muffin Recipe and my gluten free Maple and Pecan Granola Recipe there already!

Gluten Free Cranberry, Almond and White Chocolate Biscotti (Inspired by ‘The Great British Bake Off’)

Today I’m going to share with you another gluten free version of a bake featured on ‘The Great British Bake Off’.

This week’s episode was Biscuit Week in which the remaining contestants baked no less than 748 biscuits plus a show-stopping edible and ornate biscuit box each, which had to be sturdy enough to encase their biscuits.

The Signature Challenge saw the bakers take on Italian Biscotti. Biscotti basically means the biscuits are ‘twice baked’ and are traditionally dry and quite hard biscuits, filled with nuts and fruit. They can be a little tricky to get right because whilst the biscuits need to be dry, there is a danger they will end up so brittle that they will break your teeth! The bakers had a relatively short amount of time in which to bake the Biscotti, which needs to be cooled down completely before it’s baked again so that it doesn’t crumble when sliced.

I decided to have a go at creating a gluten free version of the signature challenge and went for the quite classic flavour combination of cranberry, almond and white chocolate.
image
The key to baking excellent gluten free biscotti is to start with a slightly wetter mixture than you’d expect. Although Biscotti are typically quite dry biscuits, remember that gluten free flour requires more moisture than normal flour – without the extra moisture the Biscotti won’t survive being baked twice and will be a crumbly mess. If you follow my method carefully you should have no problems baking your very own gluten free Biscotti which has the texture and taste of proper Biscotti.

Gluten Free White Chocolate, Almond and Cranberry Biscotti – GF/DF options

Ingredients:
150g caster sugar
1 tsp baking powder
300g gluten free self raising flour + extra for shaping the dough
30g ground almonds
3 large eggs
125g dried cranberries
75g chopped blanched almonds
25g chopped cashew nuts
1 tsp lemon zest
1/2 tsp almond extract

To decorate:
300g good quality white chocolate (or dairy free alternative)

Method:

1. Preheat oven to 180 degrees C/160 C fan/gas mark 4 and line a large baking tray with greaseproof paper.

2. In a large bowl, stir together the caster sugar, baking powder, flour and ground almonds.

3. Add the eggs, cranberries and nuts then mix until all the ingredients are combined. The mixture will be much wetter than expected so please don’t panic and add more flour. Remember that gluten free flour needs more moisture than regular flour and these biscuits are going to be baked twice – if you add more flour you’ll end up with a very dry dough which will result in an overly dry biscotti that cannot be baked twice.

4. Separate the mixture into two halves and generously dust a work surface with a flour.

5. Spoon one half of the mixture onto the work surface into a rough log shape then dust the mixture with a generous layer of flour – do not knead or roll the mixture but gently use your hands to shape the mixture into a log shape. The flour will stick to the mixture like a coating which will help the log keep it shape whilst allowing the inside to stay soft.
image   image
6. Transfer to the log to a baking tray (you could use a cake lifter to help) then flatten the log slightly so it’s approximately the width of a ciabatta. Repeat the with the other half of the mixture then place the second log on the tray – make sure you leave a little room between to allow them to expand slightly.
image
7. Bake for 20 to 22 minutes, until the biscotti is golden brown. Remove the biscotti from the oven and transfer to a wire rack to cool completely. Leave the oven on.
image
8. Once the biscotti is cool, slice it diagonally across into inch thick slices. Do not attempt to slice the biscotti whilst still warm or it will crumble.

9. Transfer the biscotti back onto the baking tray and bake again for 6 to 8 minutes on both sides, then leave the biscotti to cool on a wire rack.
image
10. Melt the chocolate slowly in a heatproof bowl over a pan of simmering water. Dip the base of each biscuit into the chocolate, gently shake off any excess chocolate, then leave each one to set on a sheet of greaseproof paper.

Once set, enjoy in the traditional Italian style with a cup of coffee!
image
If you’re not feeling all baked out, why not check out my take on the classic Madeira cake as featured on episode one of this years ‘Bake Off’.

Coeliac Awareness Week: Gluten Free Cheese Scones

Here in the UK it is Coeliac Awareness Week and to help raise awareness of this important campaign I am posting very simple Gluten Free recipes to help any newly diagnosed Coeliacs get started.

My first post was my Victoria Sandwich Recipe and today I will be sharing my recipe for Gluten Free Cheese Scones.
image
Scones are a true classic and a bake that should be in every baker’s repertoire. They are perfect for beginners (they were certainly the first thing I learnt to make) and possible to achieve Gluten Free – you just need to make sure the dough is moist enough!

Gluten Free Cheese Scones – GF/DF options

This recipe makes approximately 8 scones.

Ingredients:
250g gluten free self raising flour
1 tsp baking powder
75g butter, unsalted
A pinch of salt
75g mature cheddar, plus extra for the top.
2 eggs (one for glazing)
75ml milk (or dairy free alternative)

Method:

1) Preheat the oven to 220 C/200 fan C/gas mark 6.

2) In a large bowl, sift together the flour, baking powder and salt.

3) Rub together the butter and flour mixture until you have a breadcrumb like texture, then stir through the cheese.

4) Add an egg and start to bring the mixture together using a wooden spoon.

5) Add the milk bit by bit and use your hands to bring the mixture together in a smooth dough.

6) Lightly dust a work surface with flour then roll out the dough to 3/4cm thick – don’t roll out the dough too flat or you will have very flat scones!

7) Place the scones on a baking tray lined with greaseproof paper. Lightly brush the top of each scone with beaten egg then sprinkle over a little bit more cheese.

8) Bake the scones in a preheated oven for 15 – 18 minutes until they are golden brown.

9) Leave the scones to cool on a wire rack or enjoy warm with lashings of butter! To refresh the scones, sprinkle them with a little cold water and gently warm them in the oven.

Please don’t forget to check out my Victoria Sandwich Recipe for Coeliac Awareness Week or if you are looking for more inspiration take a look at my Recipes Page.

You can also keep up to date with my kitchen adventures on:
Instagram: https://instagram.com/titchyton/
Facebook – https://www.facebook.com/titchyton